floriduramax1
Active Member
- Sep 19, 2010
- 1,727
- Boat Info
- 280DA, Magic Tilt triple axle, 2006 GMC 2500 D/A
- Engines
- T4.3/ Alpha
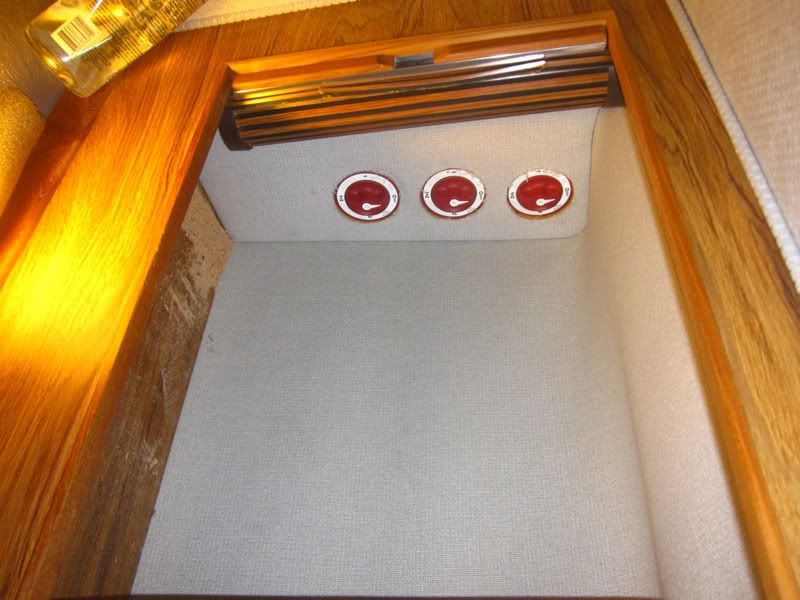
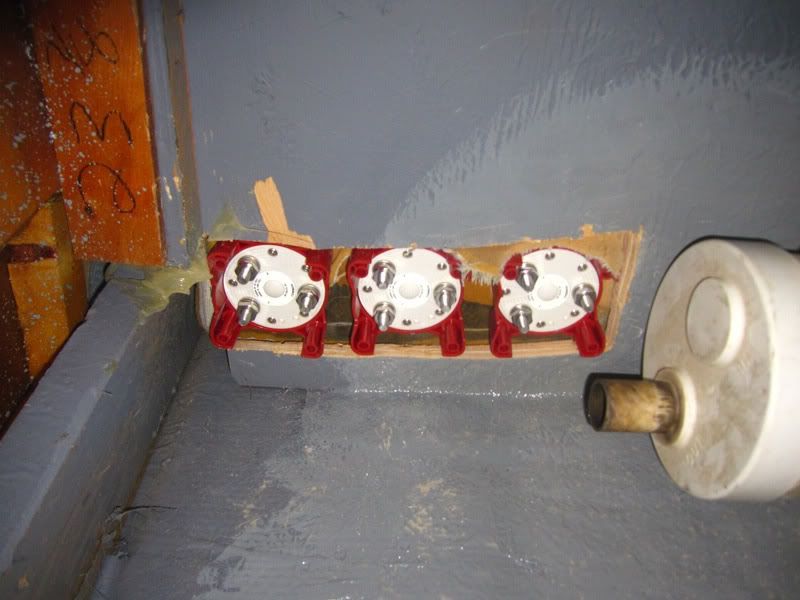
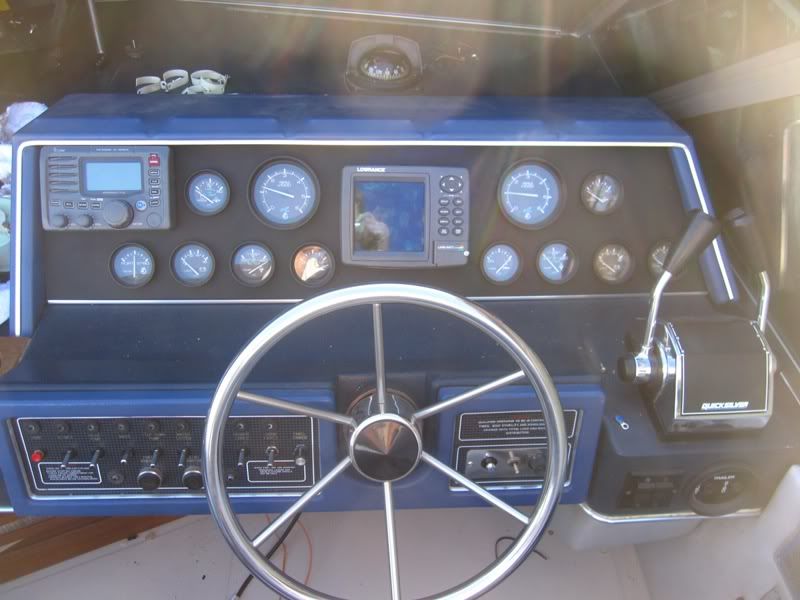
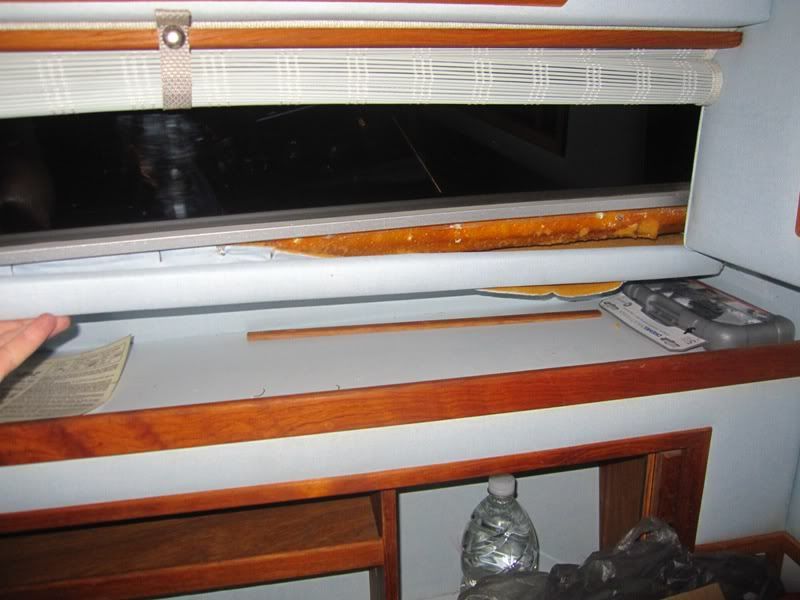
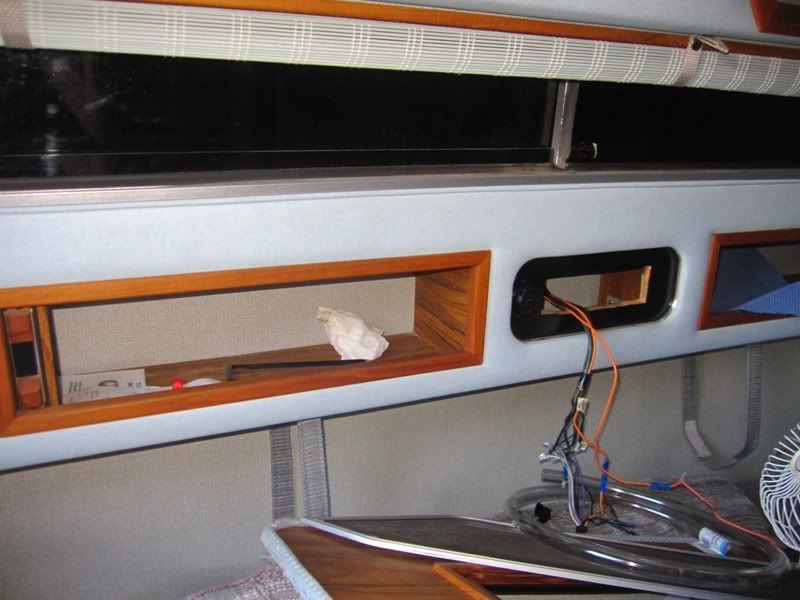
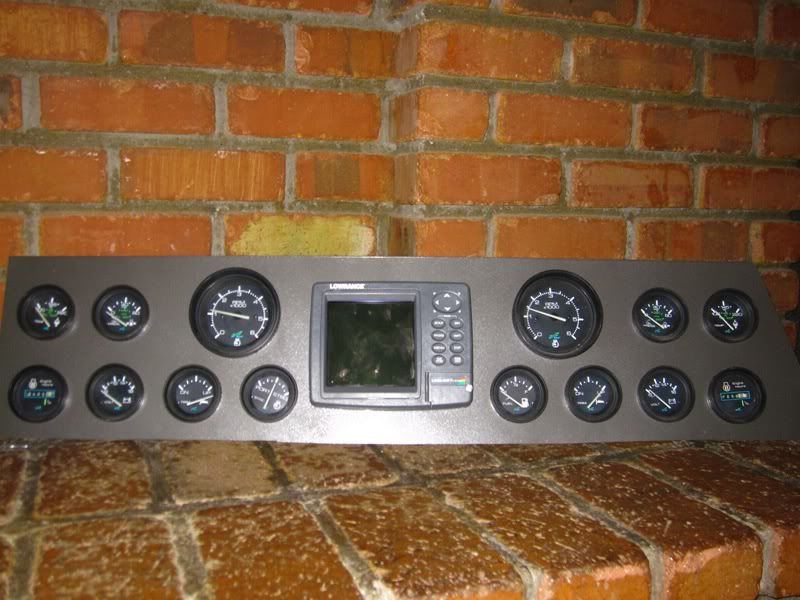
Dash looks great! Are you going to use a "backer" with the Lexan? Make sure to sand the cut marks from around all the holes and cut outs so cracks won't start running.My ADD got the best of me today, and between dealing with the water in the engine mount issues, and preparing the water tank for install, I decided to tear into the dash.
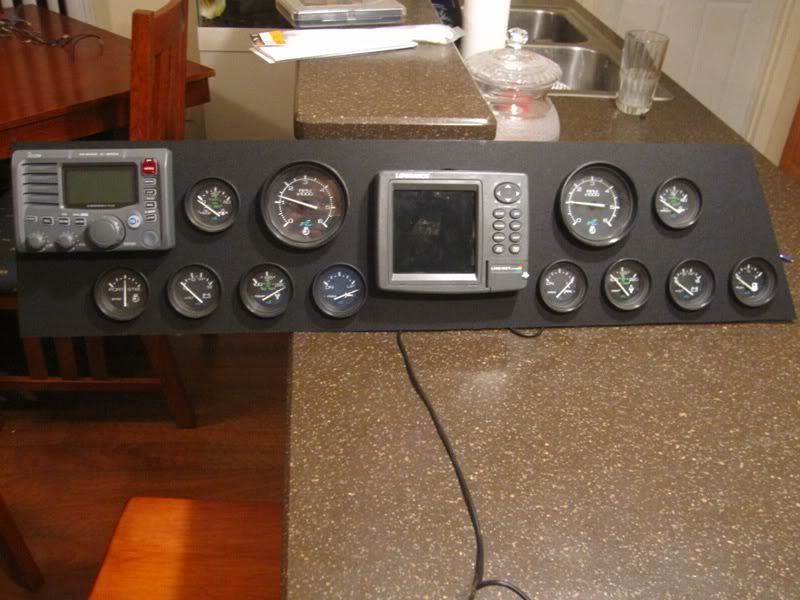
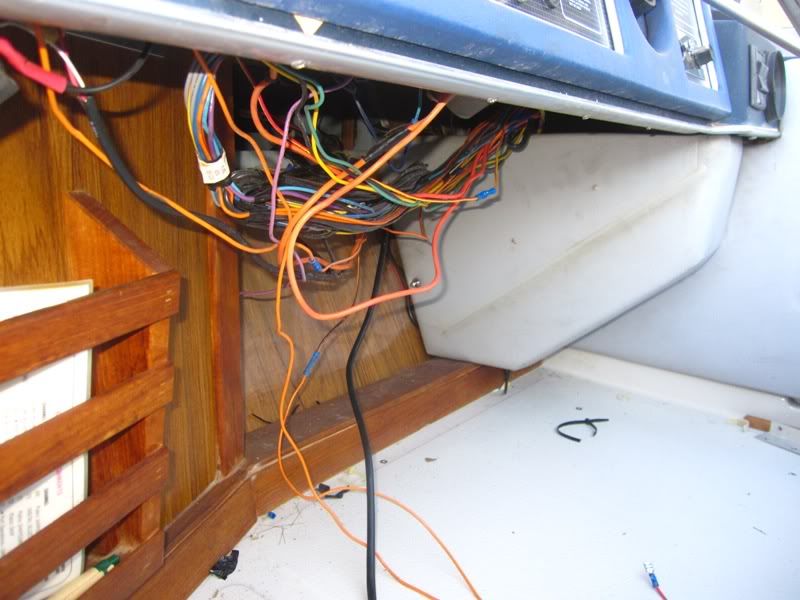
I wanted to mount my GPS/Fishfinder into the dash so it wasn't sitting in my line of site, I also wanted to rewire the rats nest under the dash. SO here is a preliminary Design for the new dash usuing some 1/4" thick Lexan from home depot, and some rustolem paint. I think this will look pretty nice. ANy opinions?
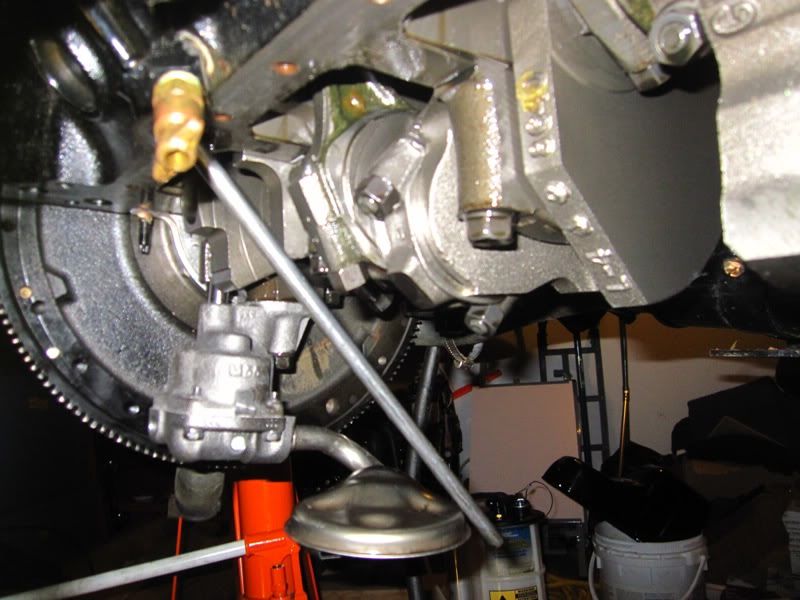
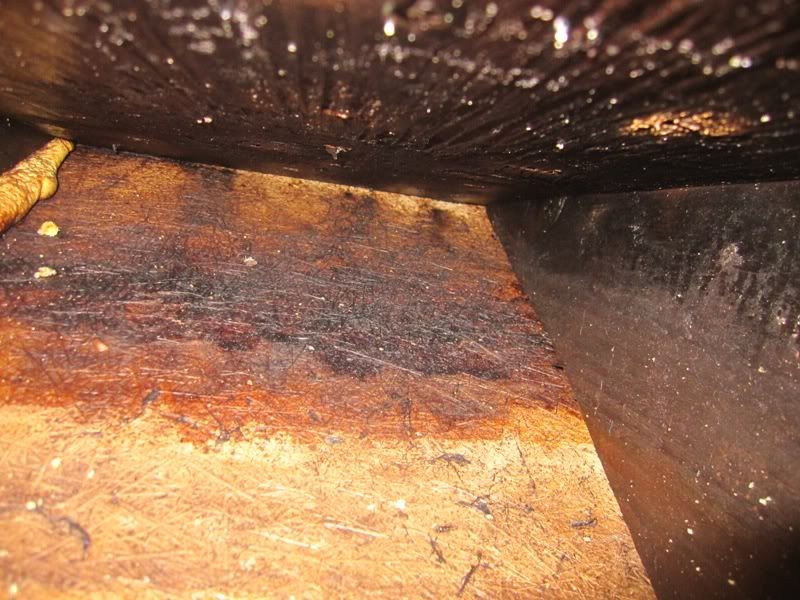
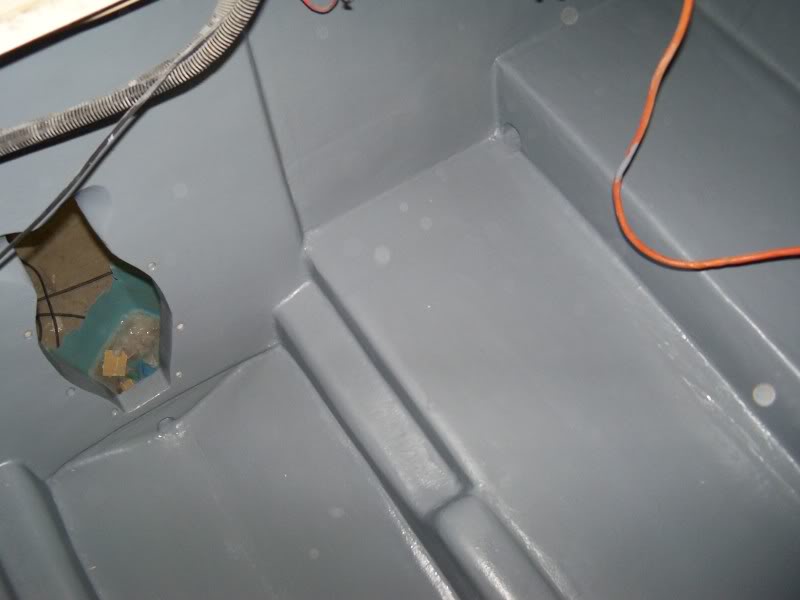
ALso, dropped the pans on the engines. Everything looks ok. Just waiting for the pumps.
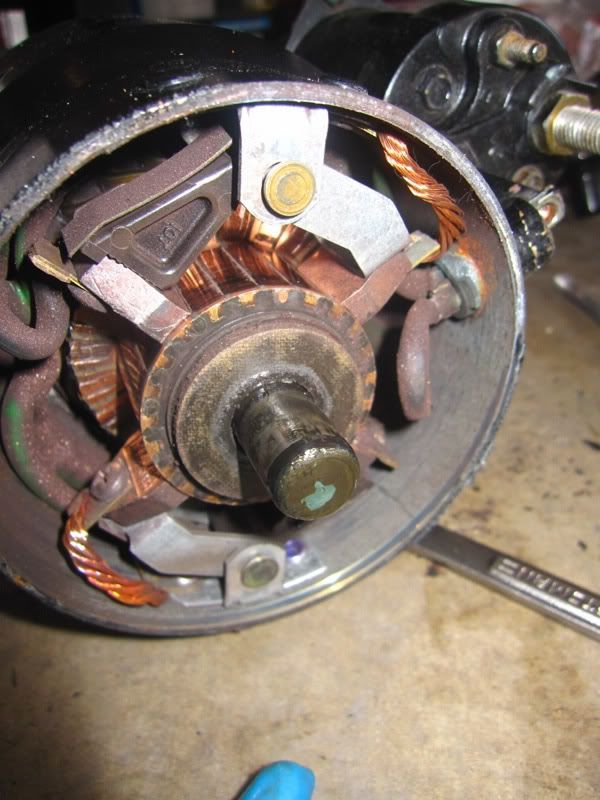
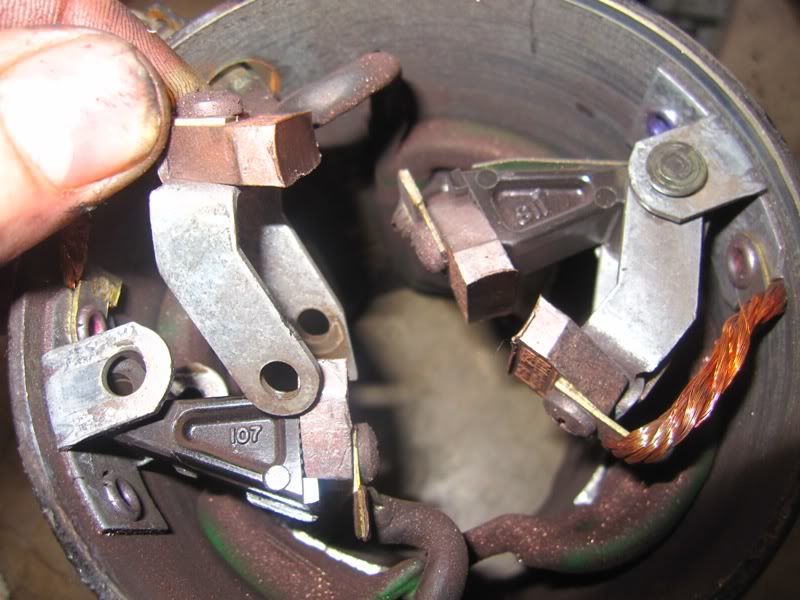
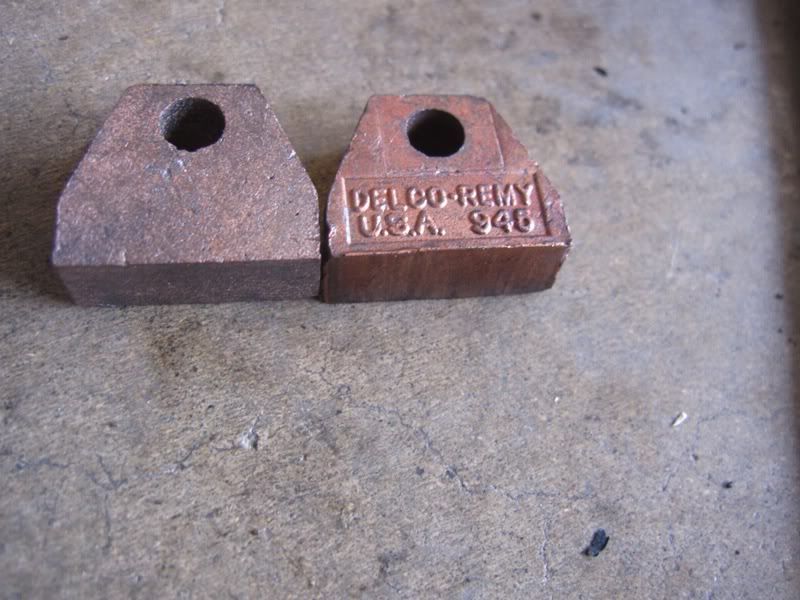
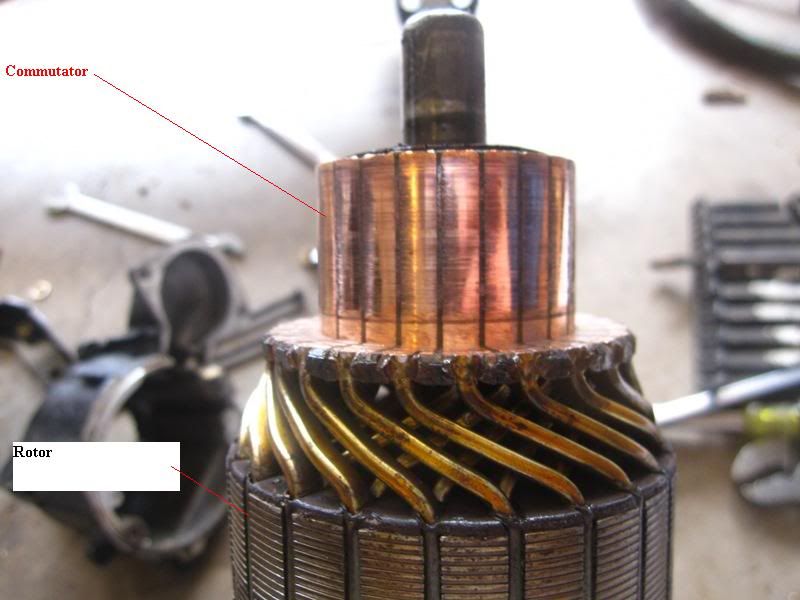
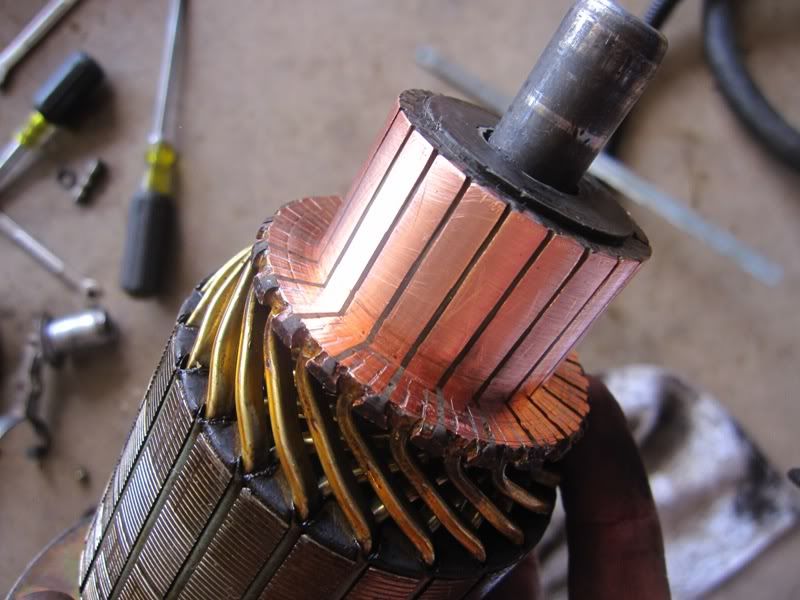
I also took the starters apart for some inspection and cleaning, Brushes are about half worn, can't seem to find any places locally or on the internet that will just sell the brushes:huh: