Nehalennia
Well-Known Member
- Aug 22, 2007
- 10,006
- Boat Info
- 2001 310DA twin 350 MAGs, Westerbeke 4.5KW
- Engines
- Twin 350 MAG V-drives
At least you're working with new product too, not re-hosing the old system. Nice work.
Follow along with the video below to see how to install our site as a web app on your home screen.

Note: This feature currently requires accessing the site using the built-in Safari browser.
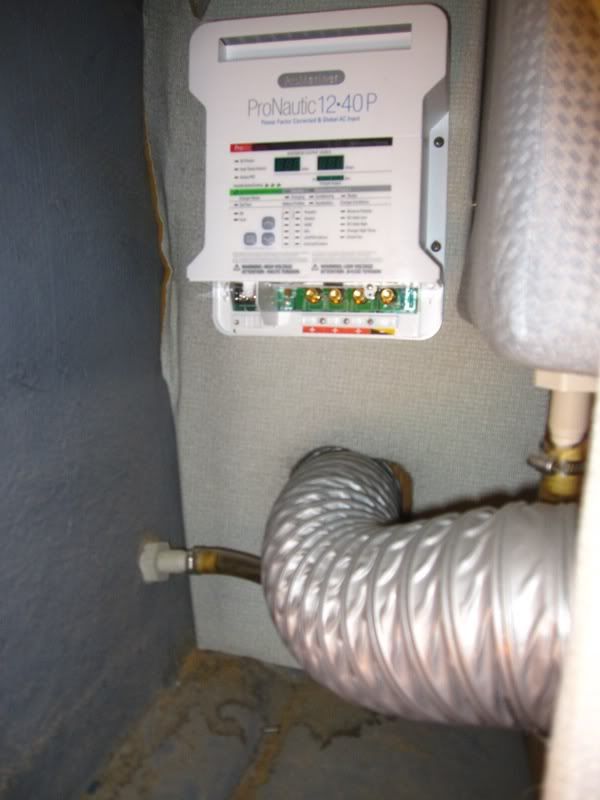
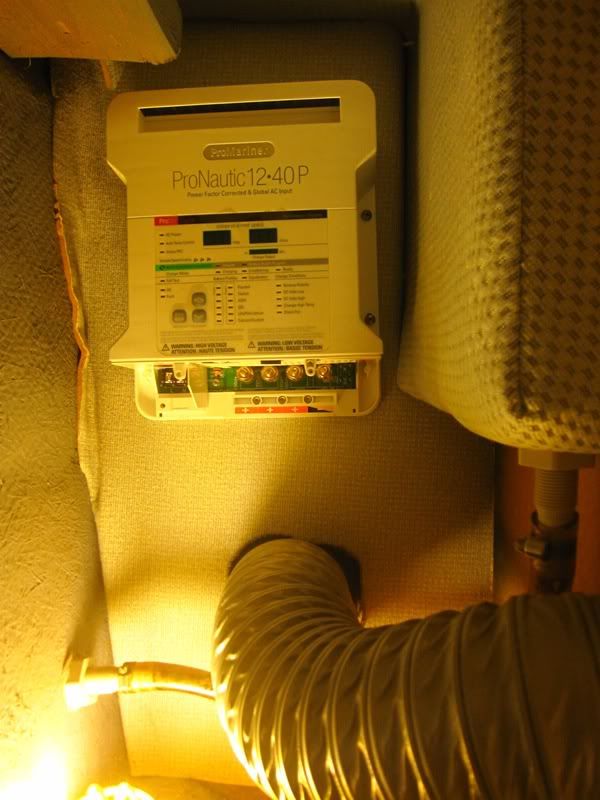
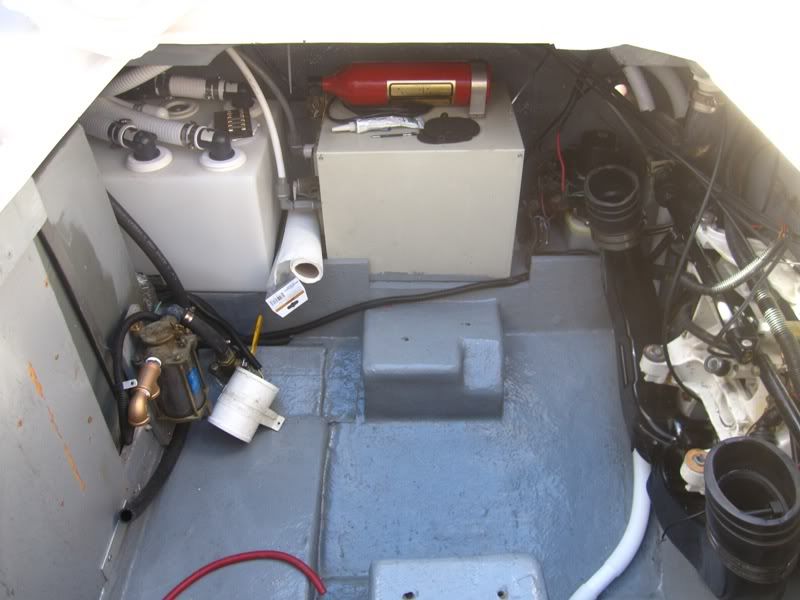
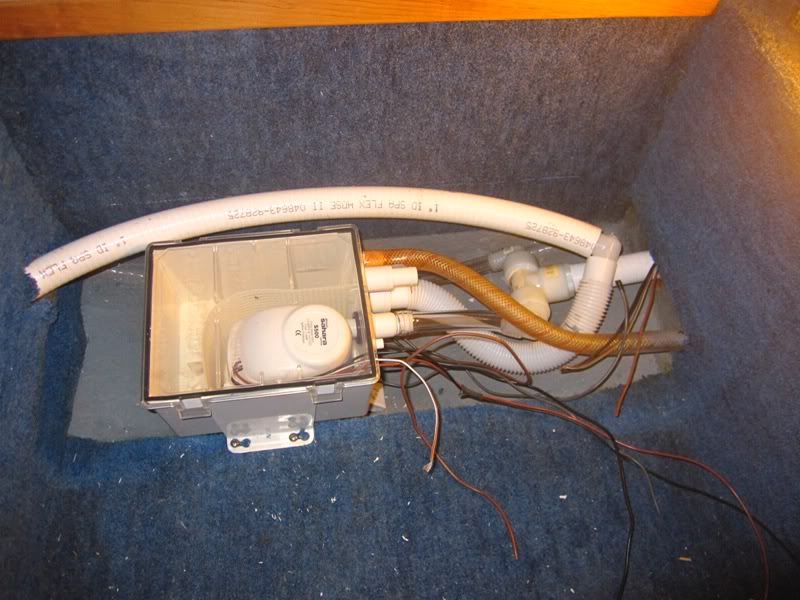
Good spot for the charger. I'm surprised that Sea Ray didn't utilize that space for something. I took out the four screws holding the cover on and installed a hinge and latch a couple of years ago. It's a great area for paper towels, TP, or even liquor bottles to ride. You have got me excited about the toilet upgrade. I found a manual one at overtons for a good price. I think I will go with defender for the tank as you did. Are you drawing lake water for flushing or using your fresh water supply? Makes me nervous drilling a hole in the hull for the pickup.. but makes sense. Why waste your fresh water. Keep us updated on your progress.
Well I feel your pain! But that is why I went to inboards! :thumbsup::thumbsup: for OMC! Wish they never went out of business!. I had an OMC Cobra on one of my other boats. Best out drive I ever had!
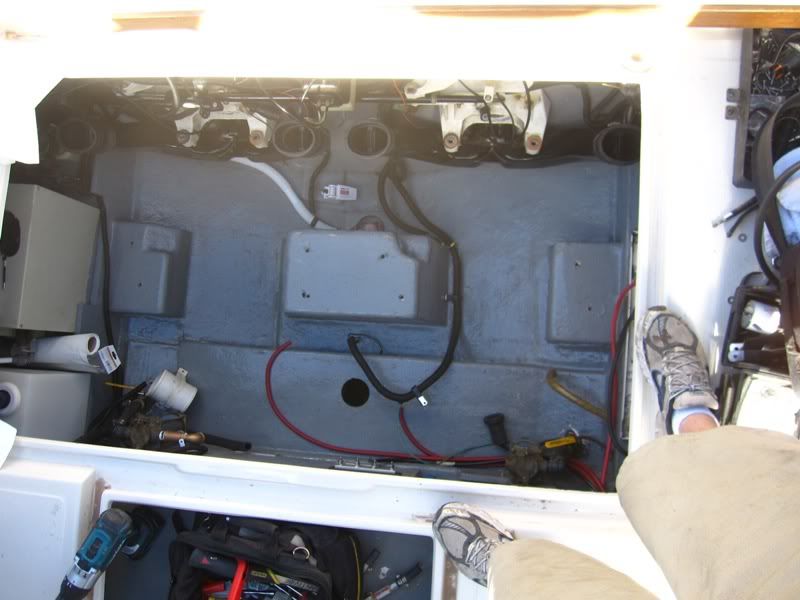
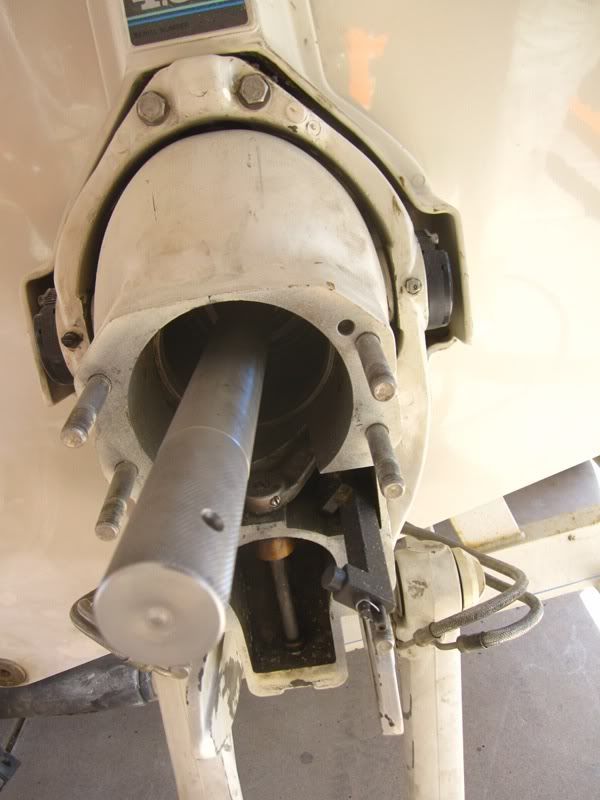
It's amazing to think that the only thing keeping you from having a 3" hole in your boat is a thin rubber boot.:smt021
oldvet said:With all due respect to any engineers who may be present.....it has been my experience that this is rarely...IF EVER considered during the design of almost everything...boats, cars, A/C systems....you name it. Is it any wonder that maintenance and repair costs are so high when the repair.......even a relatively minor one.....is so labour intensive. Damn near the whole front end of my car had to be dropped a few years ago just to replace an alternator. :wow:
Hope it all turns out well for you Blew.