Pietro
Active Member
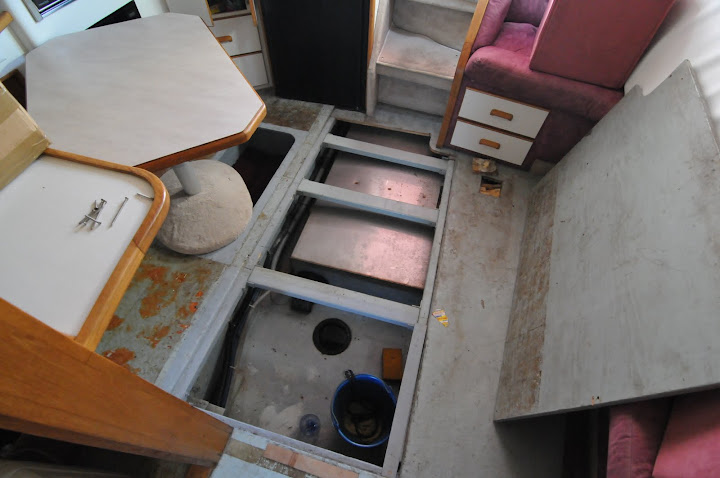
Well, it's off to the boat tomorrow to yank out that bad-assed leaky aluminum water tank. Stay tuned as we rip-n-tear out the carpet to get to the floor. Thanx to Pietro's experience in this department, I think that I know what to expect. Yes, I will take some pics.
~Ken
Good luck, Ken!
Remember to check if there's water underneat the floor where the tank is laying... after removing the tank, stand on the lower floor and check if water is coming out of the screw holes (screws are the ones holding the tank in place)
Look here :wink:
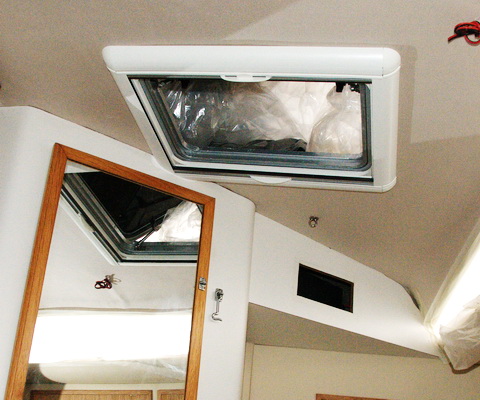
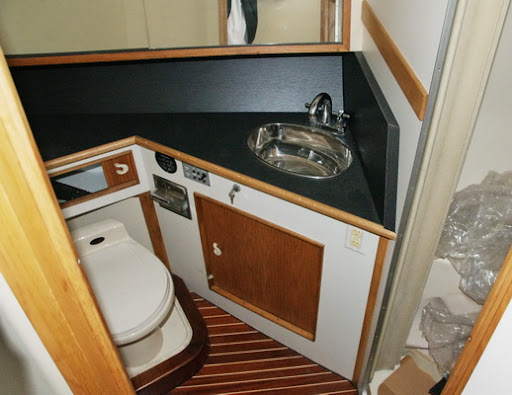
Head is finished with new dark formica and larger sink:
Last edited: