Pietro
Active Member


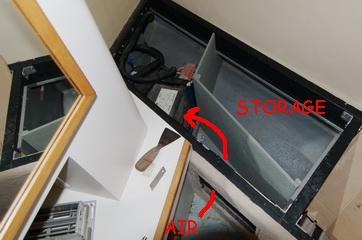
Ken, these are pictures of the same tank!!!! the one that goes into the bed :wink:
Ciao for now, I'm going to a tex-mex restaurant in Rome.... can you believe it???????? :grin:
Follow along with the video below to see how to install our site as a web app on your home screen.

Note: This feature currently requires accessing the site using the built-in Safari browser.

Ken, these are pictures of the same tank!!!! the one that goes into the bed :wink:
Ciao for now, I'm going to a tex-mex restaurant in Rome.... can you believe it???????? :grin:
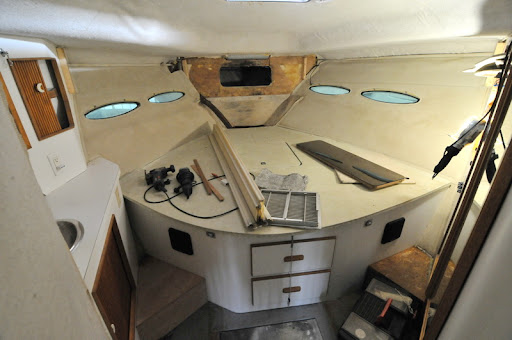
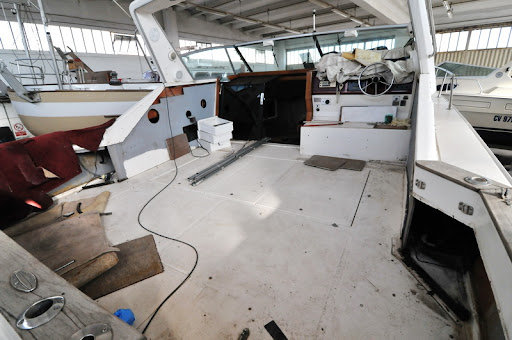
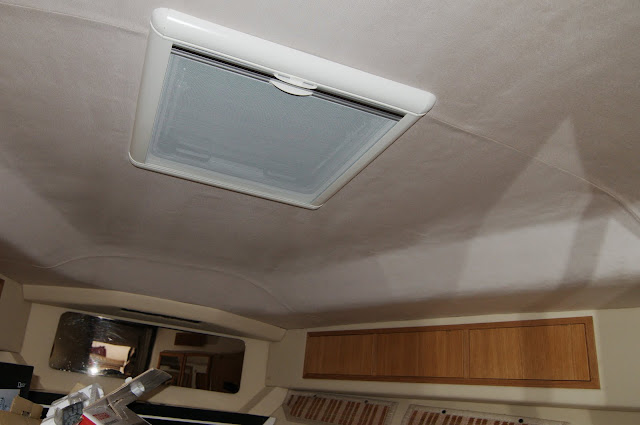
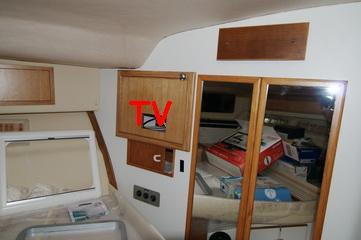
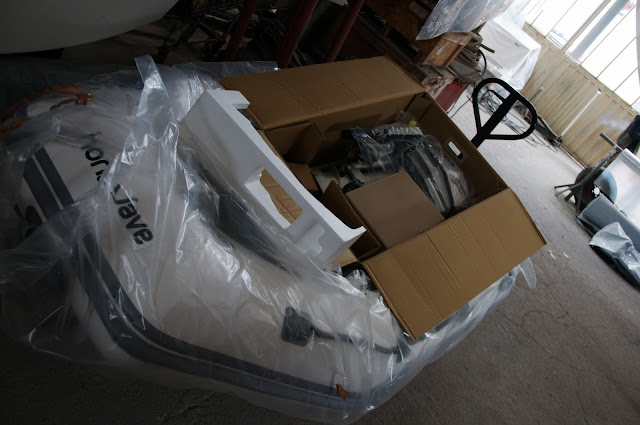
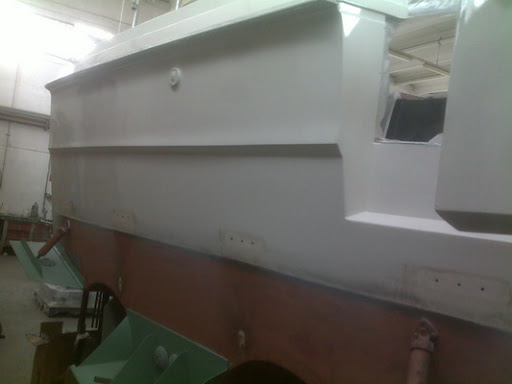
Just a quick update: "moonchild" is now under cover and we are redoing the interior starting from the bow. We also removed all the trimming and seats in the cockpit. All the plywood panels will be substituted by starboard. I also want to use all the space inside the seats. I will probably put there the fridge batteries and I'll try to create some bins for my guest's shoes or lifejackets... what's really incredible is how huge the cockpit is!!
In the meanwhile I have ordered new windshield and side windows gaskets from Taylor and we will remove the entire frames for re-spraying them.
Are you going with starboard???? I will :wink:
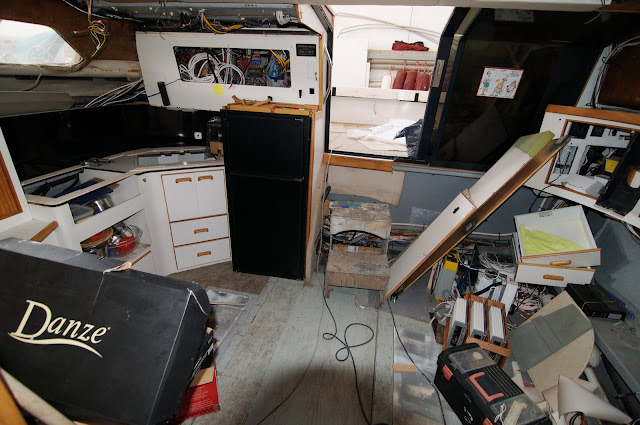
Did you realize how much wasted space there's behind those panels!!! The port side is pretty much taken up with plumbing, ventillation, etc. but the stb. side certainly has extra storage space for shoes, etc.:smt021 Sea Ray. As I told before I would like to create a recessed spot for extinguishers and bins for my guests' shoes!
I have to say...you guys are serious.:thumbsup:
Nice work.
John F
:grin::grin::grin::grin::grin: ..I'm just trying to make you regret selling her!!! :grin::grin::grin::grin::grin:
HOLY CRAP!
Damn, man...I had no idea you were gutting her interior like that! Seating, overhead storage, cabinets.... I'm dying to know- what's the grand plan??
And here I thought the inside was all about removing some foam and replacing a water tank! Did you always intend to gut her?
I can tell you're like me- getting "there" is the fun part (most of the time).
One word of advice- don't EVER try to add up what you're spending!! In the end, your "baby" will be exactly what you want, and you'll know the location of every screw and fitting...
")
