Nehalennia
Well-Known Member
- Aug 22, 2007
- 10,006
- Boat Info
- 2001 310DA twin 350 MAGs, Westerbeke 4.5KW
- Engines
- Twin 350 MAG V-drives
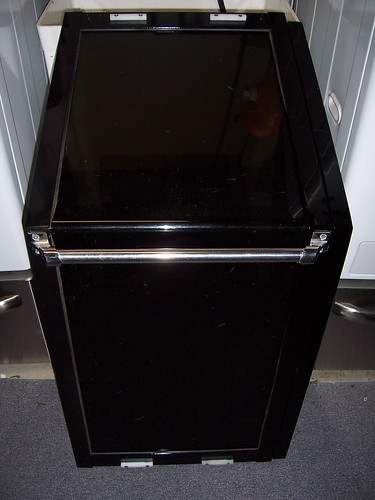
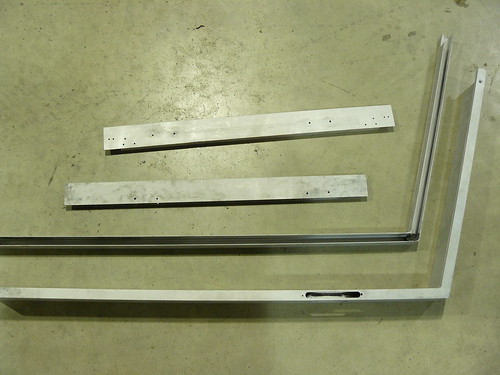
Looks like it's all coming together nicely. Good work.
Follow along with the video below to see how to install our site as a web app on your home screen.

Note: This feature currently requires accessing the site using the built-in Safari browser.

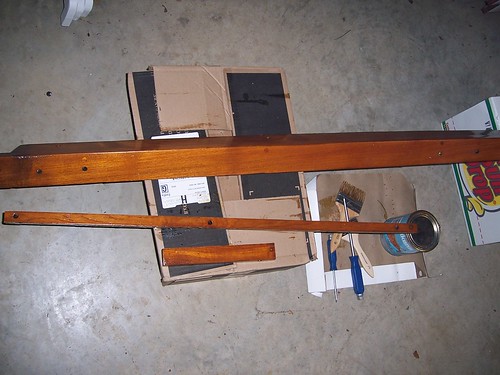
Good to see you progressing with the door. Much thanks on all the info. It is what this web site is all about. In an earlier posts I said my middle sliding door is sticking. I will address it before spring, too much snow on the boat till now. Maybe the Baltimore boat show next week will bring me out of hibernation.
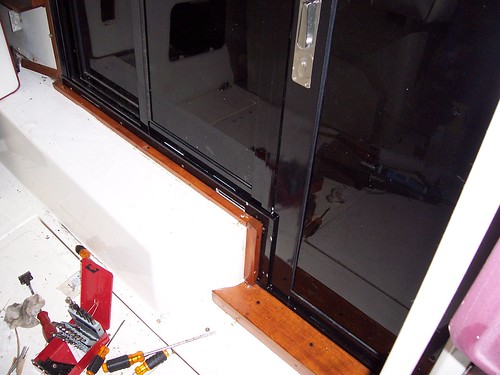
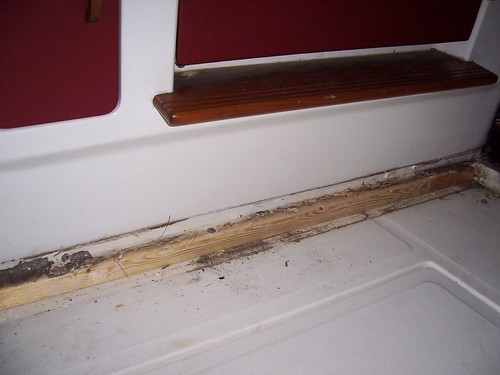
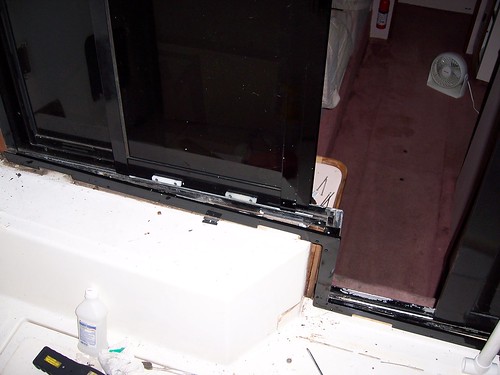
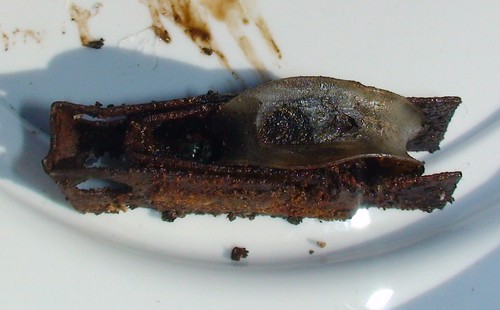
I believe the port side roller has gone flat or broke. I can't get a good look at it since it is the middle door. So, I will pull the teak molding off and take the door off the tracks. At that time I'll know if the rollers are the same as the ones you replaced.

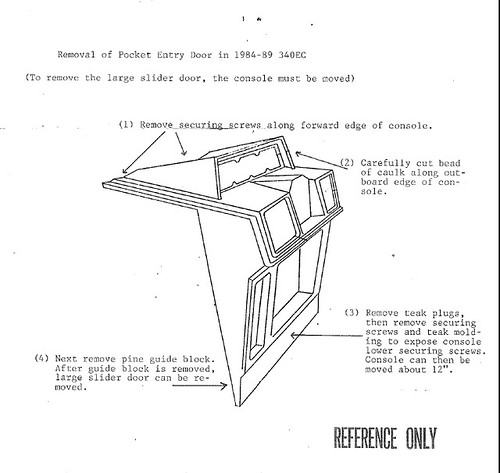
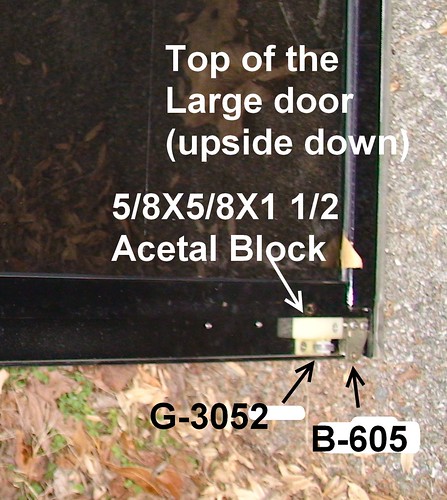
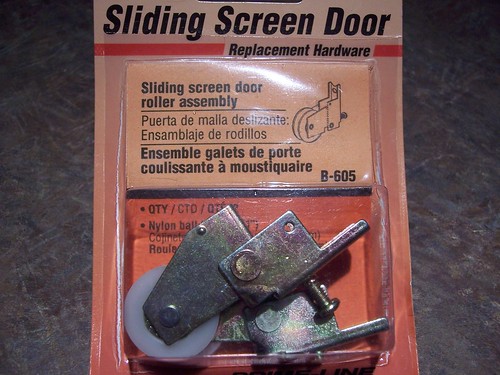
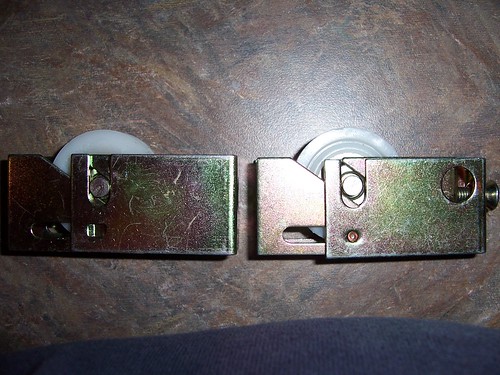
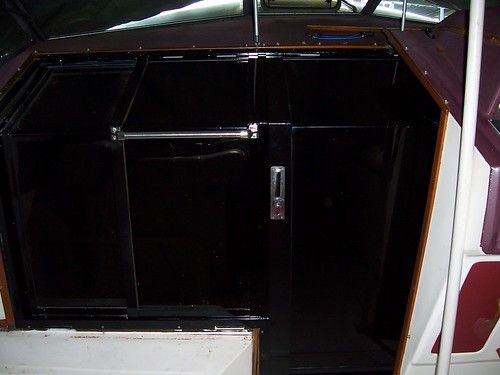
hi....having trouble finding sliders you mentioned you might have spare and could give me part numbers and mft name thanksIf the hardware is anything like my 390EC you can modify sliding door hardware to work. ( A little filing is needed for clearance side to side on the roller) Just remove the hardware and take it to Lowes or Home Depot and get the closest match. I did mine about 2 years ago and its still working great (although she didnt get much use this year due to the 500 taking precedence). We are moving the 390 finally at the end of December to Panama City. She'll get some use then!
