410 Sundancer/Express Cruiser and 400 Sundancer/Express Cruiser **Official Thread**

Me again?
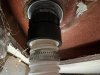
I need to replace 8' length of premium marine hardwall water tubing. the $8/ft stuff.
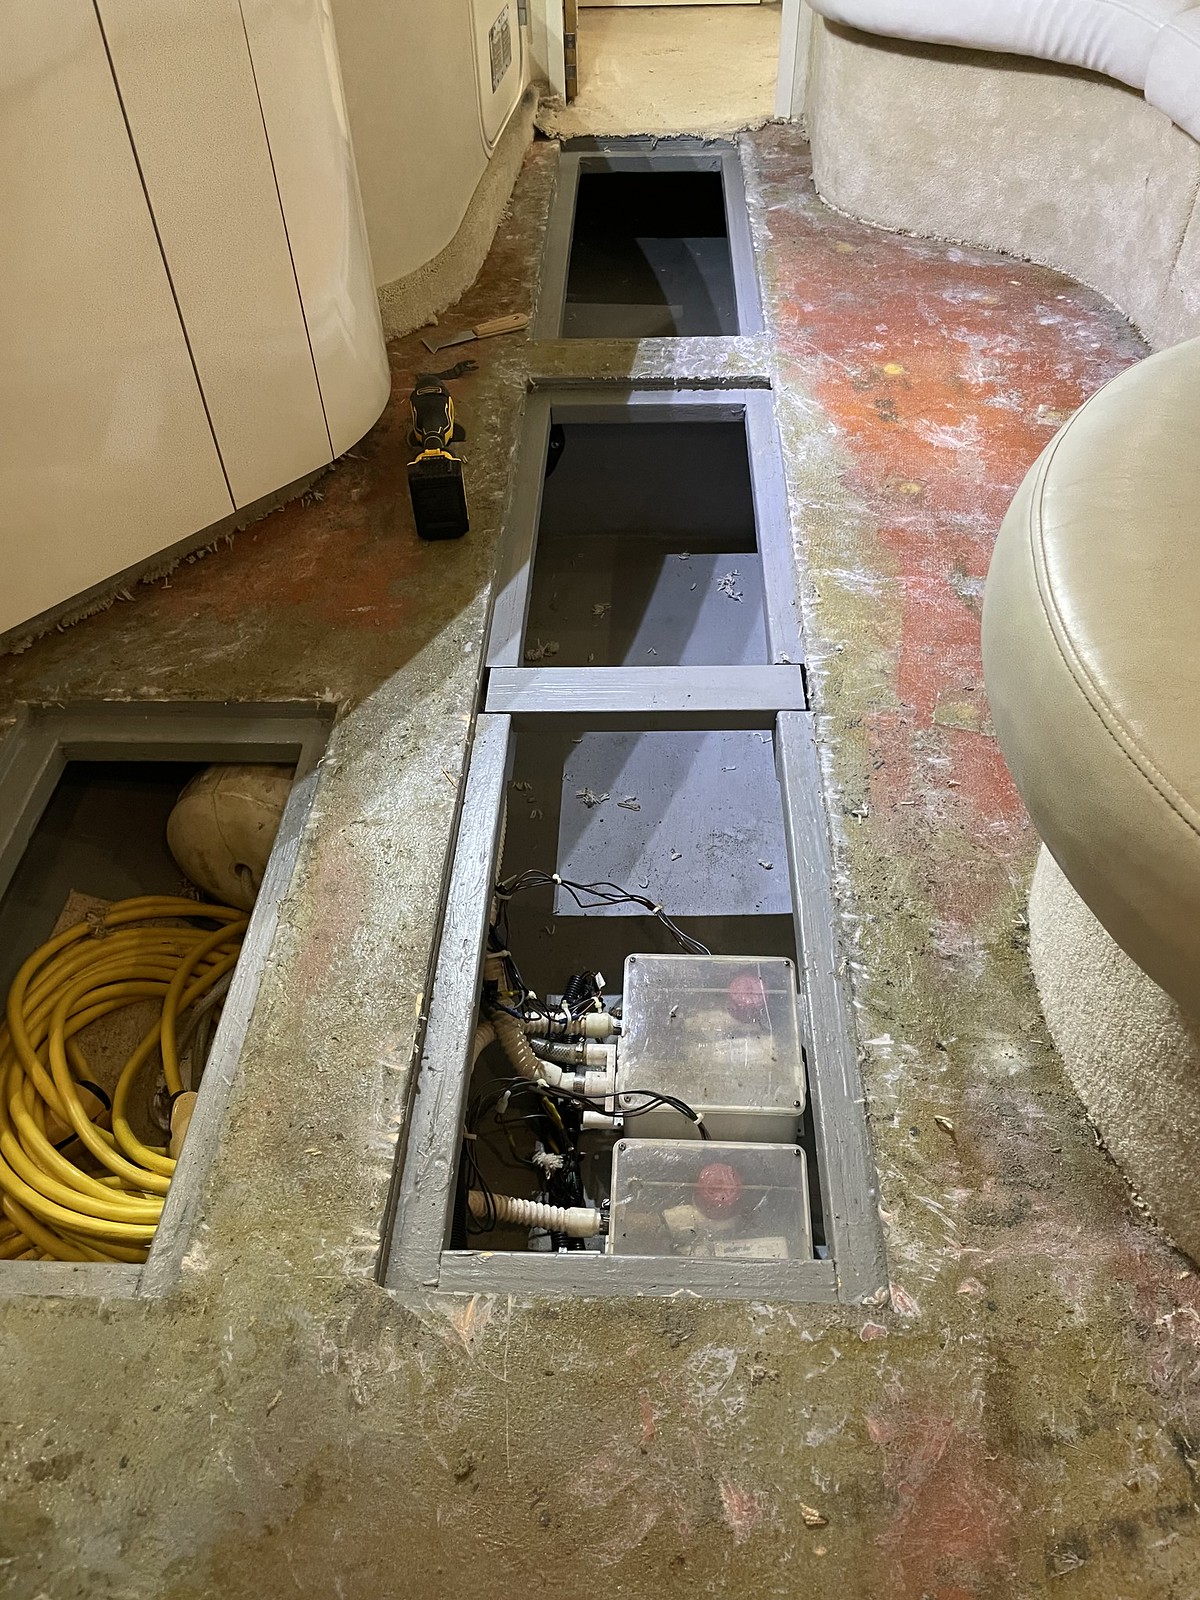
This seems like overkill for A/C condenser water pump. It goes from pump to a manifold then cheap hose to units. The hardwall stuff is in the engine room below the water line. Is there code on this?

if there is it’s probably some above/below waterline guidance. Is the manifold above the waterline? If it is and one of those blew, it shouldn’t sink the boat. The stuff below the waterline certainly could

I’ve always just replaced it with the modern equivalent (or better) of whatever the factory did. Overkill in some cases I’m sure but anytime I ventured away from that I question whether I saved a small amount of money to introduce risk
Thanks
$80- in the boating world is not significant but when i am wire tying the 8 stuff to pex it kinda seems wasteful
 
Whelp I'm all in on flooring replacement now. It's a bit of a gut-check moment when you take that first cut!

I got 80% of the carpet removed yesterday in about 3.5 hours of work. It went about as I expected based on some PM's I exchanged with @Strecker25 before starting. The oscillating tool he recommended seems to be an absolute necessity for this project. I don't know how anybody would survive this without.

Mine is not coming out in a single piece but the tool removes any leftovers quite easily. One more trip and I should have the carpet up and the hatches cleaned off.

Thanks again @Strecker25 for all the advice! The tools/blades you recommended are performing famously.

52615145318_df861b8008_h.jpg


52615145433_b9a821c358_h.jpg


52614146907_c3f05bd4f8_h.jpg


52614915889_6a7b0455e5_h.jpg


52614656341_f4a0946244_h.jpg

Wow, well done. Your floor looks to be in excellent shape, at least in the pics. Seeing this is tempting me to grab my Fein Oscillating tool, to do the same. Of course I had to buy one of the best oscillating tools a few years ago, which I have never used - I have a tool problem!
 
Whelp I'm all in on flooring replacement now. It's a bit of a gut-check moment when you take that first cut!

I got 80% of the carpet removed yesterday in about 3.5 hours of work. It went about as I expected based on some PM's I exchanged with @Strecker25 before starting. The oscillating tool he recommended seems to be an absolute necessity for this project. I don't know how anybody would survive this without.

Mine is not coming out in a single piece but the tool removes any leftovers quite easily. One more trip and I should have the carpet up and the hatches cleaned off.

Thanks again @Strecker25 for all the advice! The tools/blades you recommended are performing famously.

52615145318_df861b8008_h.jpg


52615145433_b9a821c358_h.jpg


52614146907_c3f05bd4f8_h.jpg


52614915889_6a7b0455e5_h.jpg


52614656341_f4a0946244_h.jpg

looking good!! The removal is the worst part, no doubt. Maybe your boat was a factory Monday boat and mine a Friday afternoon, we didn’t have as much glue down :)
 
Team, I am considering putting in a bow thruster, for any of those that had done it or have one installed any pictures of where the batteries are, cable routing, interior shots of the thruster installed etc. would be great! Thanks in advance.
 
Team, I am considering putting in a bow thruster, for any of those that had done it or have one installed any pictures of where the batteries are, cable routing, interior shots of the thruster installed etc. would be great! Thanks in advance.

I don’t have pics but I can grab some. Our battery is a 4D lead-acid and located in the furthest forward floor hatch right outside the forward head. The thruster is serviceable via the hatch in front of the forward stateroom, and the dedicated battery charger is mounted on the bulkhead in the middle floor compartment. I’d consider a lifepo for weight savings if I was installing now

ours is a vetus 12v electric unit, stock. It works great, especially with the new 6 blade prop
Thanks! All this helps!
 
Anybody have a source for this 2" female npt to 1 1/4" slip fit. Owe by the way that 2" is swivel type connector. I can Mcgyver something just wondering whats out there. Tried FP-no joy.
 

Attachments

  • drainfitting1923.jpg
    drainfitting1923.jpg
    164.8 KB · Views: 83
Anybody have a source for this 2" female npt to 1 1/4" slip fit. Owe by the way that 2" is swivel type connector. I can Mcgyver something just wondering whats out there. Tried FP-no joy.

Try defender. They’ve got some pretty random sink/drain fittings.
 
Anybody have a source for this 2" female npt to 1 1/4" slip fit. Owe by the way that 2" is swivel type connector. I can Mcgyver something just wondering whats out there. Tried FP-no joy.
I have had good luck with Amazon
 
I installed a Vetus 24v thruster in our 2001 410, and installed the AGM batteries and in the ER on a starboard shelf with stainless legs above the water heater. I located the battery charger close by on the port side to the hull. I wanted the batteries/charger in the ER as I didn't want to give up any of the in floor storage down below. I can't find any pics at the moment.

-Tom
 
The side shift with no doubt are easier to install, I just like the look of the factory install type better, I am also a bit fearfull of the unit hanging out in the open up front....
 
...and it just looks ridiculous! :cool:

I wouldn’t usually say much about a cosmetic thing but I have to agree, it looks outrageous on plane. I’d do a side shift for the stern in a heartbeat if I ever needed one though since you’d never see it
 
410 Electrical Gurus.

I have a both a cockpit and cabin fridge that are AC/DC. They will be using the new BD35 compressors.

On the AC side - are both fridges fed off the 15A Refrigerator/Freezer breaker on AC line 1 on the Main Panel?

On the DC side - are both fridges fed off of the 15A DC breaker on the DC panel? I'm not sure the DC power to the cockpit fridge was standard (as the might have been an AC only ice maker there originally).

The DC side is going to be more important as I'm now going to be trying to run 3 compressors on the DC side, each pulling around 4.2 running amps.

Trying to plan this out. Owners manual schematics, not very clear or detailed.
 

Forum statistics

Threads
113,171
Messages
1,427,825
Members
61,083
Latest member
wavespestcontrol
Back
Top