1989 340 DA Refit... Take a look

That's absolutely beautiful! Think I'm gonna try this with my engine hatch. I have that old plastic, fake teak decragaurd over plywood, and it's absolutely hideous. I think I'd use a 2 part epoxy adhesive, instead of the stuff at Lowe's to lay it out over the plywood hatch.
 
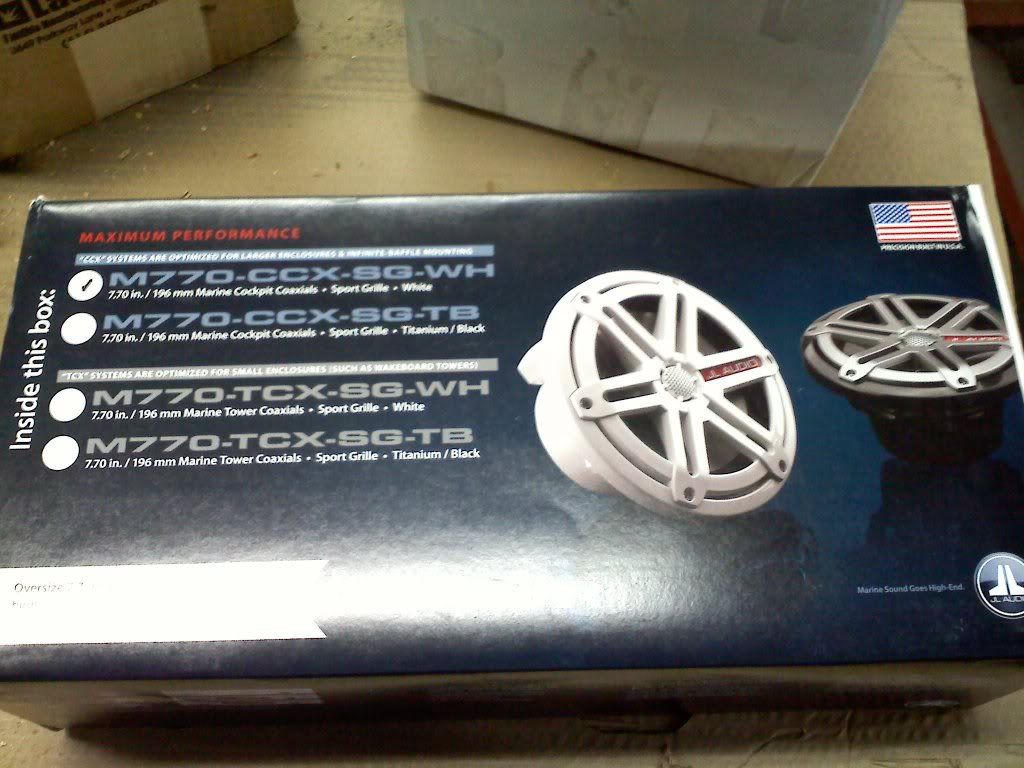
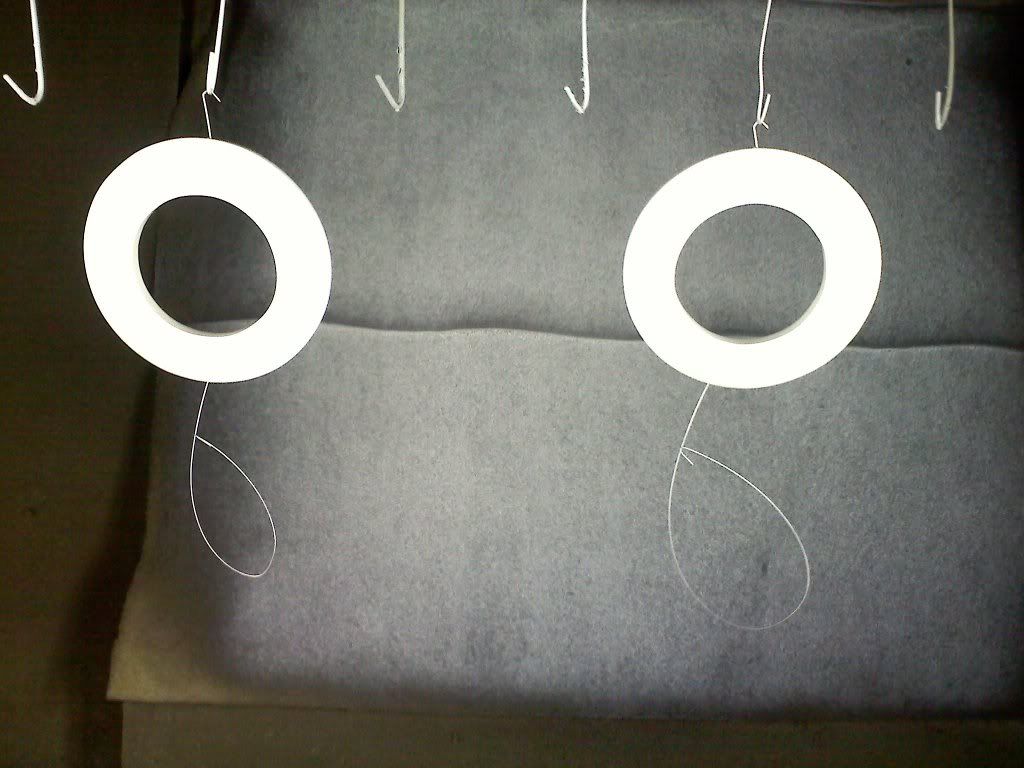
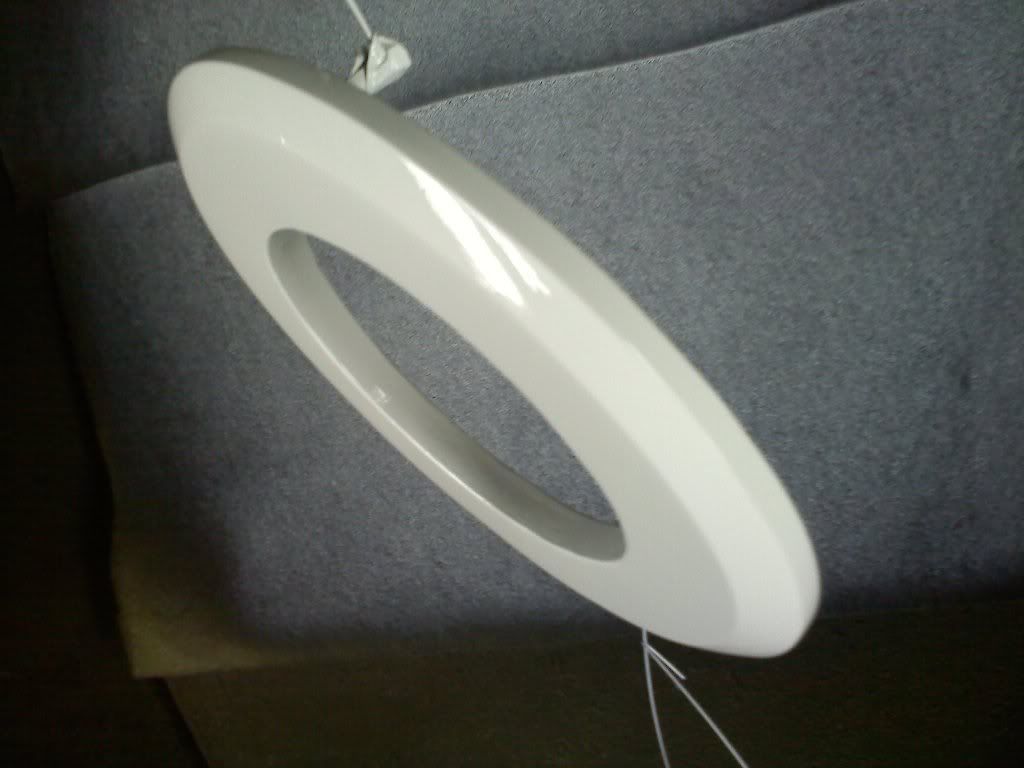
Hi guys, Been a little bit and wanted to update you on what I'm working on. I am upgrading my sound on the boat... step one, Thanks TO HIFI, is replacing the 6x9 Clarions with 7.7 JL's so here are my pieces to do them so far...

20111118113419.jpg

New Speakers ( thanks Hampton )

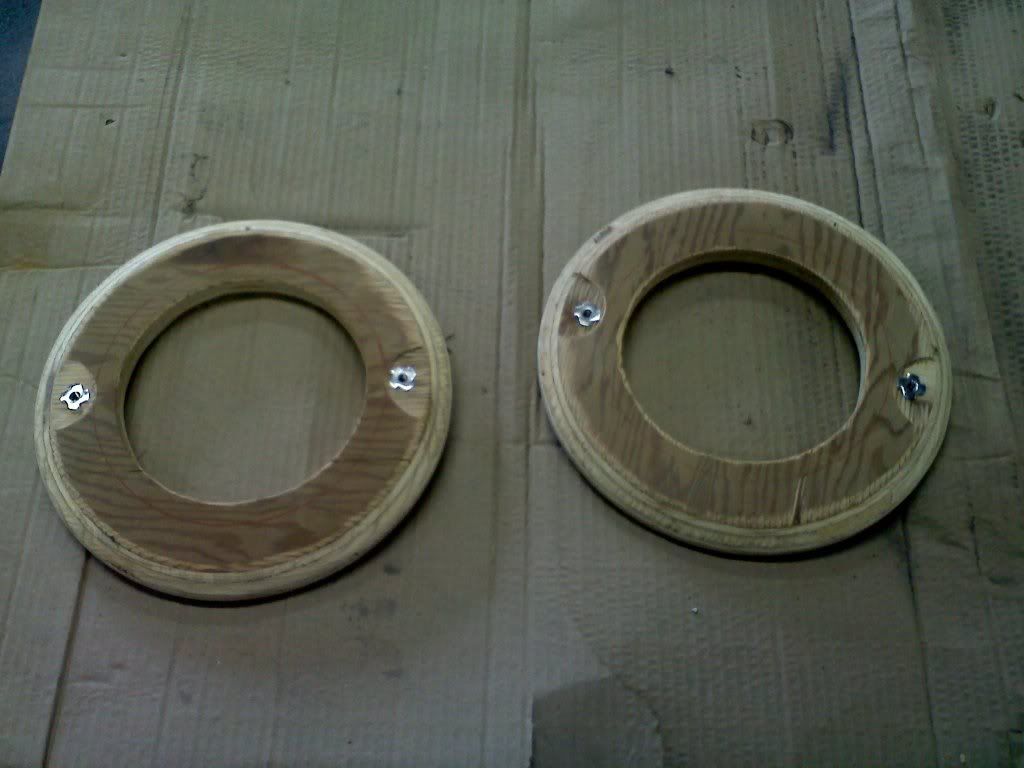
20111118101934.jpg


Rings cut out of 3/4 marine ply and T-nuts sunk into them for SS studs i'll make later


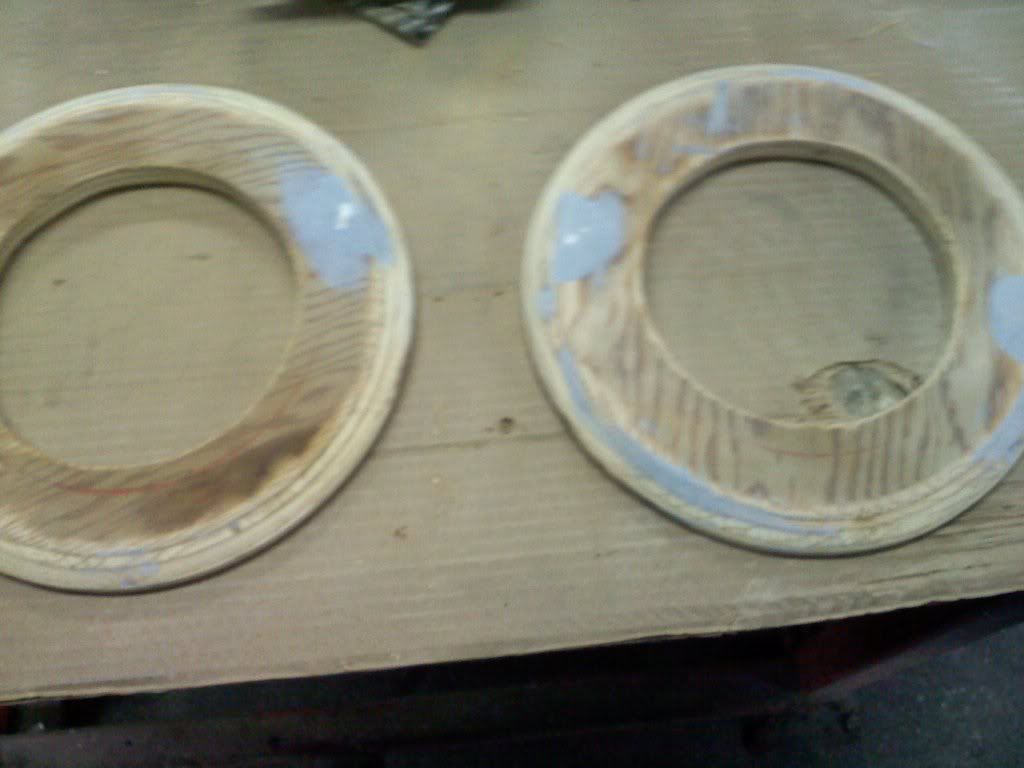
20111118130646.jpg

A Little body work

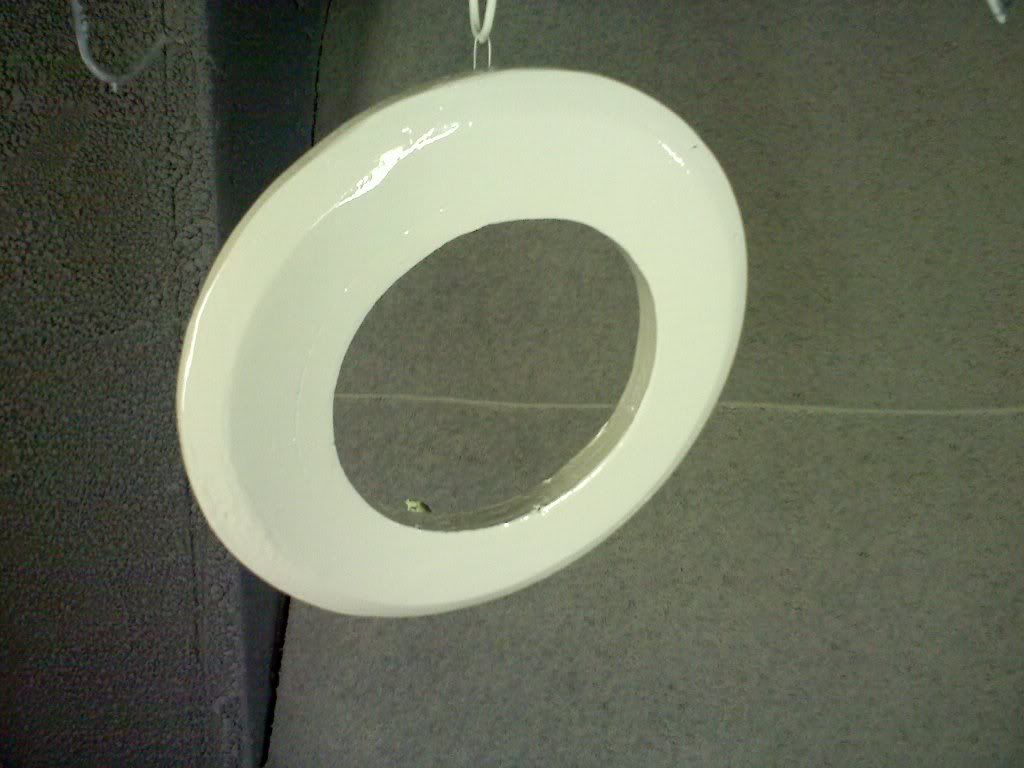
20111201084947.jpg

In the booth for sealer and primer

Hopefully i can get a some free time to sand them and re-shoot with more primer and paint to match the speakers I'll keep you guys posted on my progress and as always thanks for the great responses i get... It helps get through the winter...

Very nice !! Anxious to see the finished product.

Ken
 
They're WHITE!!!!

20111213143320.jpg


20111213143329.jpg


Another step closer... Hope everyone has a Merry Christmas!!!
 
Wow Jason!! I don't know why I haven't seen this thread sooner. That floor is absolutely beautiful! How does it hold up to sand etc? I'm guessing pretty good since you said that you had it for several years.
How do you find the time to complete that stuff? I have a list a mile long and that's just for my house. The boat list is 2 miles long!! LOL
Keep up the good work and please keep the photos coming! It's going to be a long winter!
 
Hey thanks Todd. The floors have held up great the only difference from the day I put them down is the color has darkend and become more rich looking... I love them because a swifer cloth or the central vac and you're good to go the sand is gone... it is hard to find the time that is for sure. I try to do it on my down time at work (don't tell anybody)....LoL...

Here they are with the speaker on them20111214090753.jpg:smt03820111214090820.jpg
 

Attachments

  • 20111214090800.jpg
    20111214090800.jpg
    82.3 KB · Views: 687
Last edited:
:thumbsup:Nice work there Jason, are you sure you don't do this for a living??
 
:thumbsup:Nice work there Jason, are you sure you don't do this for a living??

I love designing and building things... I'll try and gather some pics of my last project if you're interested... I rebuilt a 1964 cushman golfster... Its not my job yet but 3 more years and ill have my degree in engineering design and watch out... thanks for the kind words everyone...
 
Wow, very nice. I want to see them installed, as I'm sure you do, and everyone else does.
 
Flooring is not on the agenda for this year's projects. But that is a really nice job! I do have a question for you since I have been struggling with those stairs. Did you just place the wood over the original stars or did you make new ones? I have been able to get the lower tread off, and I can get the stairs to move up and down a couple of inches, but I cannot figure out how to left them out of the way so that I can get to my tank and the hoses.
 
James I had a hard time with the stairs as well. Be sure that the screws around the top step are all out the carpet hides them very well. Also the last step is a seperate piece that comes off. Under that is the sending unit for the water tank. I used the existing fiberglass stair mold and attatched the wood to that... just be sure to go around the outside edges of all the steps and it will come up and out... good luck let me know if I can help with any thing else... thanks for the comments on the floor I love it...
 
Hey guys,
Your boats look great! I have the express cruiser and have made similiar improvements. New headliner, allure wood floor, new bench seat in the cockpit, took off old pinstipes above rub rail and replaced the twin boot stripe with a solid black.
I will try to post some pics.
 
Hey guys,
Your boats look great! I have the express cruiser and have made similiar improvements. New headliner, allure wood floor, new bench seat in the cockpit, took off old pinstipes above rub rail and replaced the twin boot stripe with a solid black.
I will try to post some pics.

Maddy G please do... glad to have you on board. If you need help with pics try this...

http://clubsearay.com/showthread.php/48098-How-to-Post-pictures-on-CSR-using-PHOTOBUCKET!!!
 
Here's a write up of what I did Bryan! Let me know if I can be of more help...

Thanks for all of the great Moral Boosts guys... People have asked how I did my floor so I thought I would write up something maybe a little more detailed... so here it goes.

Once carpet was removed... and yes their are many threads on this forum abut this subject and it sucks... big time... I went over the entire surface with a sander and a grinder to get the big blobs of glue and carpet out... I roughed the entire floor surface...

I used Bella-wood Brazilian cherry flooring solid. I used solid because i was using 3/8" thick and expansion and contraction was not an issue to me... I did not want to use engineered flooring because i was worried about delamination of the different layers since it is not water proofed or treated. So i took my 3/8 and water proofed the back surface with Z-spar waterproofer. I completely laid out the floor before i glued any of it down. This way i had my pieces exactly where i wanted them then I sealed them on the three edges. Another reason i went with Bella-wood (like Bob Villa) is the 50 year guarantee that came with it. It took me two months of working Saturdays and Sundays from 8am to 5 or 6pm just to get the fit i wanted. I was not able to start earlier because my dock mates were not keen on having a lumber yard next door... I set up shop on the back deck with my table saw and my chop saw... I took my time and took small amounts out when i had to do angle cuts. Be aware that if you want to do your floor that on a boat everything tappers to the bow... you will have to compensate for this. I used a water proof adhesive i got from Lowe's to lay my flooring. It was very easy to use for the most part... clean up was easy using goof off. The only real problem is my buddy one night while sitting at the dinette was able to get the lid off of the bucket and dip his bare foot into the glue. I laughed till i cried because he had no idea what he had done just knew it was wet and cold and the look on his face was priceless... man was that a mess. I am very pleased with the outcome and its nice having the nose molding and the floor match perfectly. It was a PITA but i love it now... I did this 4 years ago and it looks even richer now then it did as the cherry has darkened some. Nothing has changed or shifted and the surface does hold up very well... I will post the links to all of the materials i used and i hope that this helps anyone wanting to try this on their own. Good luck guys and happy boating
:smt038

Wood I used
http://www.lumberliquidators.com/catalog/product.jsp?productId=1547

Sealer i used
http://www.jamestowndistributors.com/userportal/product.do?part=10291&BASE

The adhesive i used
http://www.lowes.com/ProductDisplay...gId=10051&cmRelshp=req&rel=nofollow&cId=PDIO1
 
Last edited:
Jason, thanks for the update. I finished getting the glue off the ceiling today. Tomorrow, I am going down to clean up the mess I made, then go after the water leak from the galley faucet or the line that runs to it. lets see where I have to trace back to. Thanks for the update. I might poke around the stairs to see if I can find the hidden screws.
 

Forum statistics

Threads
113,197
Messages
1,428,328
Members
61,103
Latest member
Navymustng
Back
Top