1989 340 DA Refit... Take a look

Pyrojodge

Well-Known Member
TECHNICAL Contributor
May 1, 2011
4,248
Lake Erie Ohio
Boat Info
1989 Sea Ray 340 DA
Engines
twin 454 Mercs
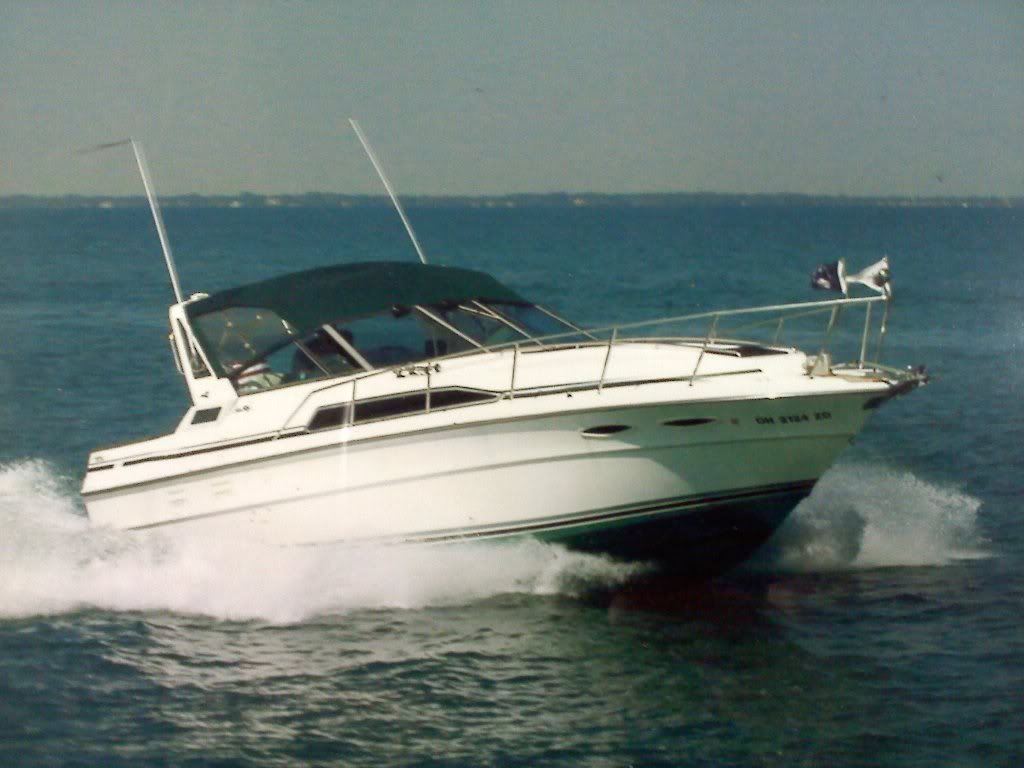
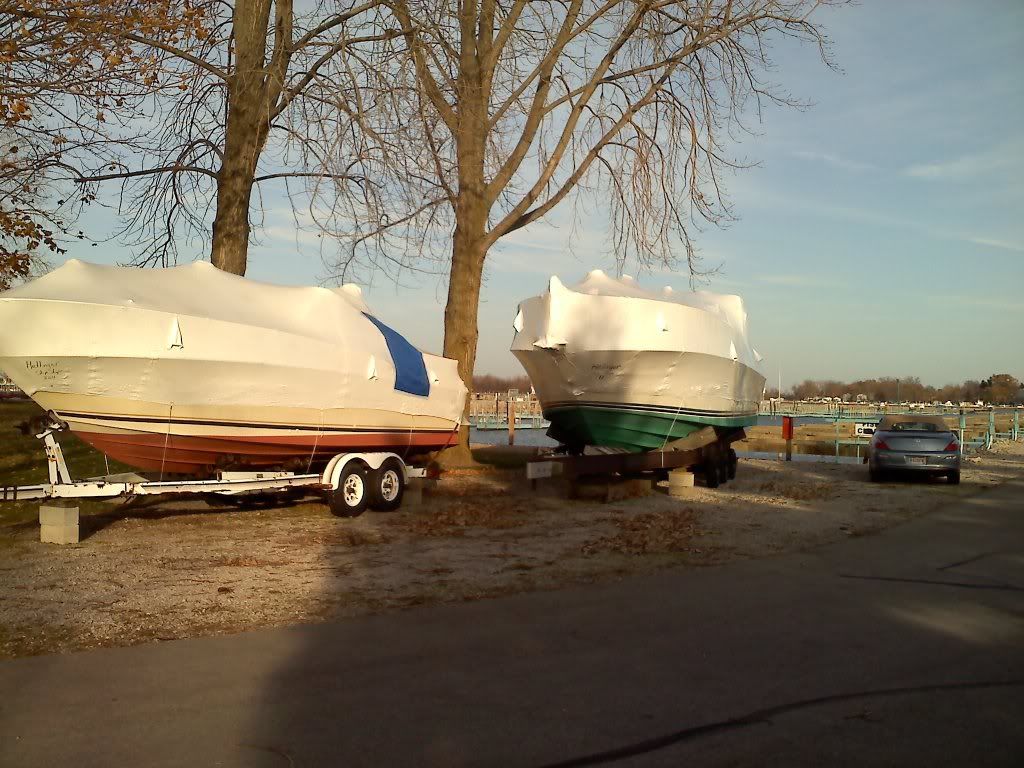
Hey guys, I wanted to start a dedicated post to my progress on my Sea Ray. I have owned the boat going on 7 years and have loved every-second of it. I got the boat at a reasonable price and it is very strong and mechanically sound. Please feel free to give out ideas for me. Thanks for looking...


20110813123931-Copy-1.jpg

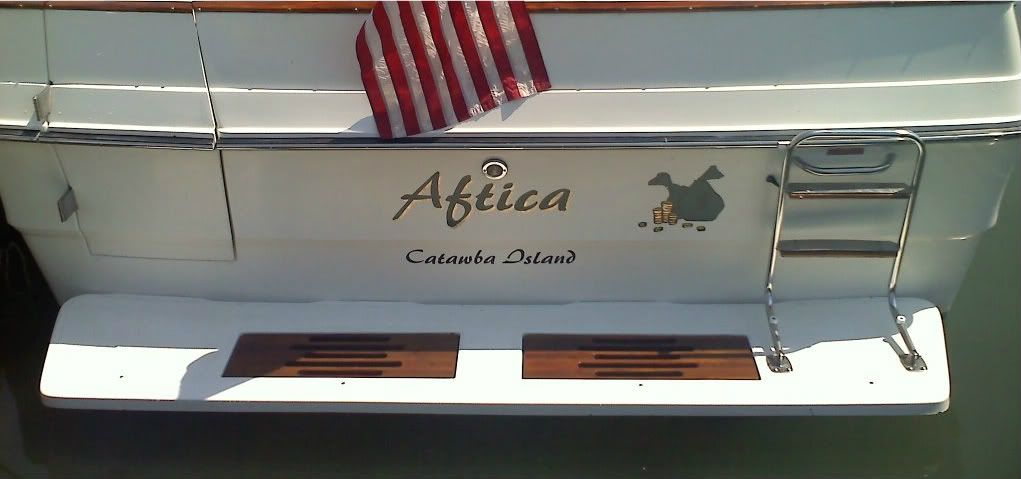
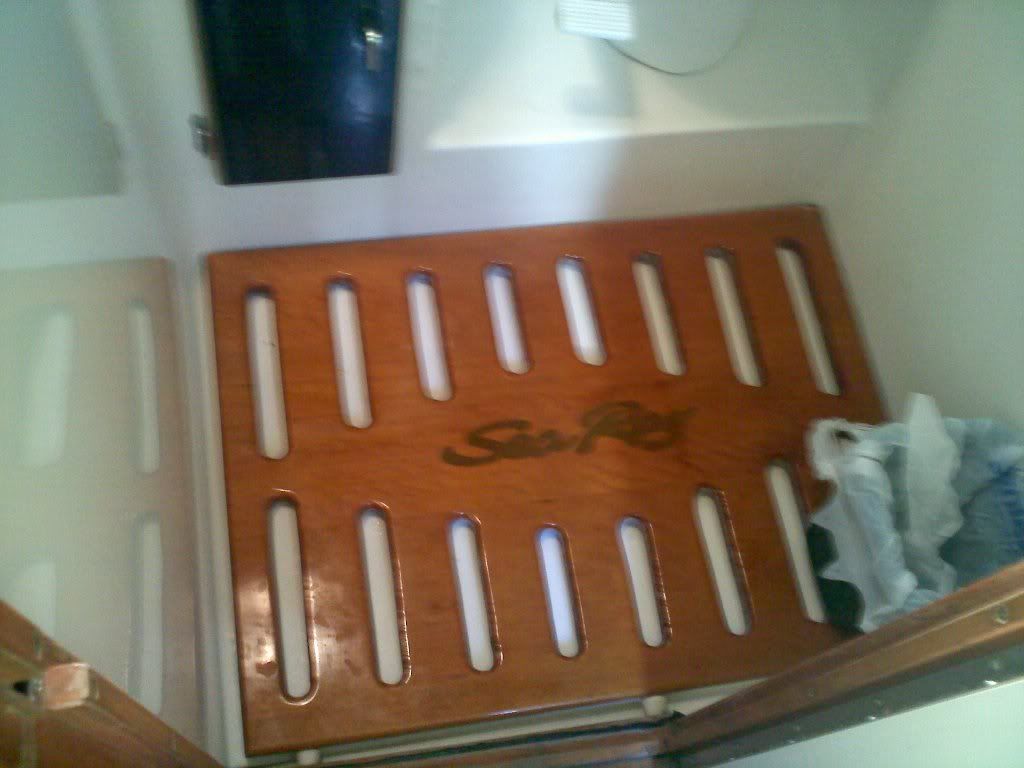
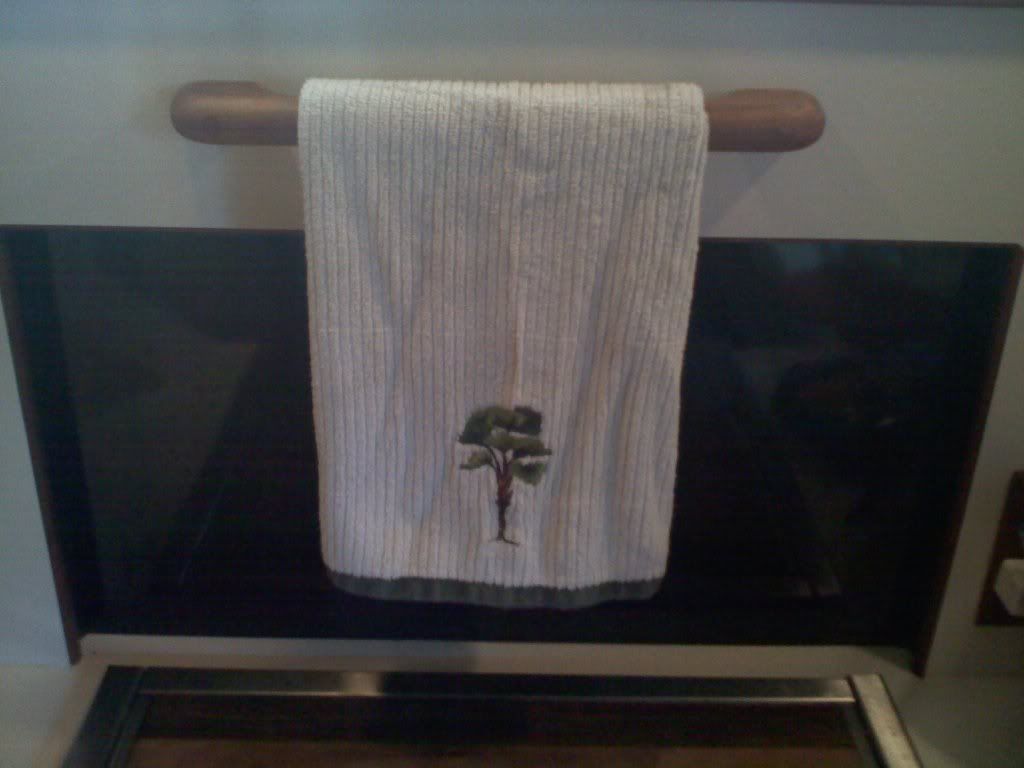
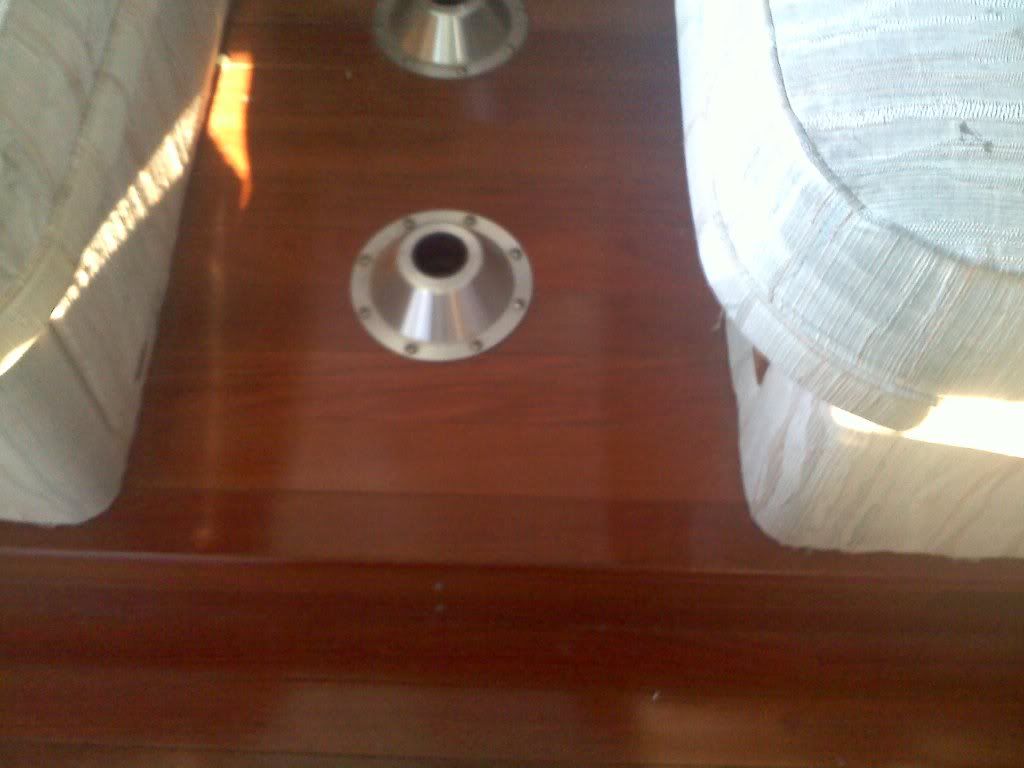
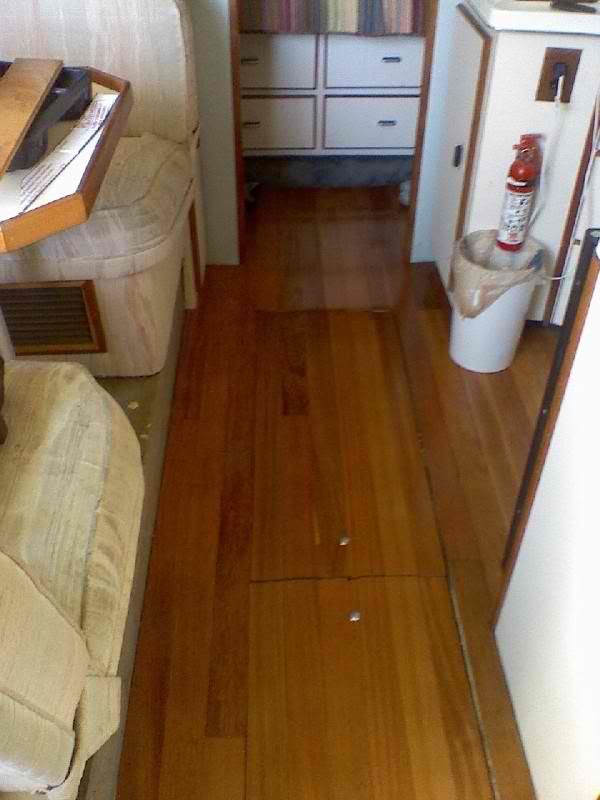
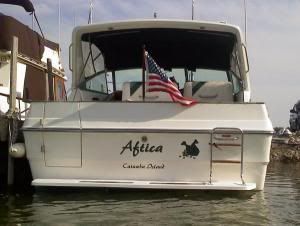
I named my baby and have overhauled the teak.

l_f94315527e024efbbf91ca0a599e33f2.jpg


20110813174244-Copy.jpg

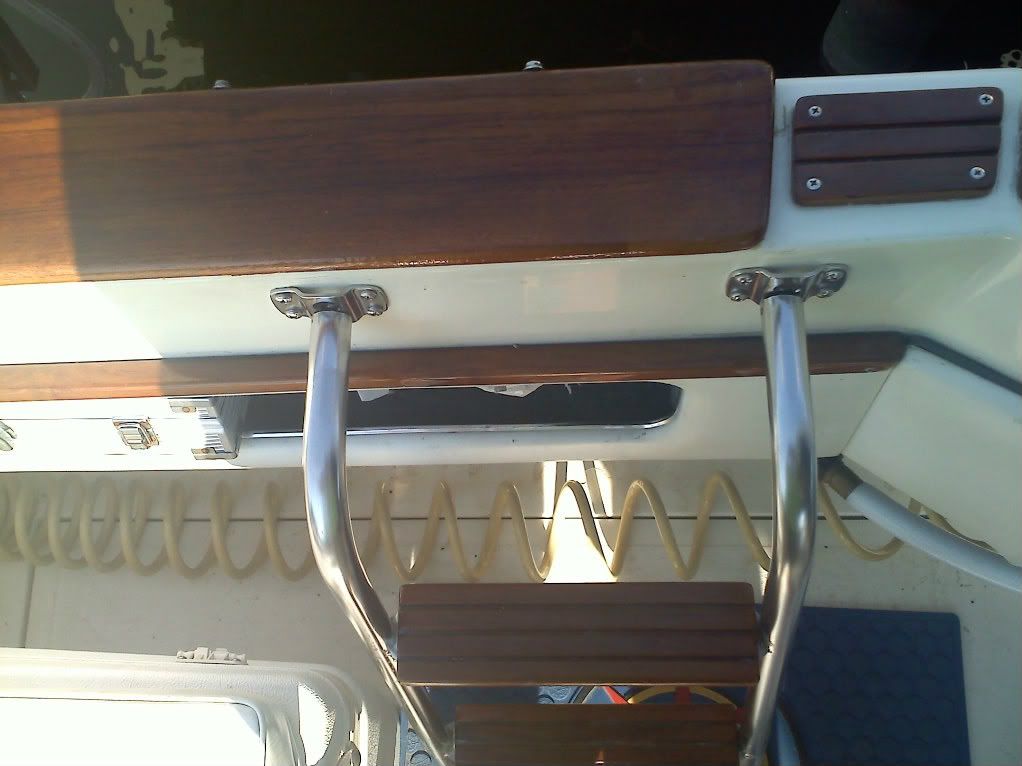
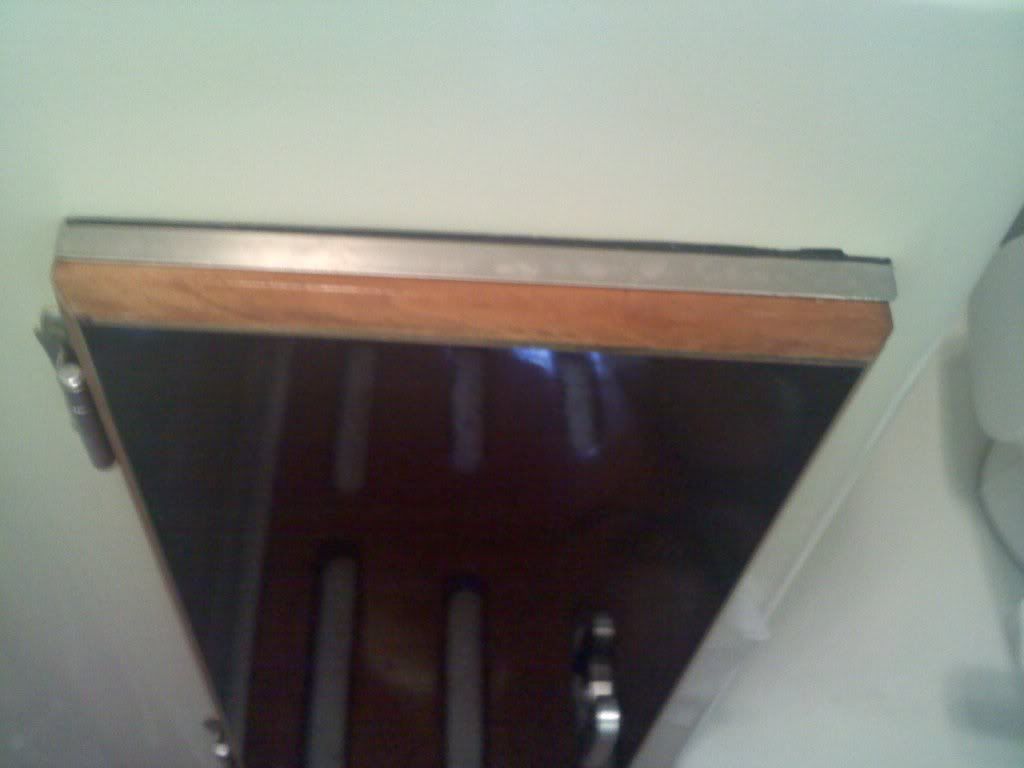
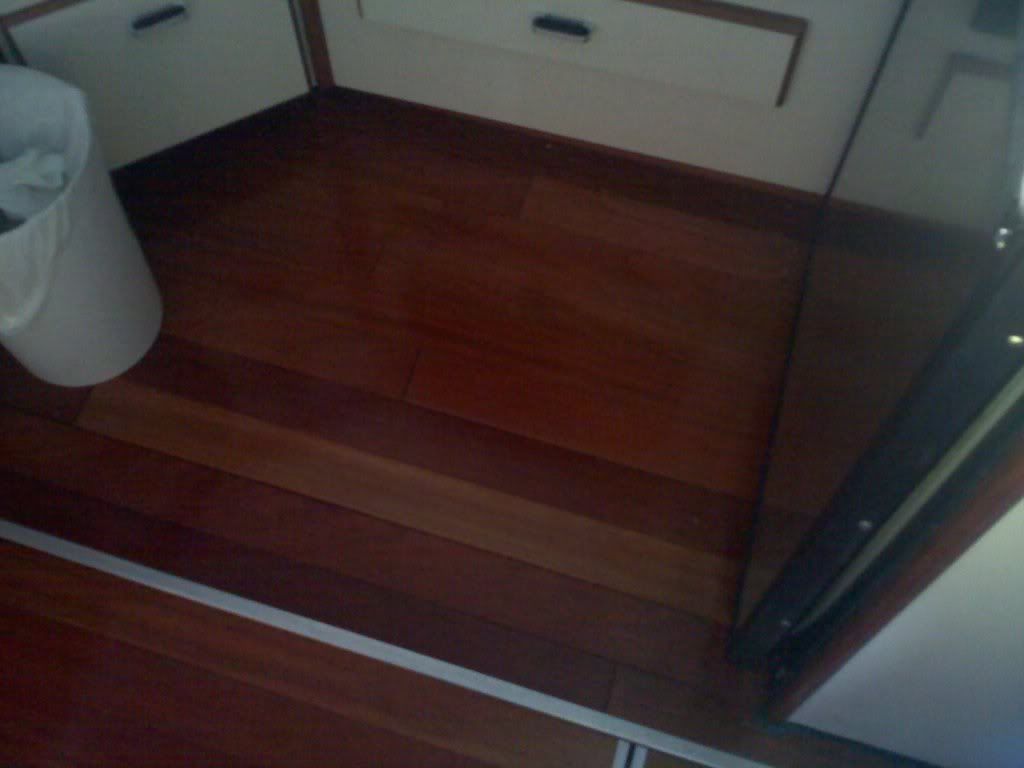
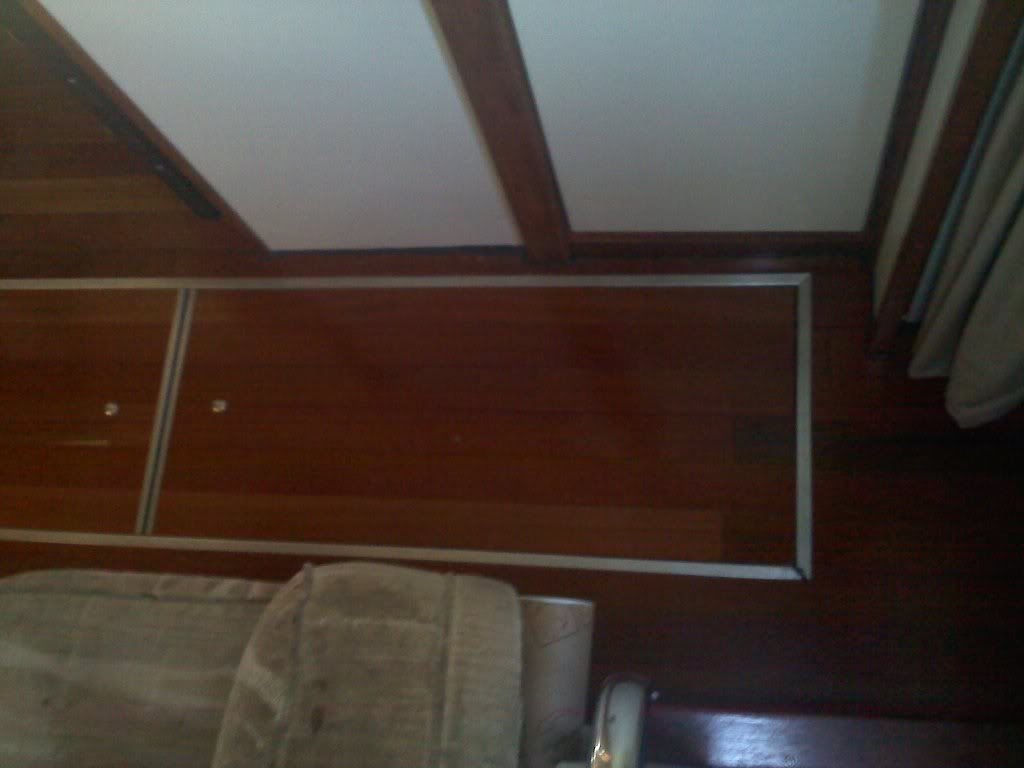
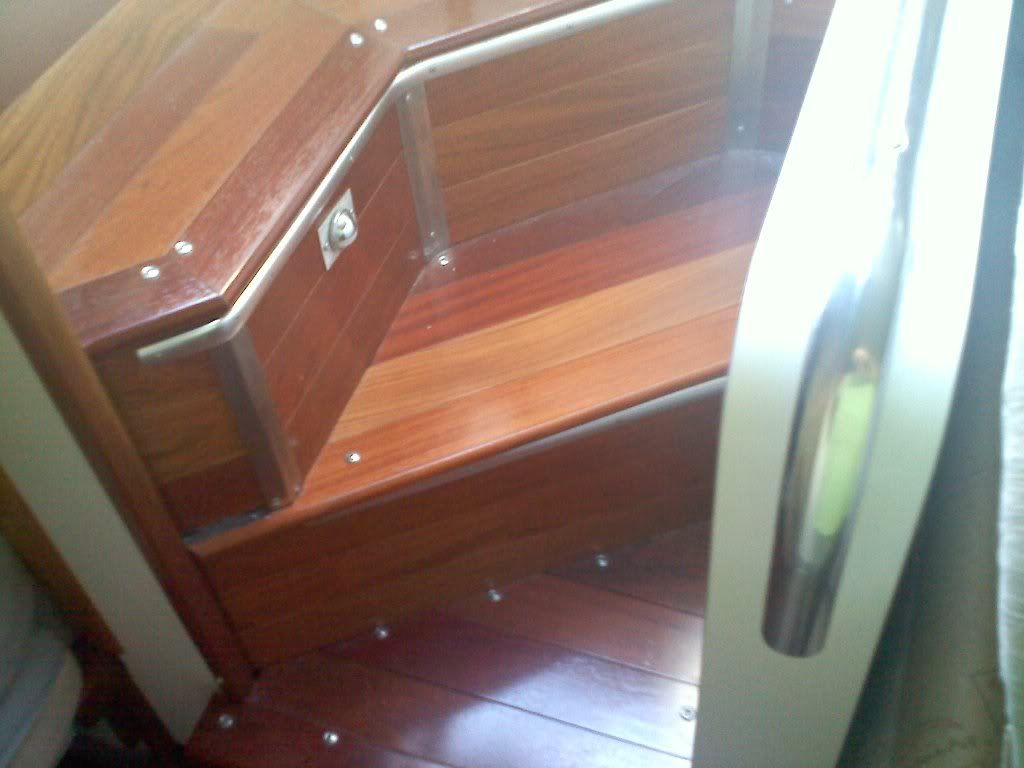
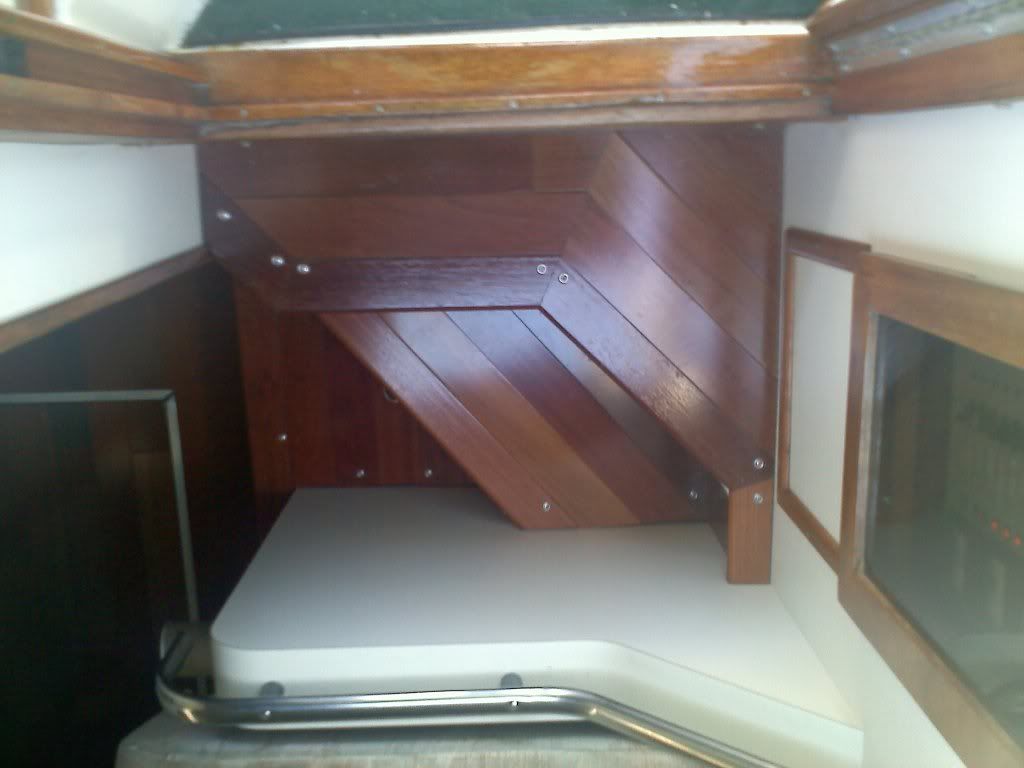
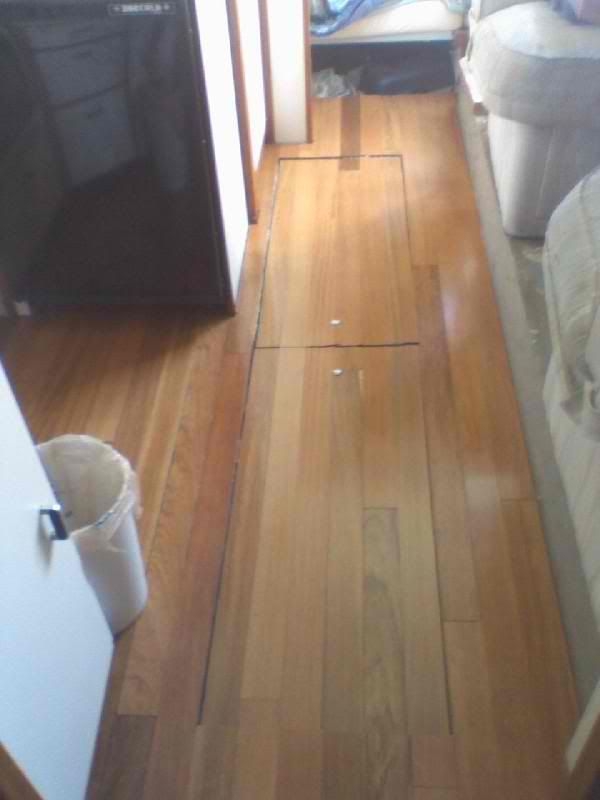
more of the wood work

20110813174322-Copy.jpg

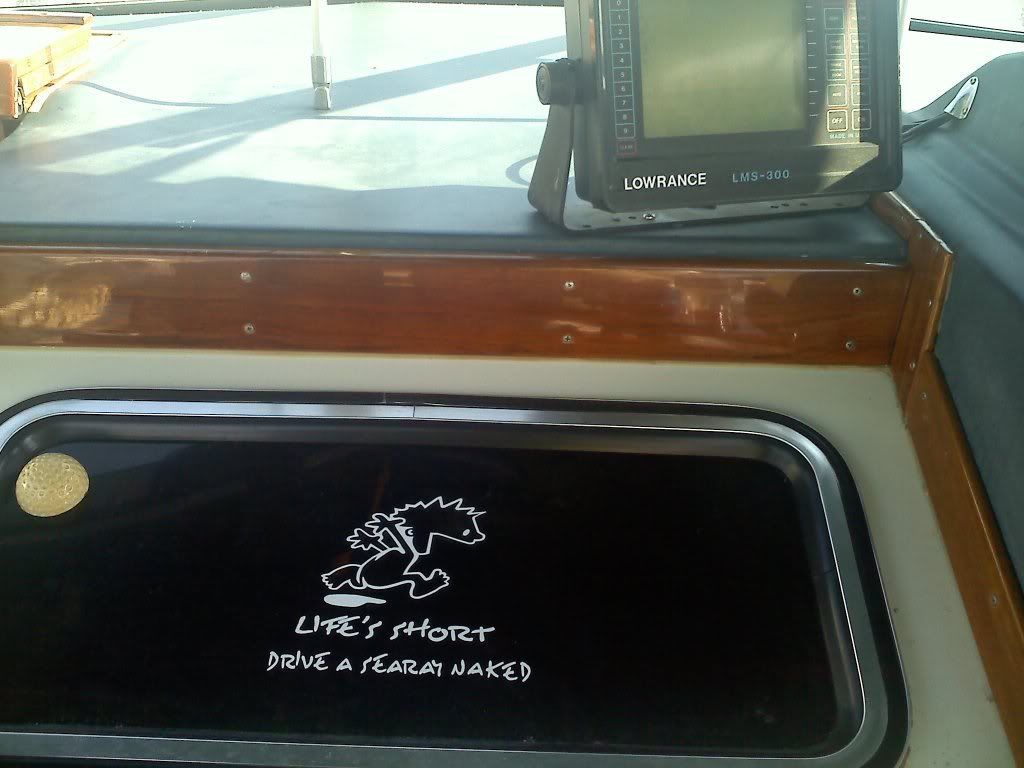
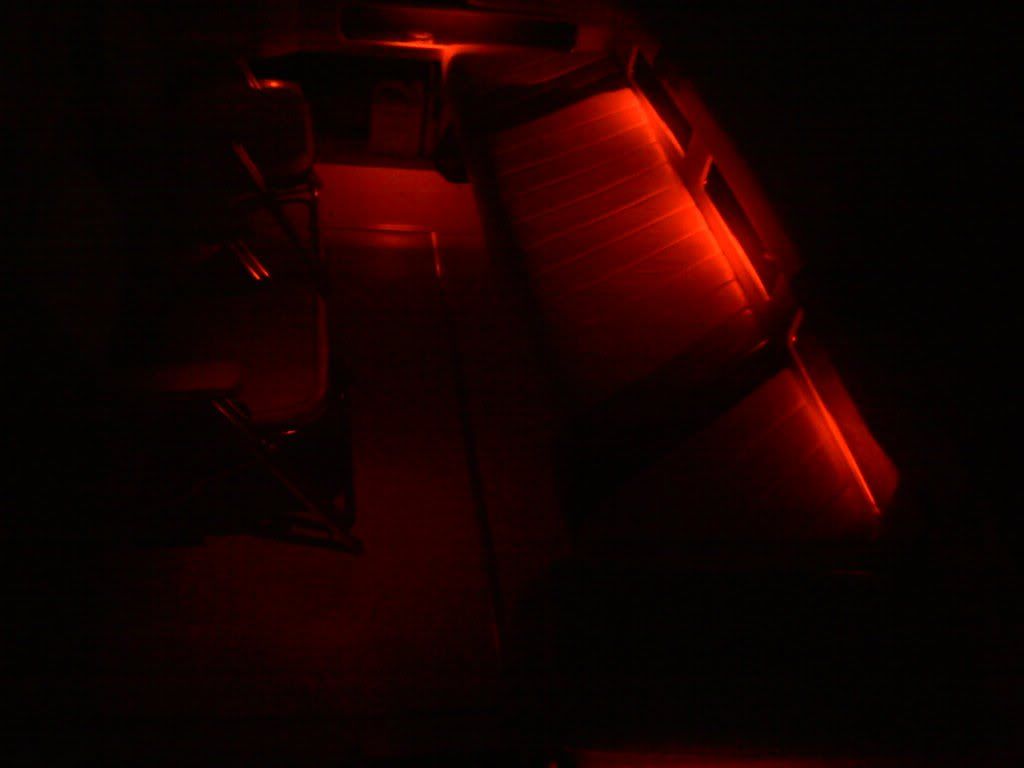
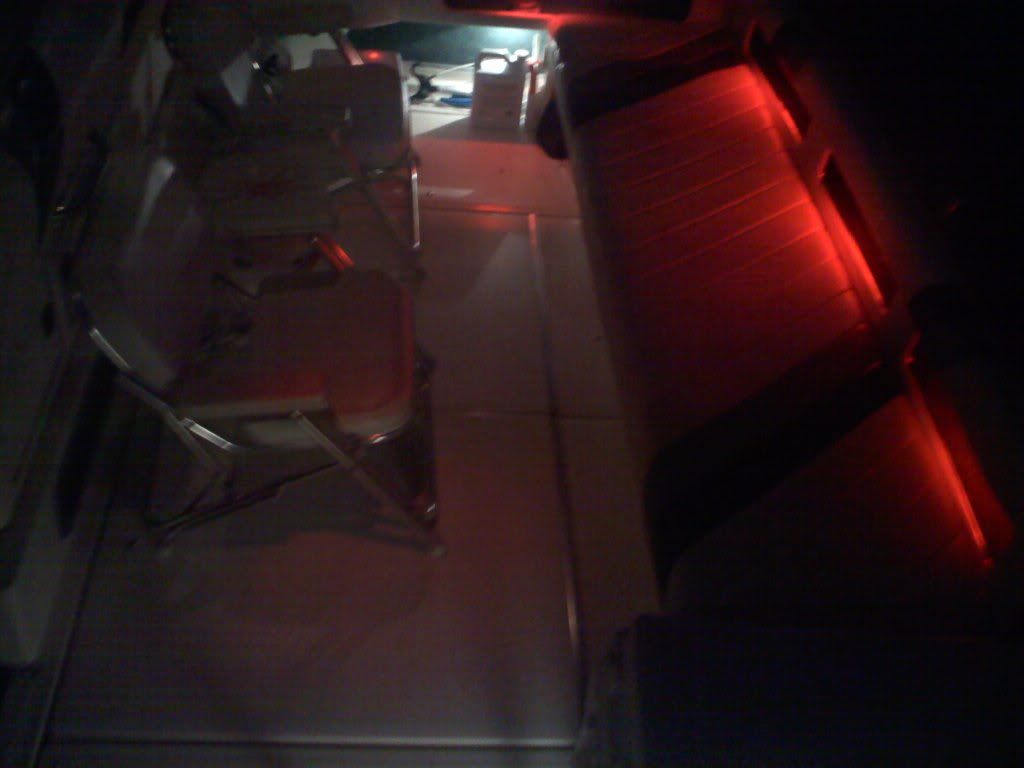
Dash and My decal...

OK i will try and load some other pics later I'll see how this goes... Thanks guys...:thumbsup:
 
Few more pictures...

20110814084547.jpg

New privacy curtains

20110813174637.jpg

New vacuflush head

20110813174624.jpg

A Little Head Bling

20110813174647.jpg

Wet TP fix Nice piece of satin blend SS

20110812113328-Copy.jpg

Actually using the boat....
 
Jason

Very nice !!
I particularly like the floor insert in the head. Did you make that and if so how did you incorporate the Sea Ray logo.

Have you updated the cushion coverings etc in your forward berth ? We have started on ours but are having trouble deciding on what type of covering to use.

Well done .
Ken
 
Ken, the grate is american cherry with mahogany inlay... took some time to get it right. I have completely redone the forward bunk. I went to a local matress manufacturer and wes able to pick out and design exactly what I wanted. Now my gf and I both like staying on the boat better then at home... you may want to try. Boatbeds.com several ppl on CSR have had great things to say about them...

Thanks for your kind words guys more to come!!!

Jason
You certainly have talent and I look forward to more pics. Thanks for the tip on bedding. I will be sure to check it out.
Ken
 
Ok got some time tought i'd share some more upgrades...

20110814084700.jpg

Need a towl holder

20110813174455.jpg

Cherry floors

20110813174347-Copy.jpg


20110813174556.jpg


20110813174607.jpg

steps took some time!!!

Thanks for all of the great words so far!!! Thats why i love CSR :thumbsup:
 
More pics of the floor please! That is some very nice craftsmanship on the stairs. Great job keep the pics coming. Also, give us details on how you did the cabin floor and what materials you used.
Thanks
 
More pics of the floor please! That is some very nice craftsmanship on the stairs. Great job keep the pics coming. Also, give us details on how you did the cabin floor and what materials you used.
Thanks

Thanks Scorpio, I will see what I have on the computer for more pics... I used 3/8 Brazilian cherry. Solid wood which I sealed with Z-spar wood sealer and laid with epoxy adhesive. The stairs are instaled with SS screws because my water pump and tank sending unit are under them. That way if need be I can take them out and work underneath... more pictures to come soon... thanks guys...
 
I think i found some more pictures of the floor...

20110813174405.jpg


20110813174337-Copy.jpg


b4trim.jpg


asdf.jpg


I can get some pictures of how i did the front as well but you'll have to wait a little bit cause it looks like this now...
20111112155219.jpg
 
Wow, what a difference that hardwood makes! Very, very nice!
 
Jason

What a wonderful job you are doing !!

Keep up the good work.
Ken
 
Hey guys thanks... I still have a lot to do. I put in a 19" dvd lcd tv... and made my own mount. Forgot to get pictures of that one... working on a new dash and bangin stereo system over the winter... I'll share some more pics when I can. Again thanks for the kind words...

Ps: I have had a blast with my name! :thumbsup::thumbsup::thumbsup:
 
I have the same boat...now, what did you do for the flooring? If you don't mind me asking. I just did the teak on one side I will include pictures. This a teak shine war....LOL

Flooring looks good. I was going to redo the carpet. You got me thinking now after I see that.
 
Thanks for all of the great Moral Boosts guys... People have asked how I did my floor so I thought I would write up something maybe a little more detailed... so here it goes.

Once carpet was removed... and yes their are many threads on this forum abut this subject and it sucks... big time... I went over the entire surface with a sander and a grinder to get the big blobs of glue and carpet out... I roughed the entire floor surface...

I used Bella-wood Brazilian cherry flooring solid. I used solid because i was using 3/8" thick and expansion and contraction was not an issue to me... I did not want to use engineered flooring because i was worried about delamination of the different layers since it is not water proofed or treated. So i took my 3/8 and water proofed the back surface with Z-spar waterproofer. I completely laid out the floor before i glued any of it down. This way i had my pieces exactly where i wanted them then I sealed them on the three edges. Another reason i went with Bella-wood (like Bob Villa) is the 50 year guarantee that came with it. It took me two months of working Saturdays and Sundays from 8am to 5 or 6pm just to get the fit i wanted. I was not able to start earlier because my dock mates were not keen on having a lumber yard next door... I set up shop on the back deck with my table saw and my chop saw... I took my time and took small amounts out when i had to do angle cuts. Be aware that if you want to do your floor that on a boat everything tappers to the bow... you will have to compensate for this. I used a water proof adhesive i got from Lowe's to lay my flooring. It was very easy to use for the most part... clean up was easy using goof off. The only real problem is my buddy one night while sitting at the dinette was able to get the lid off of the bucket and dip his bare foot into the glue. I laughed till i cried because he had no idea what he had done just knew it was wet and cold and the look on his face was priceless... man was that a mess. I am very pleased with the outcome and its nice having the nose molding and the floor match perfectly. It was a PITA but i love it now... I did this 4 years ago and it looks even richer now then it did as the cherry has darkened some. Nothing has changed or shifted and the surface does hold up very well... I will post the links to all of the materials i used and i hope that this helps anyone wanting to try this on their own. Good luck guys and happy boating
:smt038

Wood i used
http://www.lumberliquidators.com/catalog/product.jsp?productId=1547

Sealer i used
http://www.jamestowndistributors.com/userportal/product.do?part=10291&BASE

The adhesive i used
http://www.lowes.com/ProductDisplay...gId=10051&cmRelshp=req&rel=nofollow&cId=PDIO1
 
I dug out a few more pictures for you guys...

20110812211925-Copy.jpg


20110812213419-Copy.jpg

original Perco light tweaked just a bit

20110812212024-Copy.jpg

Still have my whites
 
Hey Jason,

Nice work!!!

I can't tell from the shrink wrapped state what marina you are at? Are you in West Harbor?
 

Forum statistics

Threads
113,100
Messages
1,425,929
Members
61,018
Latest member
IslandGirls1020
Back
Top