Transom Rot or Not?

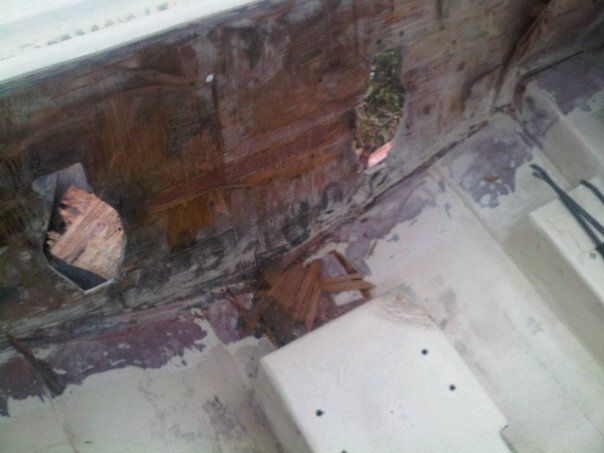
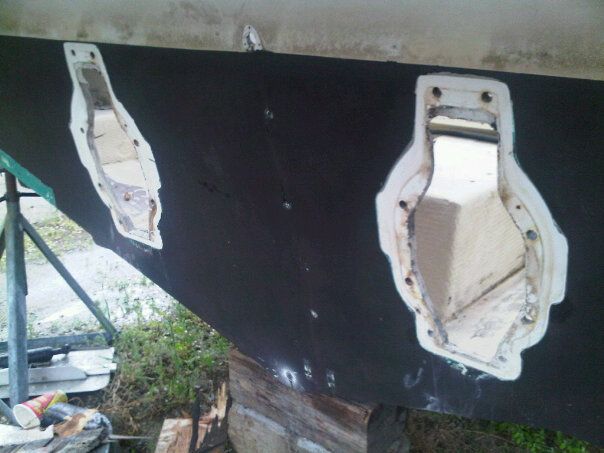
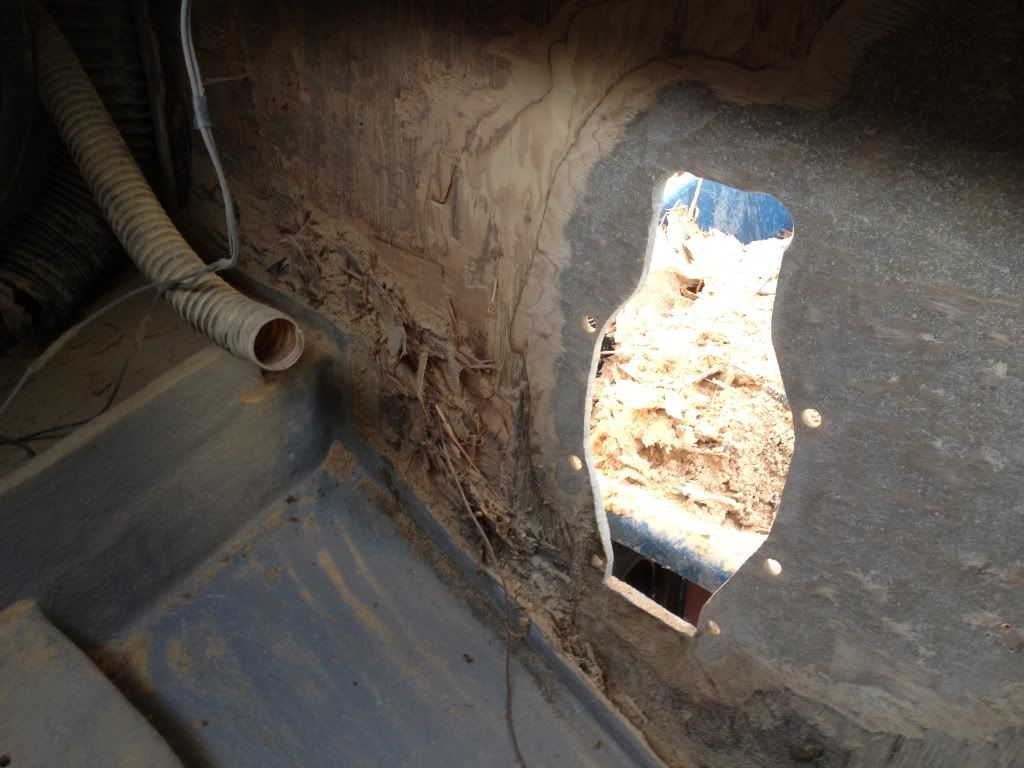
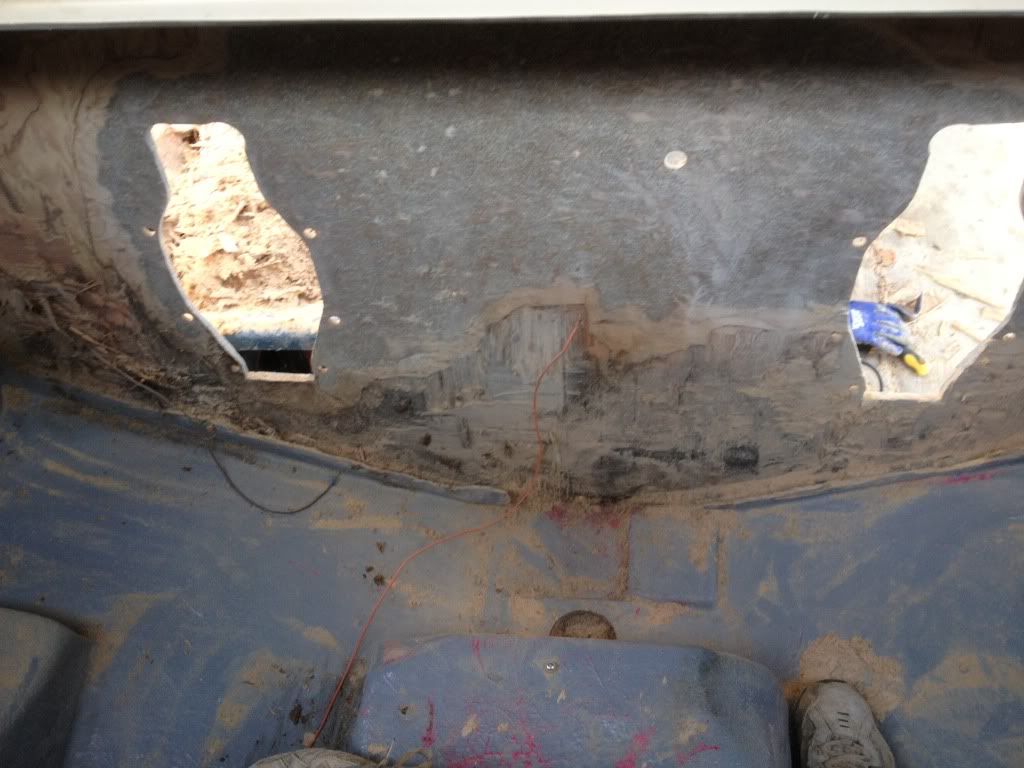
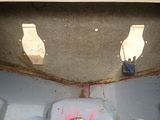
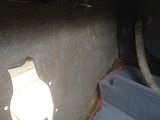
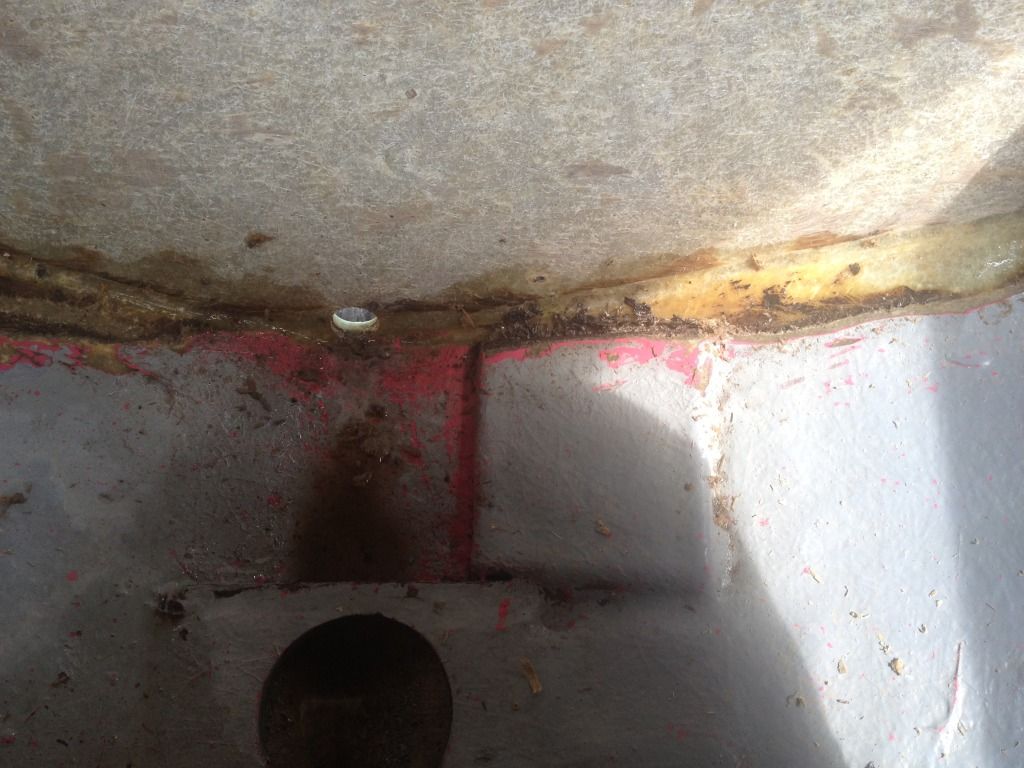
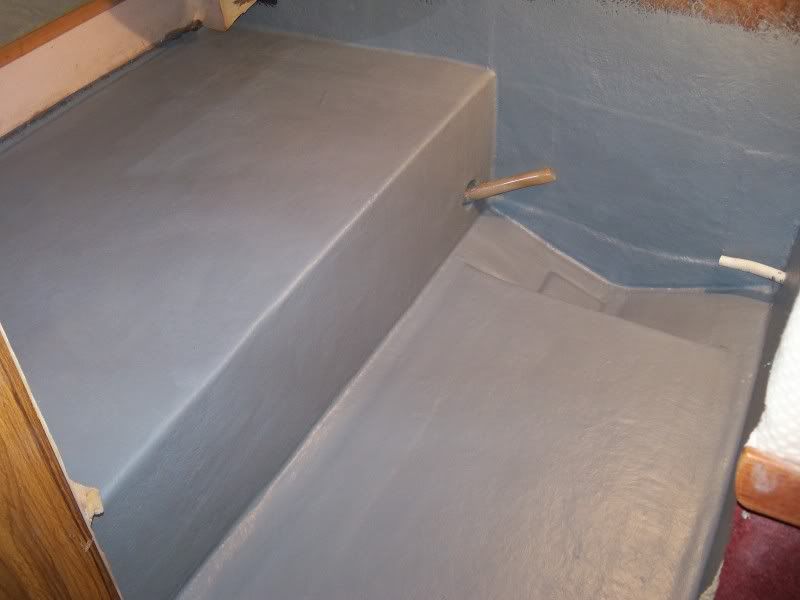
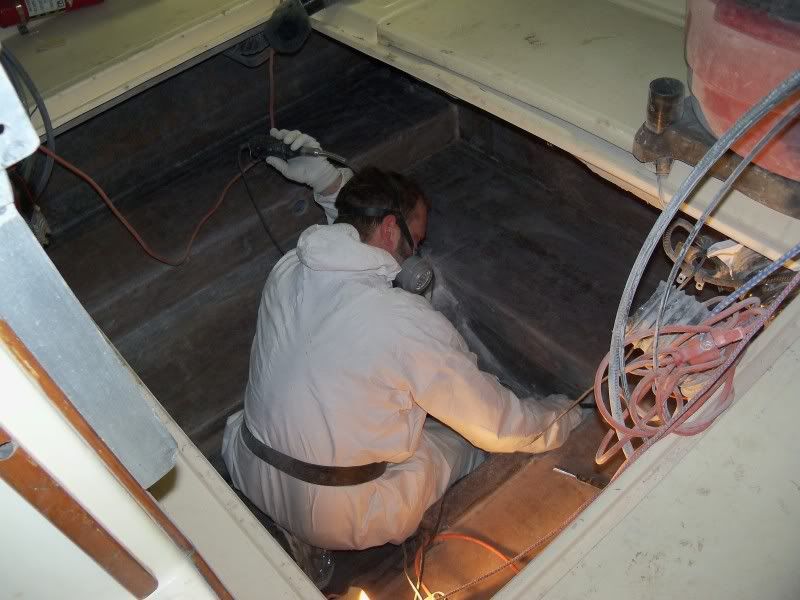
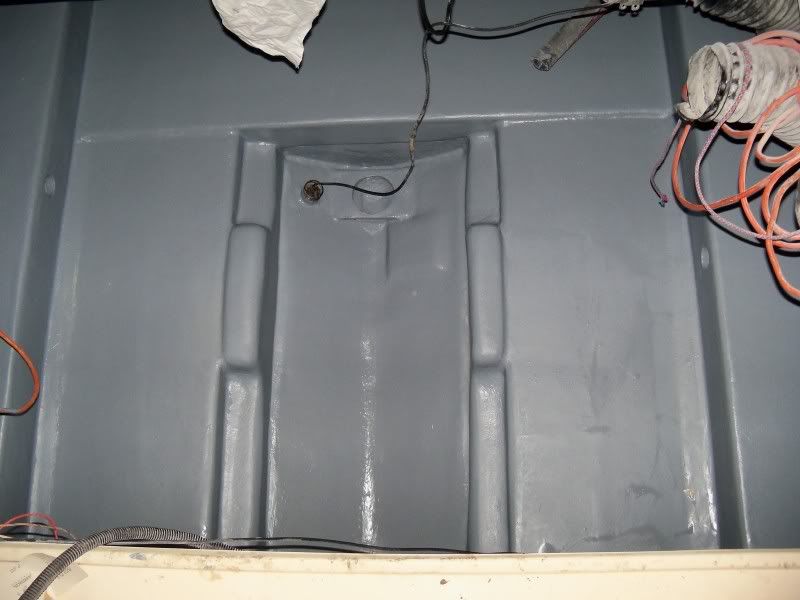
Thanks KC_Sundancer! I measured the existing thickness and it seems the existing transom was made up of two 1" pieces of plywood. Also, I am replacing the OMC 4.3s with Mercs 4.3s. New to me transom assembilies and motor mounts. The Mercs mounts are much larger than the OMC mounts.
 
Sounds like that will be a great package when done- can't wait to watch the progress.
 
All,

Well, I didn't get all that I wanted done this week. I did start sanding a little to see how what a job it will be. The next step is to start on the side stringers. I'm a little nervious about cuting into them and finding rot. I hope to cut around the transom and stringer joints to see if the stringers are still solid.


5734386693084888994
 
Hey KC....use Photobucket to store your photos. Then one there simply mouse over a pic and copy the "img" file. Paste it here and the pic will insert.

I've put a couple of pics of my transom rebuild on our Thompson. Whoever buys this boat is getting a great deal!

Transomrebuild2.jpg


Transomrebuild1a.jpg


Transomrebuild3.jpg


Sent from my iPad using Tapatalk HD
 
Thanks for the photo tip - I'm sure others can use it.
I put photos on the server of our personal website http://midwestconnection.com then "insert image" / "from url" and uncheck "retrieve remote file and reference locally".

Two transom replacements being done right now?
 
Hi KC...no, we're not getting it done. Those pics are from our Thompson Santa Cruz which was redone 2 years ago. Messy job...it's up for sale now as we just bought a 95 370


Sent from my iPad using Tapatalk HD
 
All,

I'm just about done cleaning up the transom. I spent today getting the last layer of old plywood off the transom. I just have two small sections near the stringers to clear next. It started to rain so I was not able to grab any pics today.


I hope to start making the replace pattern this week and grab some pics as well. It is coming along, but it is messy and slow... The foam near the stringers and under the original transom was dry. I'm planning to leave the stringers as is and just replace the transom itself. Every thing else looks solid and dry.

But that is what I said about the transom before digging into it... :-(

James
 
All,

I have the transom completely cut out and sanded. I left the stringers as is, but now fear they are water logged as well. I also pulled up one of the battery trays and located the previous foam fill hole on the riser cross member directly in front of the fuel tank. I pulled the plug and can tell the foam is wet, but the plywood appears to be solid.

The right thing to do is to remote the fuel tank and dig into the stringers. Cut them out and replace everything. Man, this is turning out to be a much bigger job than I wanted to tackle. The thing that most concerns me if I start on the stringers and cut them out all the up to the cabin... Will I need to replace the stringers all the way to the bow or should I be able to chip away at it and hopefully just sister in the new stringers to the existing.

Also, I'm really worried about having to replace the motor mounts. This is getting crazy and I was hoping to be in the water by June. Grrrrr!

James

th_IMG_0164.jpg


th_IMG_0167.jpg
 
Anyone know what this square fiberglassed plate like area is? Not sure if it is required or what.
IMG_0169.jpg

Not required unless you plan on mounting something there like a bilge pump or hose/wire tie downs. I had a couple of those too. I assume just for optional mounting points. I left them alone as they are not a structural member. I did not screw into those for my bilge pumps, my pump brackets are epoxied to the bottom of the boat.

When I started hacking into my 268, I found the same thing you are worried about with the stringers. We dug all the way up into the aft cabin and replaced the stringers up to the stairs/bathroom area. That is the point where we found drier wood. You can definitely stop there, then glass into that bulkhead at the bathroom and stairs and tie the new stuff into the old stuff very easily. Just pull the carpet back and all the padding, hang it from the ceiling, grind the old glass down good to get a "bite", and shlap the new stringers and glass in there.

Here's my new aft cabin:
100_1269.jpg


We also put a new bulk head in where the back of the aft cabin/front of the gas tank is located. I'm glad I did that because that old bulkhead was weak and not tied into the floor. The new one encapsulates the whole boat and definitely made everything much stronger.

From the stairs/bathroom forward is not as critical as the area of the boat from there back. That makes a great place to stop with the glass work.

As far as the engine mounts, you can easily cut the sides of them off, dig out the wood leaving the old glass work as a pattern. Glue in fresh wood, then glass over everything to put it back together. This leaves you with the engine mounts in exactly the same location.

This pic shows the shell we left of my engine mounts. We precisely cut the plywood to exactly snap into those, then we epoxied them in place and glassed over everything. This pic is from the transom bracket hole looking forward. We had just a "v" shaped shell to work with after she was gutted. The wall you see is the aft bulkhead at the bathroom.
October2010162.jpg


Here she is glassed back together and painted with Interlux 2000
100_1435-1.jpg

100_1437-1.jpg


A few more shots during the rebuild
Copyof100_1367.jpg

100_1407.jpg

100_1433.jpg
 
Last edited:
Getaway,

Great info and pics. I will dive into the stringers tomorrow. Great suggestions on the motor mounts. A big job is just getting bigger. I will most certainly need your help as I go along.
 
The samething happened with mine. Started at the transom went to the bottom of the stairs going into the cabin.
 
Was the cause of the water intrusion bad sealing compound around the outdrive gimbal area? Were there any signs of the water intrusion before it damaged the transom? I'd like to somehow monitor my boat to make sure it is not ingesting water into the transom core.
 
Was the cause of the water intrusion bad sealing compound around the outdrive gimbal area? Were there any signs of the water intrusion before it damaged the transom? I'd like to somehow monitor my boat to make sure it is not ingesting water into the transom core.

Not so much the gimbal area as it is the swim platform, trim tabs, transducers and speed indicator. Back when our boats were built, they simply did not have good sealants for these transome mounted items. Swim platforms are probably the worst contributors. If your boat is still in good shape, I would remove everything that is mounted to the transom and reseal everything with either 4200 or 5200 3M sealant.
 
Not so much the gimbal area as it is the swim platform, trim tabs, transducers and speed indicator. Back when our boats were built, they simply did not have good sealants for these transome mounted items. Swim platforms are probably the worst contributors. If your boat is still in good shape, I would remove everything that is mounted to the transom and reseal everything with either 4200 or 5200 3M sealant.

I did this a month ago, fortunately all was well where I looked, but I feel better with the 5200 in there.
 
Yeah, I just used 5200 everything too. If I ever have to get it back apart, I'll deal with it then:thumbsup:.
 

Forum statistics

Threads
113,218
Messages
1,428,820
Members
61,115
Latest member
Gardnersf
Back
Top