rondds
Well-Known Member
- Oct 3, 2006
- 8,859
- Boat Info
- 2001 380DA
- Engines
- Merc 8.1s (2008)...Hurth ZF 63 V-drives...WB 7.0 BCGD (2013), Garmin 8208 & 740 MFDs, GMR 24xHD dome
Sprink
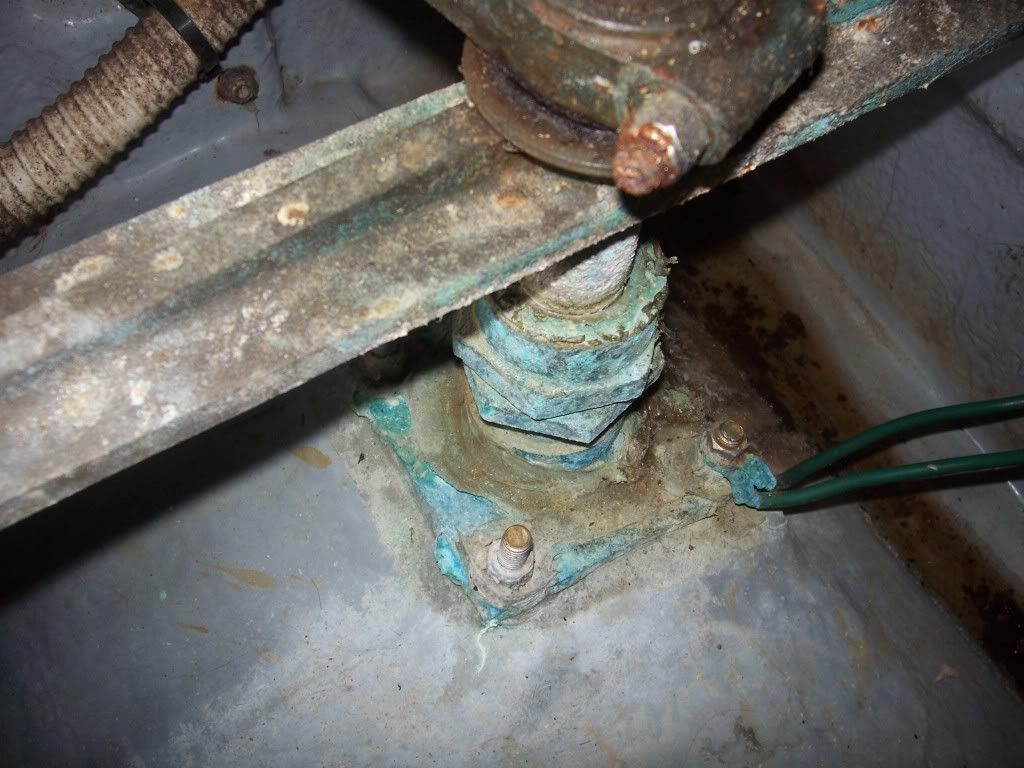
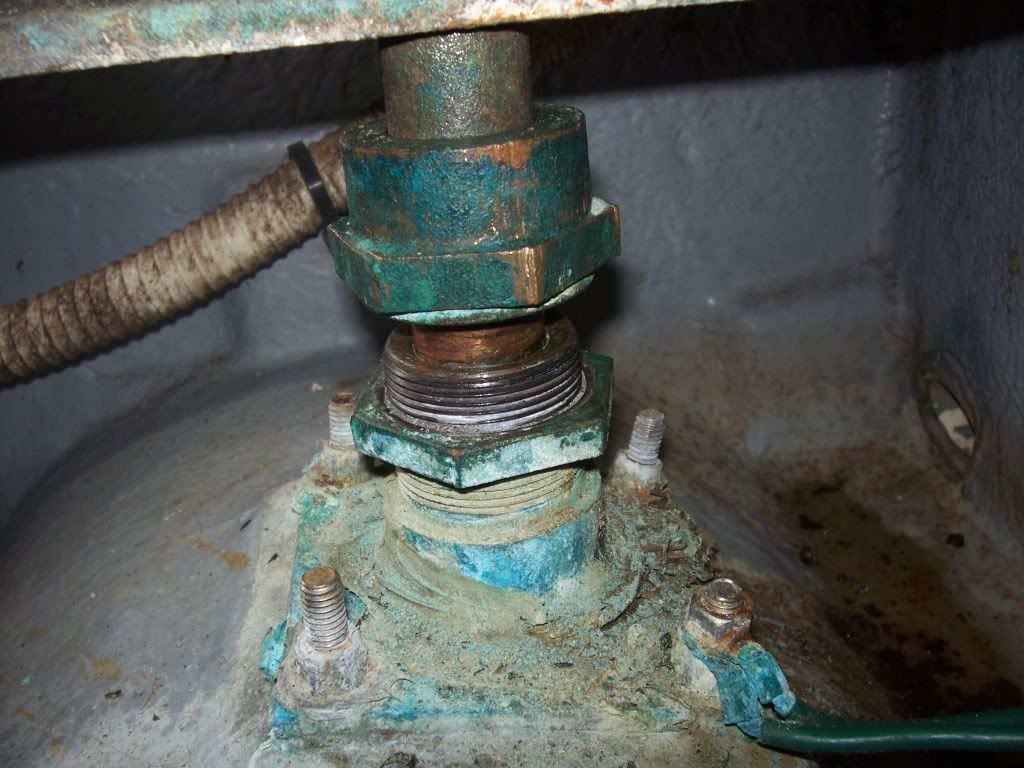
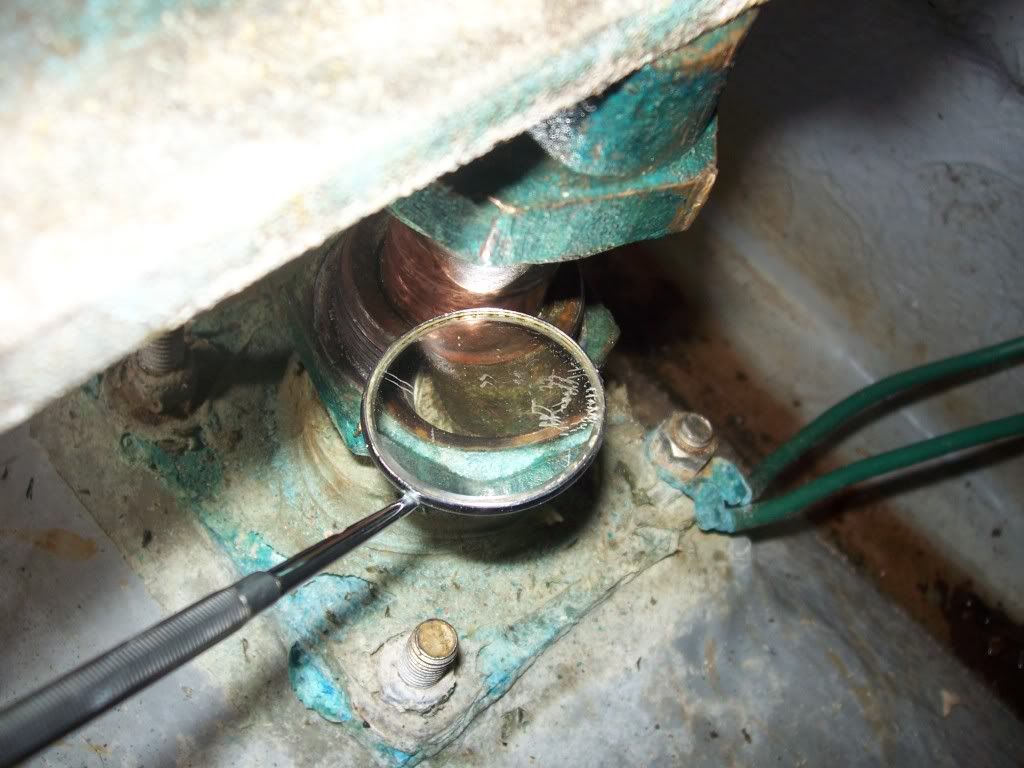
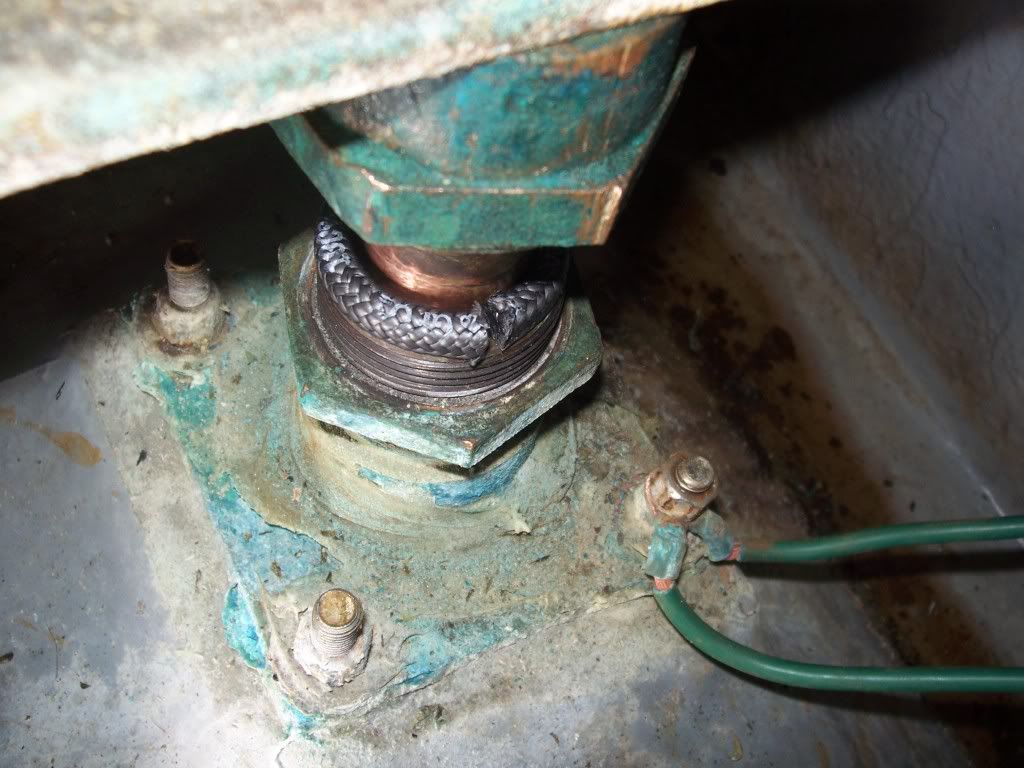
Depends upon how crudded up your big nut is. If it's not too crudded, you can turn it by hand. If it's cruddy you may need that wrench. If the nut is bottomed out (no more thread to make it any tighter) you will need to repack. As a temporary measure, you can take the nut out and stuff another ring of packing in (while in the water) but next time your high and dry, pull all the old stuff out and repack. If you do pull the nut off, put some Never-seeze on the threads before putting it back.
Check again after your next run. May need a bit more tweeking. I dont think you need to rotate to check for binding. You do want a little dripping - I think it's like a drip per 30 seconds or something. That's if you are using the wax rope stuff.