Replacing Dripless on a 2001 380DA

You are referring to Mr. Webster?

Yes, as well as my all-star generator install team... and YOU. You probably didn't even realize it but you gave me a couple of pearls the other day.
 
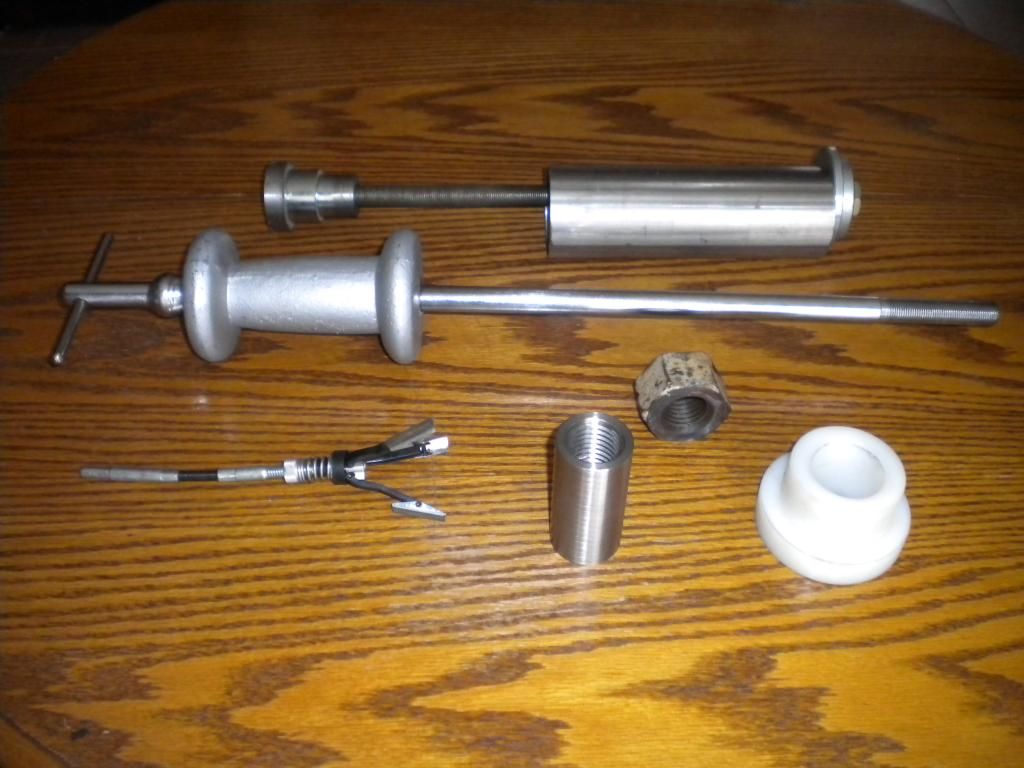
DSCN2233_zps3d79b209.jpg


Top tool in the pic above is another MasterFab creation. Just so happens that Mustang and Day Tripper have the same shaft diameter and CB size so I'm all set. Back in April of 2012 I paid for the yard to do the CBs on my 340DB. Those wouldn't come out so they had to pull the shafts to cut the bearings out of the strut; but they couldn't get the couplers off the shafts so they had to cut the couplers off. Then they told me the shafts were scored a bit so they recommended new shafts. So the boat wound up with new shafts, new couplers and new cutless bearings. So I've made my contribution to them, and 6 months later the boat sunk and my $2400 went to King Neptune.

Nah, I got this.

IT ACTUALLY SUNK? That must be some story.
 
Never mind. I found the thread with the sinking and the storm.
 
A rare "nice" day here in the northeast so I gathered up all my stuff and headed down to get the new CB in, as well as the shaft and dripless.

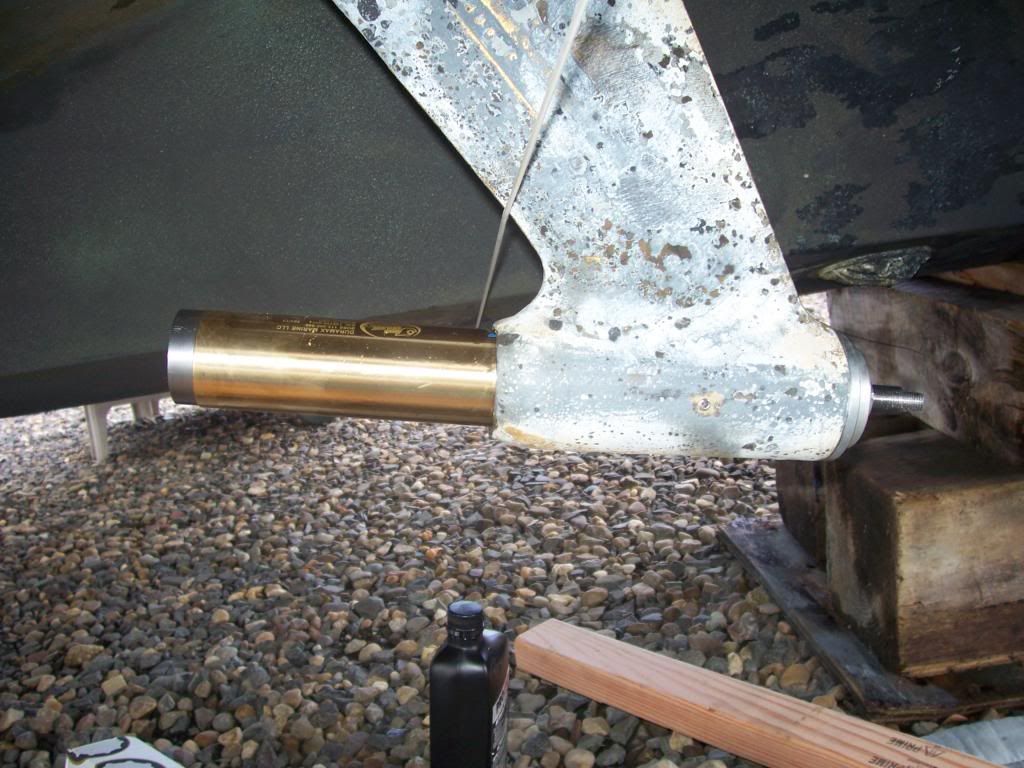
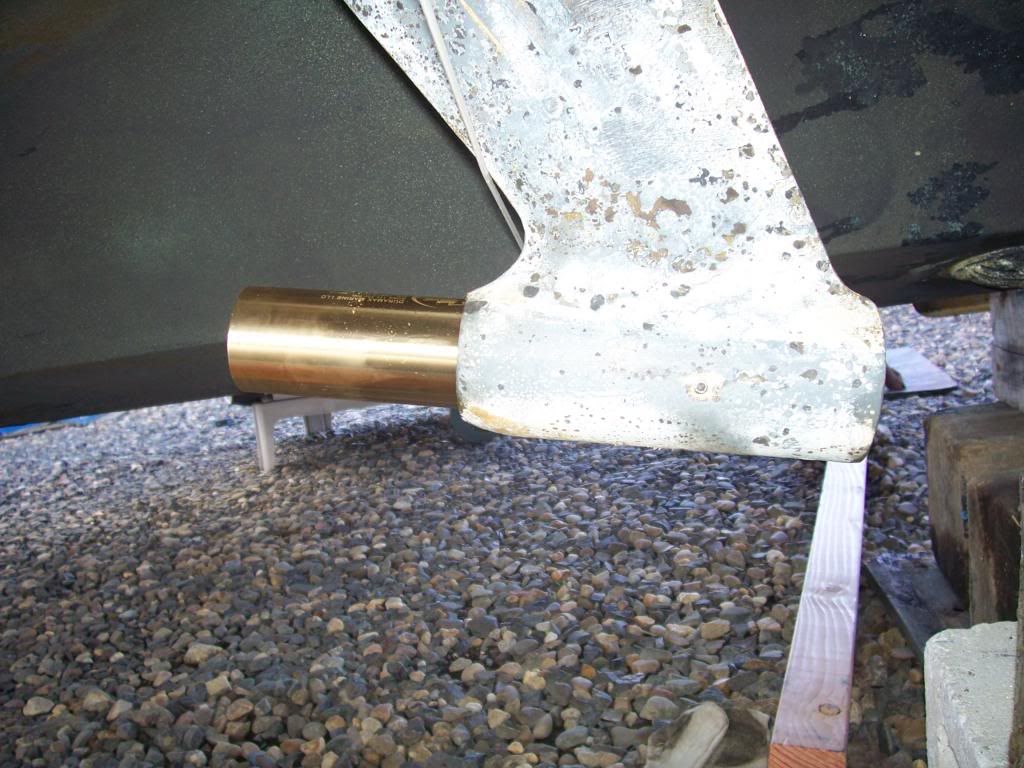
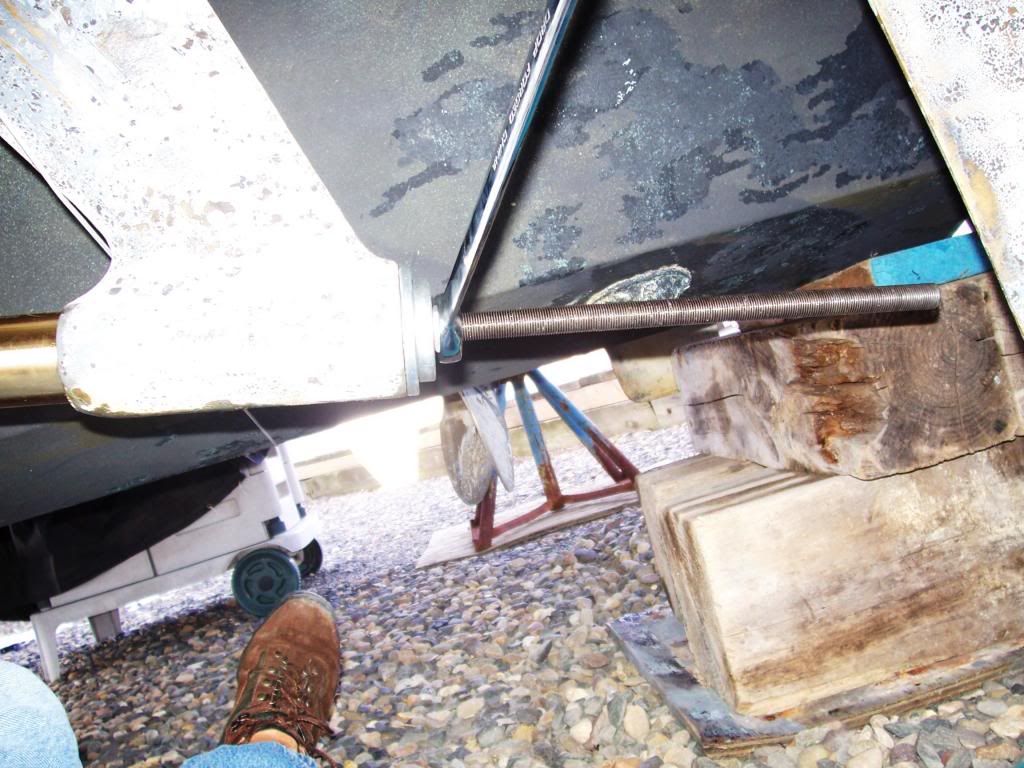
Lubed up the inside of the strut and the outside of the CB with motor oil and set up the bearing tool...


106_4534_zpsaaa4663f.jpg


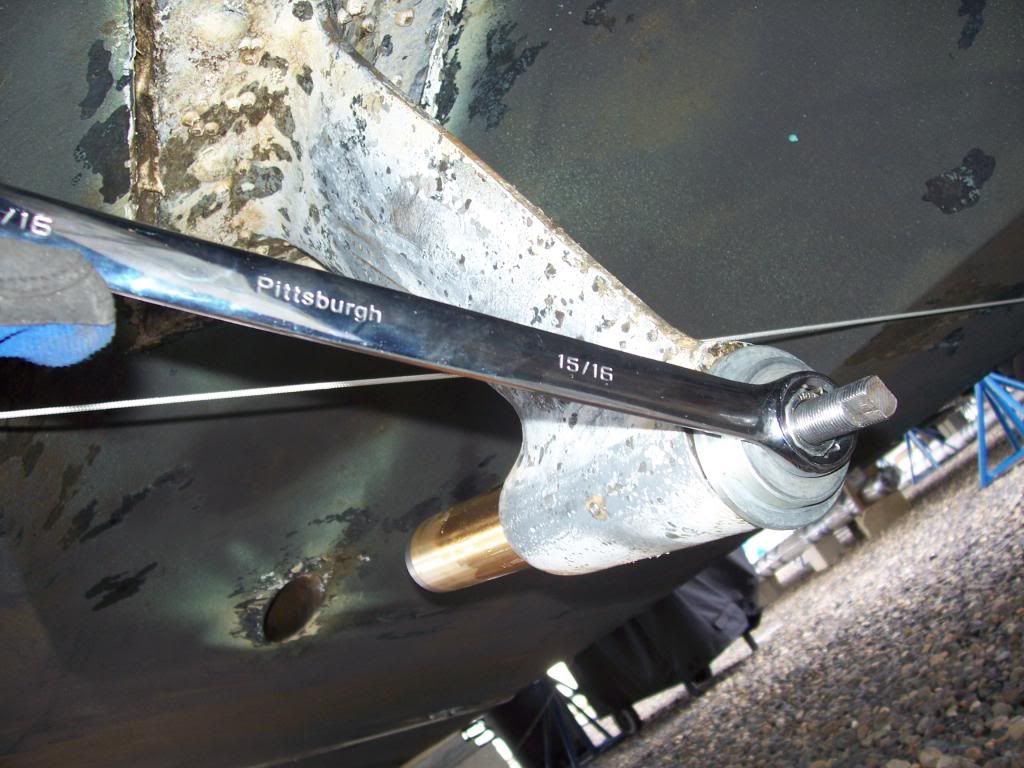
and started cranking (I made sure to show the wrench brand to drive Frank Webster nuts).

106_4535_zps4a4e6dc2.jpg


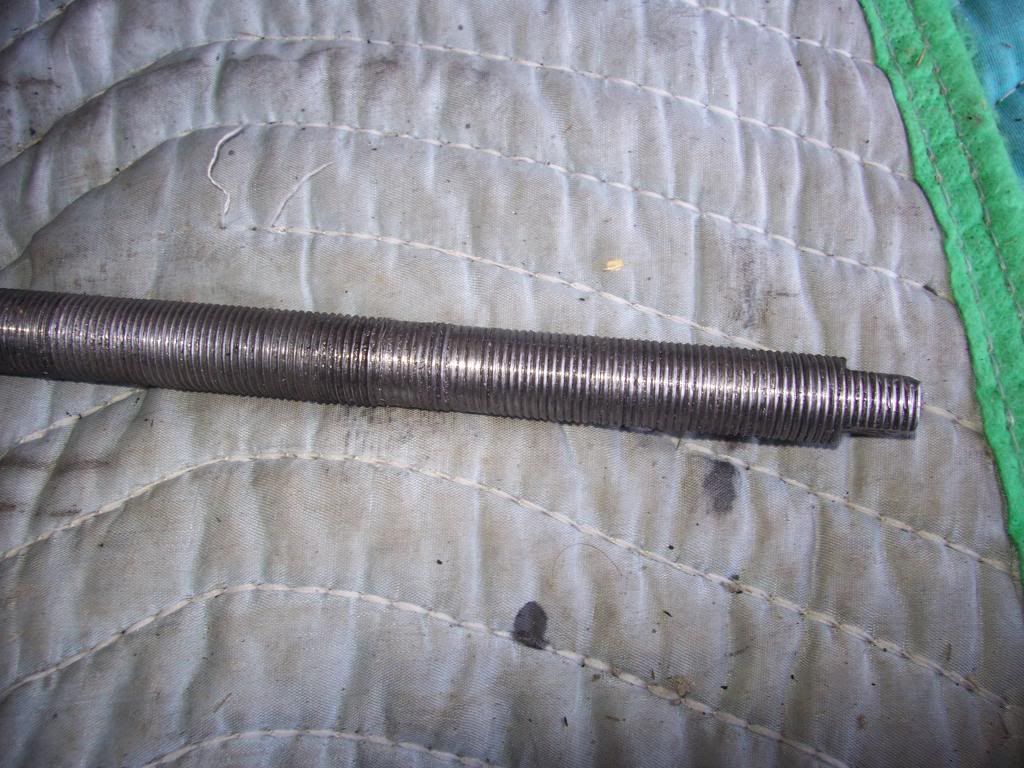
A long handle wrench is necessary - you need all the leverage you can get. After 10 grueling minutes of cranking the resistance ended. Thought maybe I had a breakthrough but the bearing was no longer moving. It was quickly evident that the thread on the rod had stripped.

I took off one washer and reset the assembly to catch clean thread but that soon stripped as well and the day's work was ended.


106_4536_zpsccfd53a2.jpg


I was able to press it in about 1/4 of the way, and this is where it will stay...for now.

106_4537_zps743dc6ea.jpg
 
Ron,

That was a cheap grade threaded rod - I'll procure a high grade rod and nut to replace it. Let me know if you want me to send it to you. And BTW, they are making fun of you over on that generator thread.....

Dale
 
I'll just blame the operator.

Dale
 
Dale's rod got stripped
beavis.jpg
 
Is it supposed to be that tight going in? Can't the bearing get crushed or damaged with excessive force? A friend of mine installing a leaf spring bushing on a Peterbilt with a vice did just that. Granted we didn't have a custom tool.
 
Yeah, it's tight. It has to be. I cut through the rod to get the end cap off and it was a real easy cut with a hack saw. Dale is right. Soft stuff.
 
Your tool gives the CB even pressure. We crumbled the end of that leaf spring bushing for 2 reasons. Too tight. (Broke the vice) and the vice didn't apply even pressure. Just pushed on two spots and didn't spread the load evenly. Good thing it wasn't my truck.
 
Might be late for this idea but, I changed mine by leaving the bearings in the marina ice chest overnight.
Then, let my handheld heat gun warm the strut while I had lunch.
The bearing pressed in easily.
 
Interesting. I can try that next time!
 
We hit a balmy 40* today in sunny South Central NJ so I figure I'd soldier on. The new B7 threaded rod and grade 8 nuts arrived from McMaster Carr so off to the marina we go.

Got everything situated and coated the rod with Mercury Extreme Grease (a wise man told me to do that). Took 23 minutes to press this thing in the rest of the way. Definitely a good upper body (lats, pecs, shoulders) exercise. But it went very smoothly - the rod and nut held up very well and I didn't even need to stabilize it form spinning b/c the nut spun effortlessly on the new threads.

106_4538_zps4e5da328.jpg


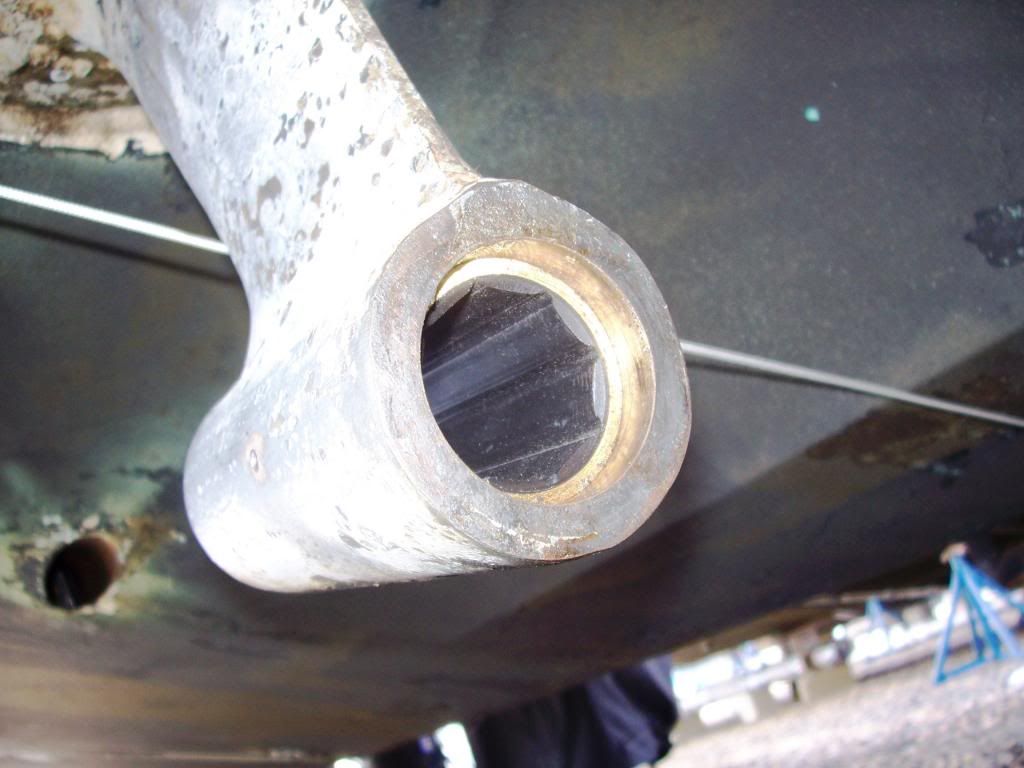
Pressed in to place. Another wise man told me to leave the CB centered in the strut (the strut is around 1.5" longer than the CB) for even flow of water, so that's what I did.

106_4542_zpscabb8821.jpg


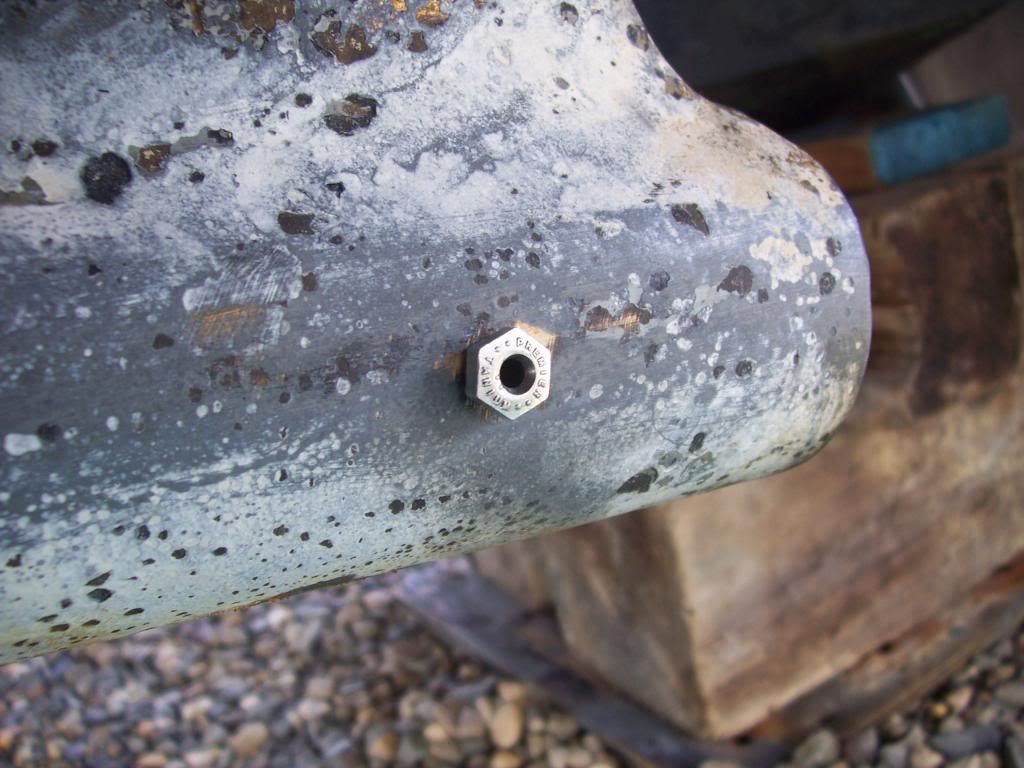
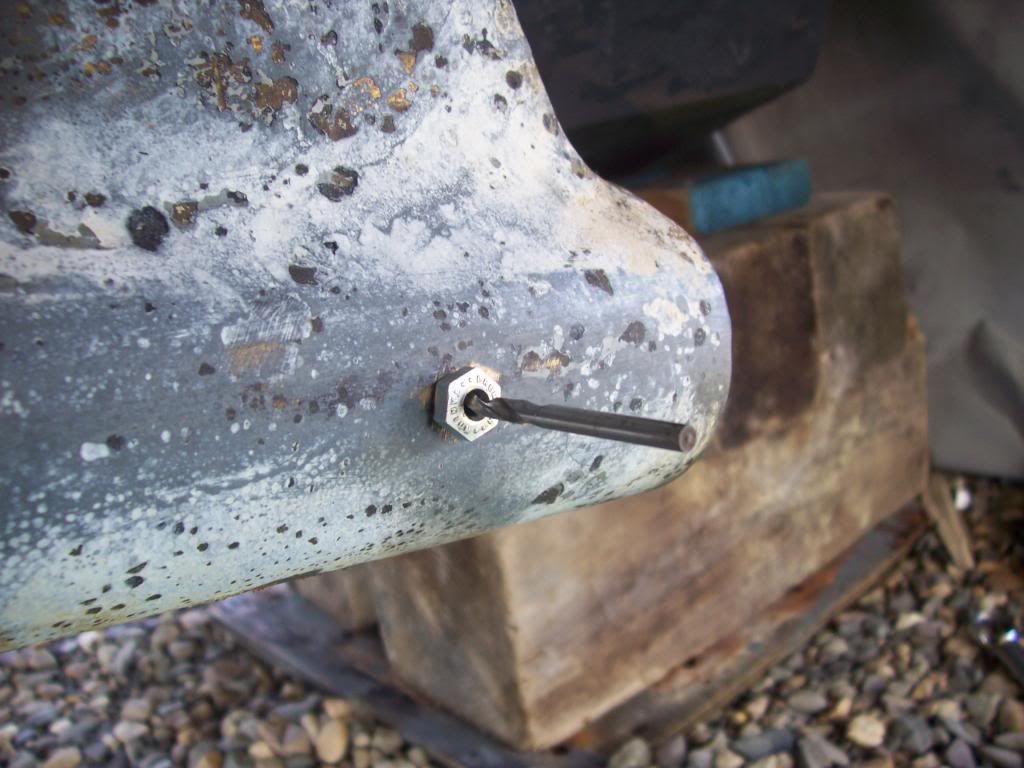
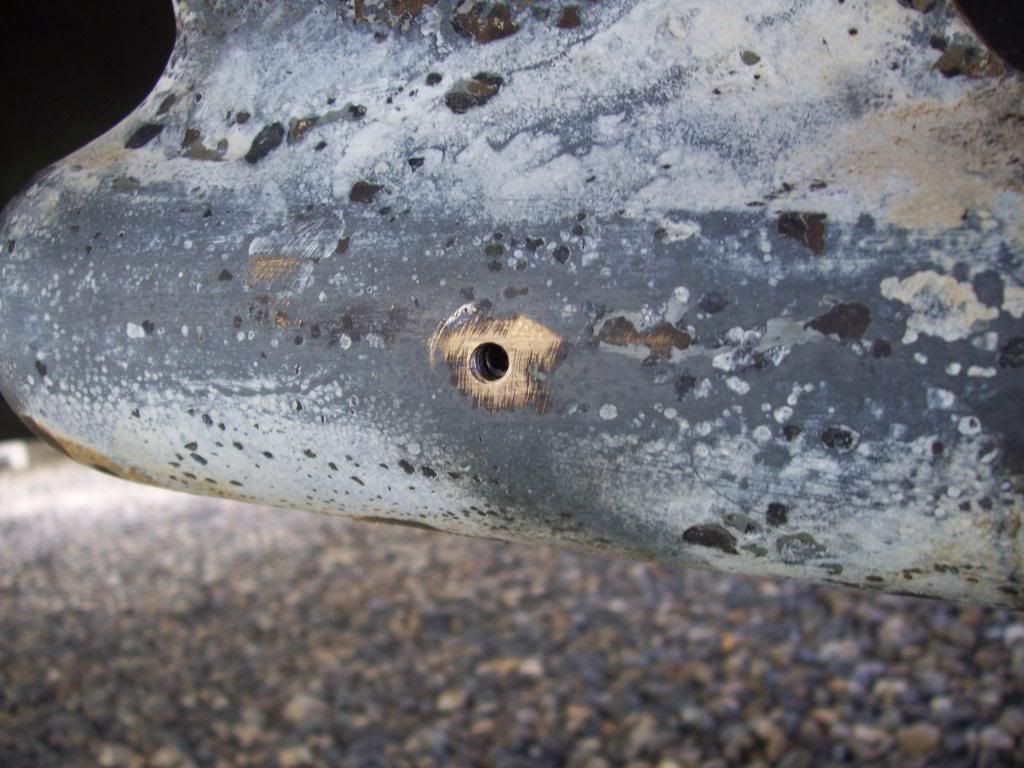
Next step is to drill the dimples into the CB through the set screw hole to insure stabilization of the CB in the strut. I figured that since I drill small things for a living, I could make this happen freehand. But a friend who has a side company called FAW Widget Manufacturing, Tool & Die insisted on making this gizmo for me. It's an 1/8" diameter fastener drilled out in the center. It threads into the set screw hole like so...

106_4540_zps90f6ccbf.jpg


This provides protection to the set screw threads while drilling the dimple. FAWWMT&D also provided a drill bit to fit inside the guide...

106_4541_zpsba3c96d5.jpg


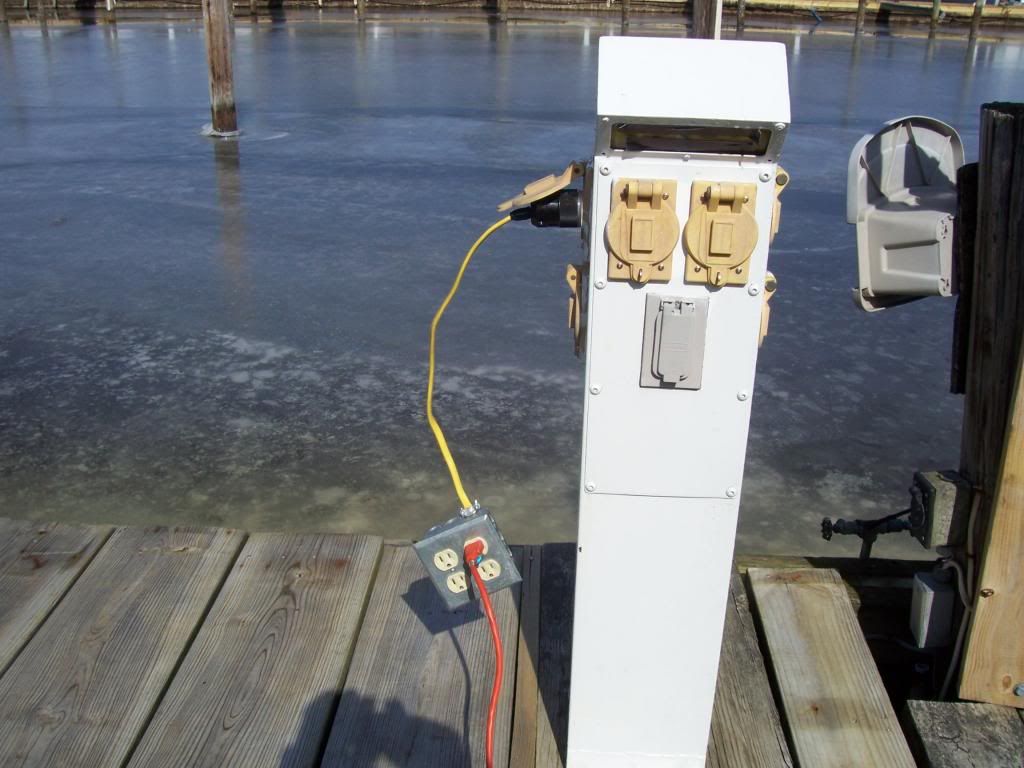
So I plugged in my trustee drill (NOT harbor freight) and dimpled one side at a time. BTW, this is how I get power at the marina without plugging in the entire boat. Made this Frankenstein up from spare parts. Yeah, I know - provides no GF protection. I like to live dangerously and I have plenty of life insurance...

106_4546_zps07bf524f.jpg


Tightened the setscrew down with some loctite and all done. That was enough for today. To be continued after the next snowstorm, which is due to hit Monday...

106_4544_zpsdec8020c.jpg
 
Ron,

Those struts are bothering me. It looks like the paint is reacting with the bronze strut material and the paint is "cooking" off the strut. You should consider sanding them down to bare metal and then priming with something like Interlux Primocon...comes in spray cans, then top coat with something like Trilux. The Primocon will form a barrier coat to separate the strut bonze from the metal content in the paint and prevent the paint failure you have going on now. After sanding the metals, be sure you solvent wash the struts, shafts, props, etc. I use acetone and get great adherence for primers and paints.

Oh, keep the drill bit with the tool for the other side.
 
You only mentioned two wise men - where's the third?

Dale
 
The third is the one who listened to the first 2.
 

Forum statistics

Threads
113,248
Messages
1,429,275
Members
61,128
Latest member
greenworld
Back
Top