rondds
Well-Known Member
- Oct 3, 2006
- 8,859
- Boat Info
- 2001 380DA
- Engines
- Merc 8.1s (2008)...Hurth ZF 63 V-drives...WB 7.0 BCGD (2013), Garmin 8208 & 740 MFDs, GMR 24xHD dome
I noticed the port side dripless ... well... not living up to it's name on this "new-to-me" boat last spring. It was just a small drip, only at sustained hi-rpm and there was no splash/splatter. So I rode out the season and planned to tackle the job during the winter layup.
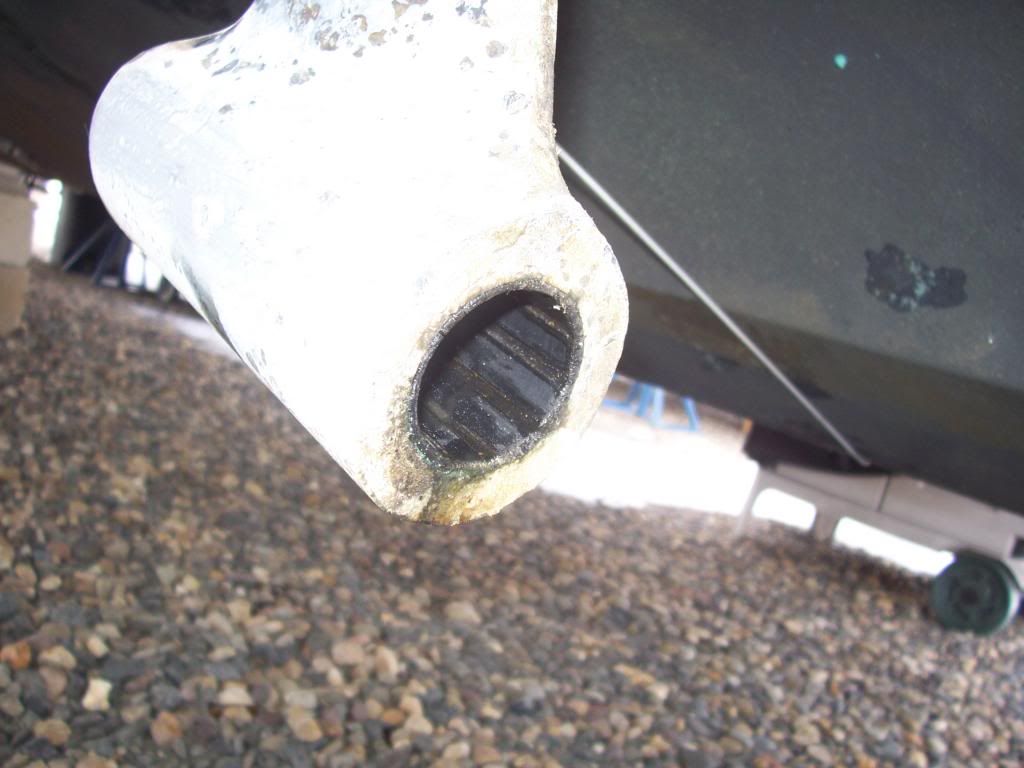
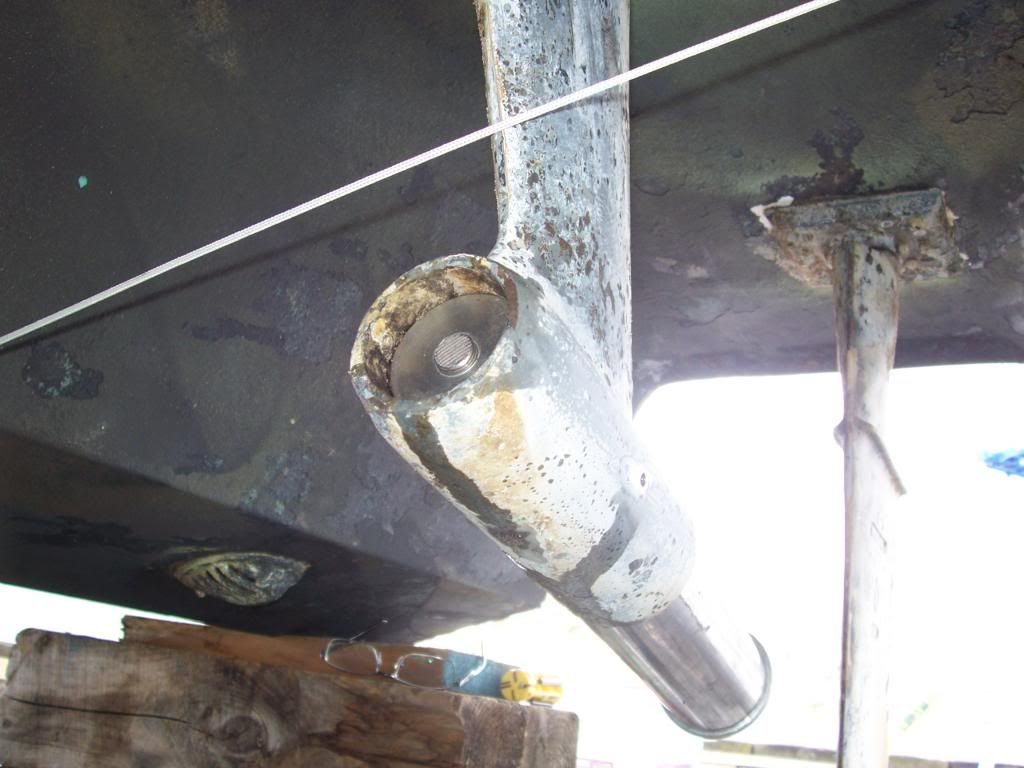
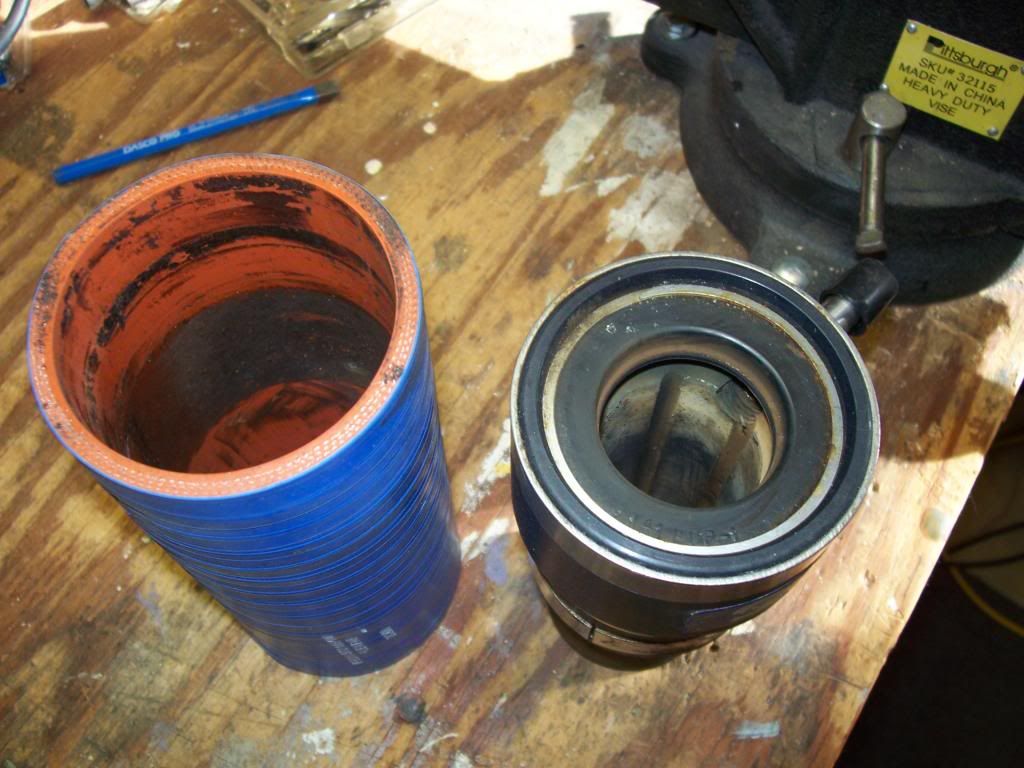
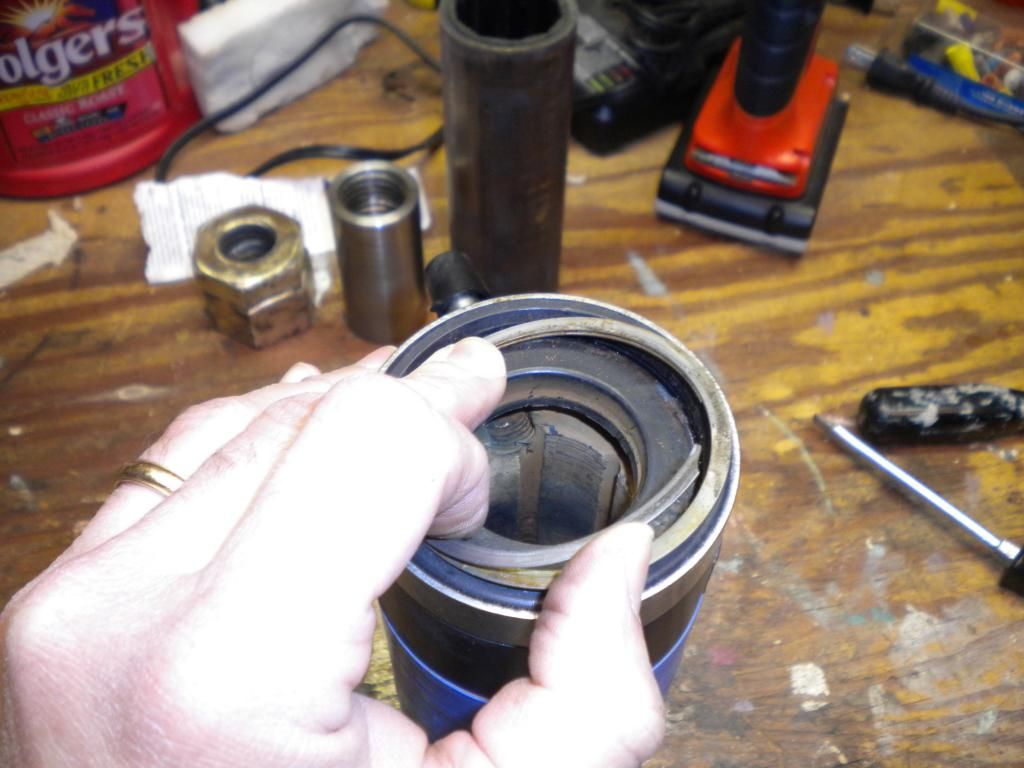
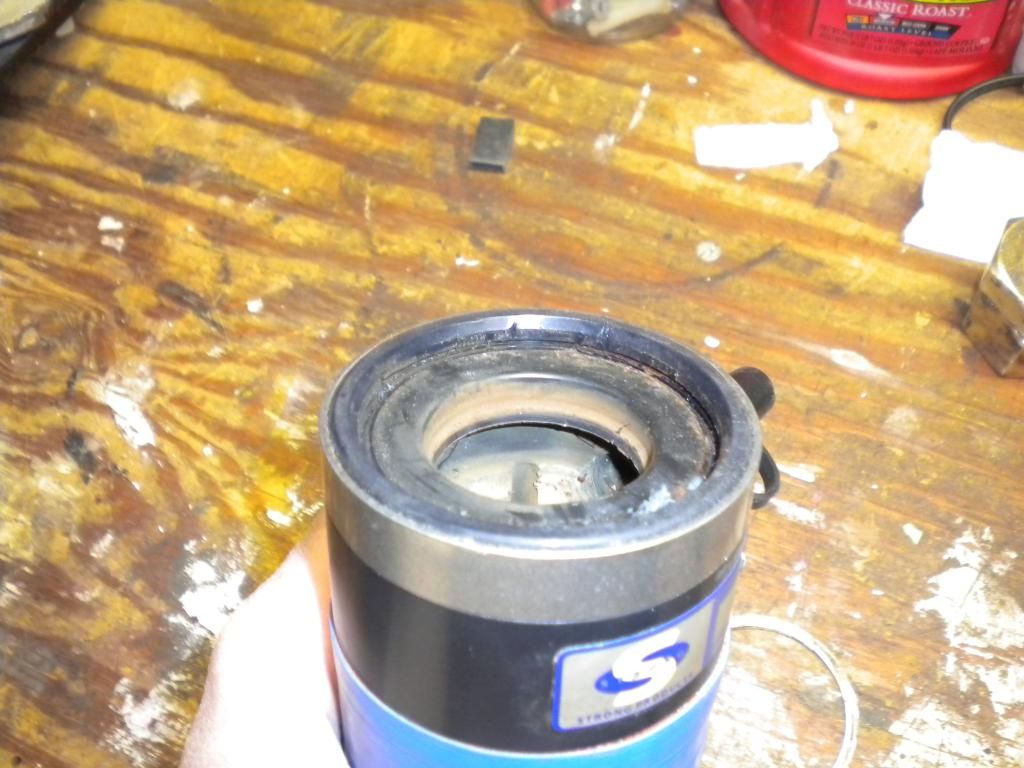
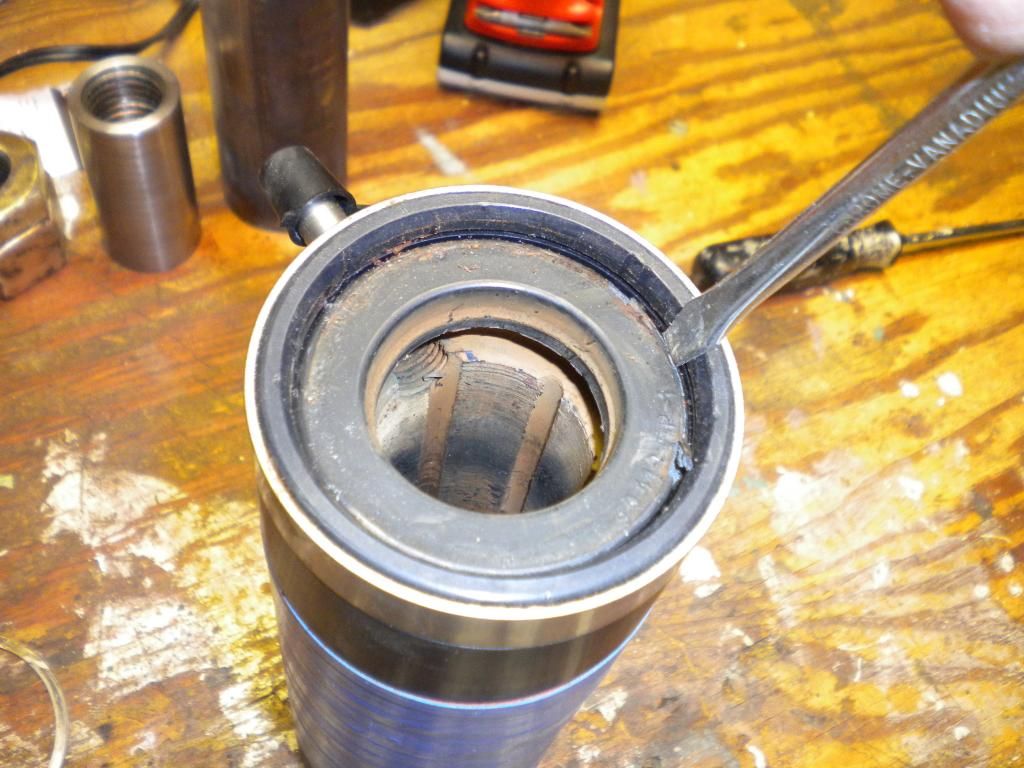
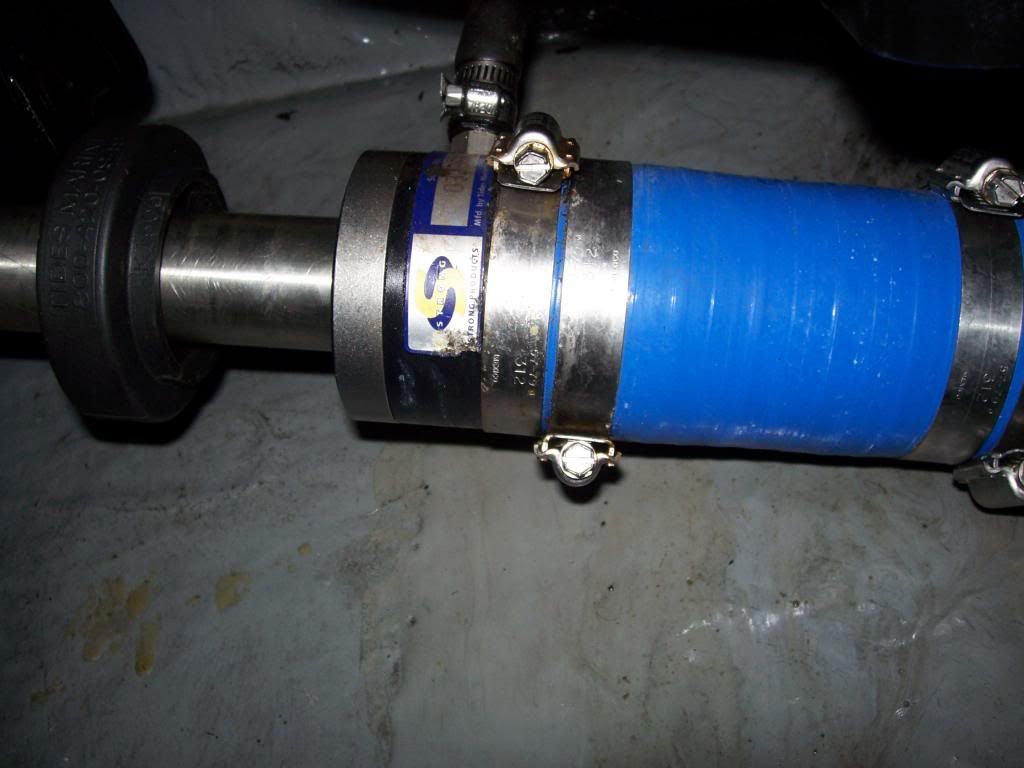
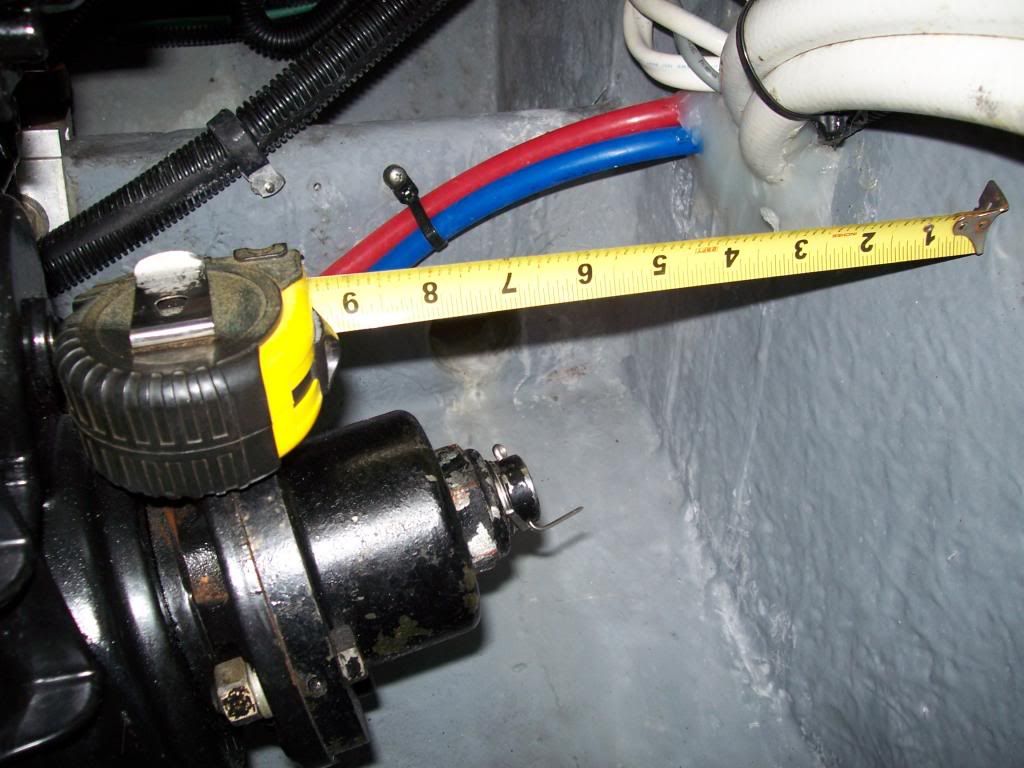
Here's the port side. Note the water stain beneath. One of the reasons I bought this particular model is the vast amount of space to work in the engine room. I can reach this while sitting btwn the motors without a great deal of contortion. These are the older (original) Tides Strong Seals. There is no cross-over and the blue tube is not corrogated. This is all going to be replaced. There was not spare lip seal on the shaft so that indicated to me that someone had already tried to stop a leak by slipping the spare in. I only say this b/c the stbd side, which does not leak, still has the spare lip seal in place on the shaft. I will not be disturbing the stbd side since it is dry and has a spare seal in place if the existing one should fail.
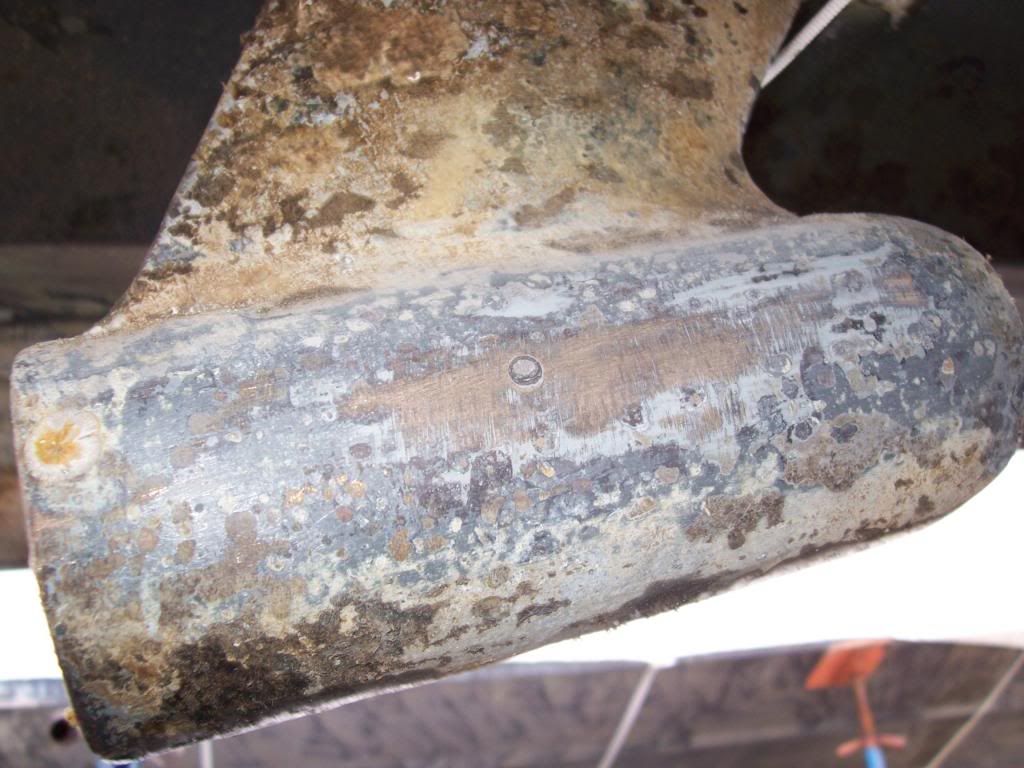
Here's the stbd side. You can see the housing for the spare seal on the left of the picture. A bit scuzzy under there but you'll have to trust me when I say it's not leaking!
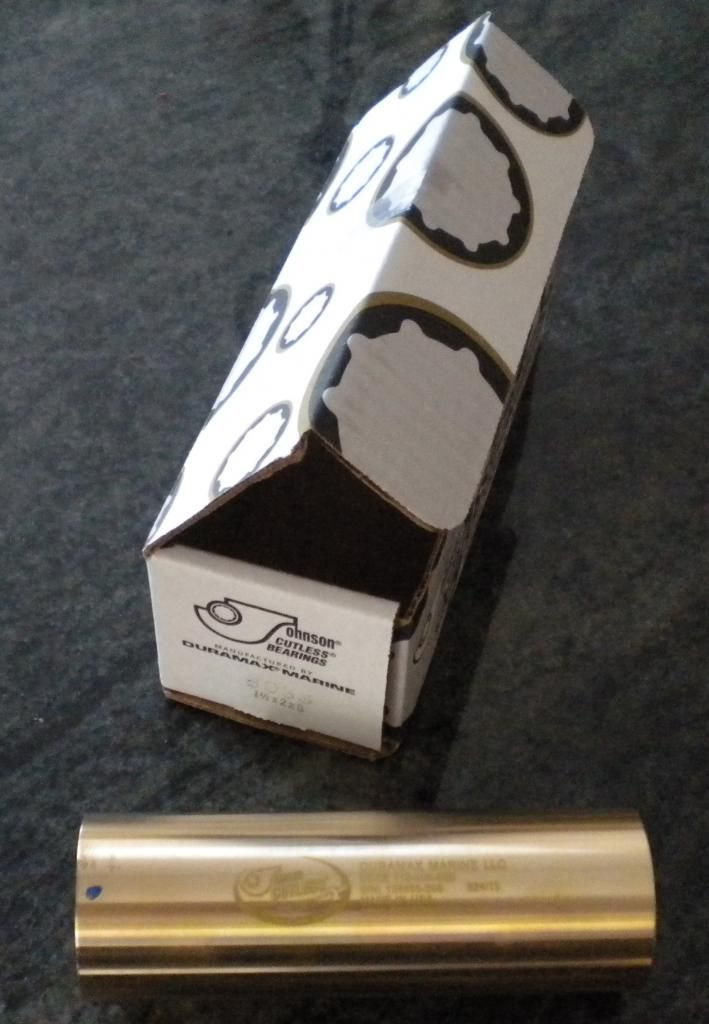
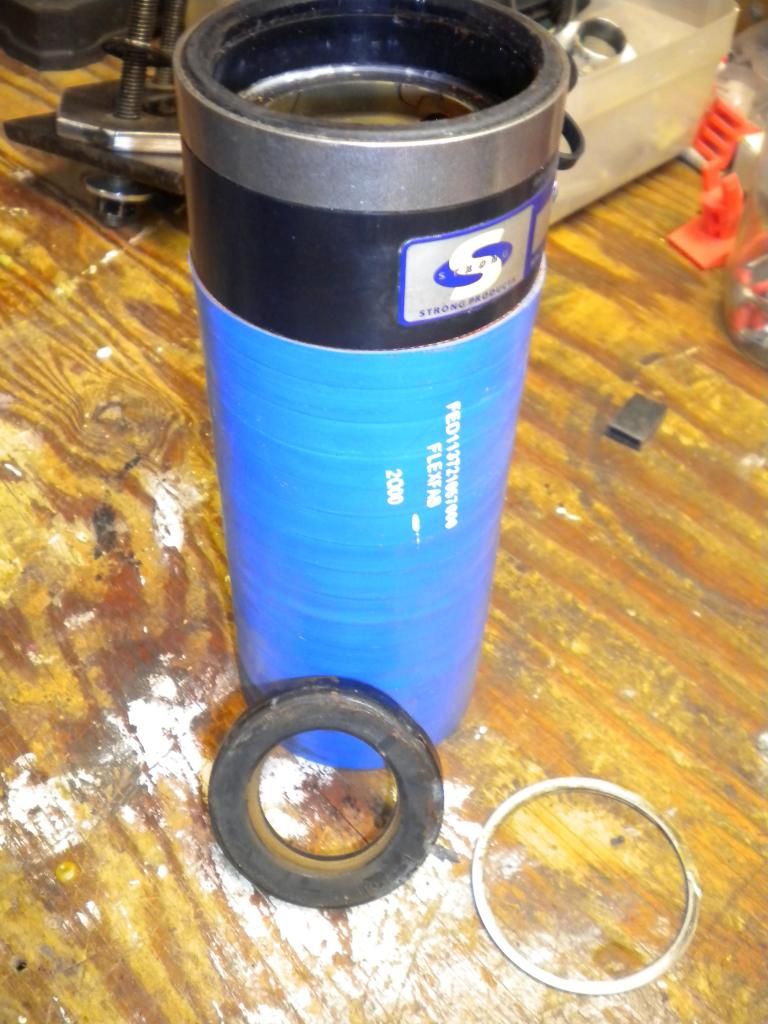
This is what I will use to replace what I have. This is the Tides Sure Seal. I will put the one with the two connections for a future cross-over.

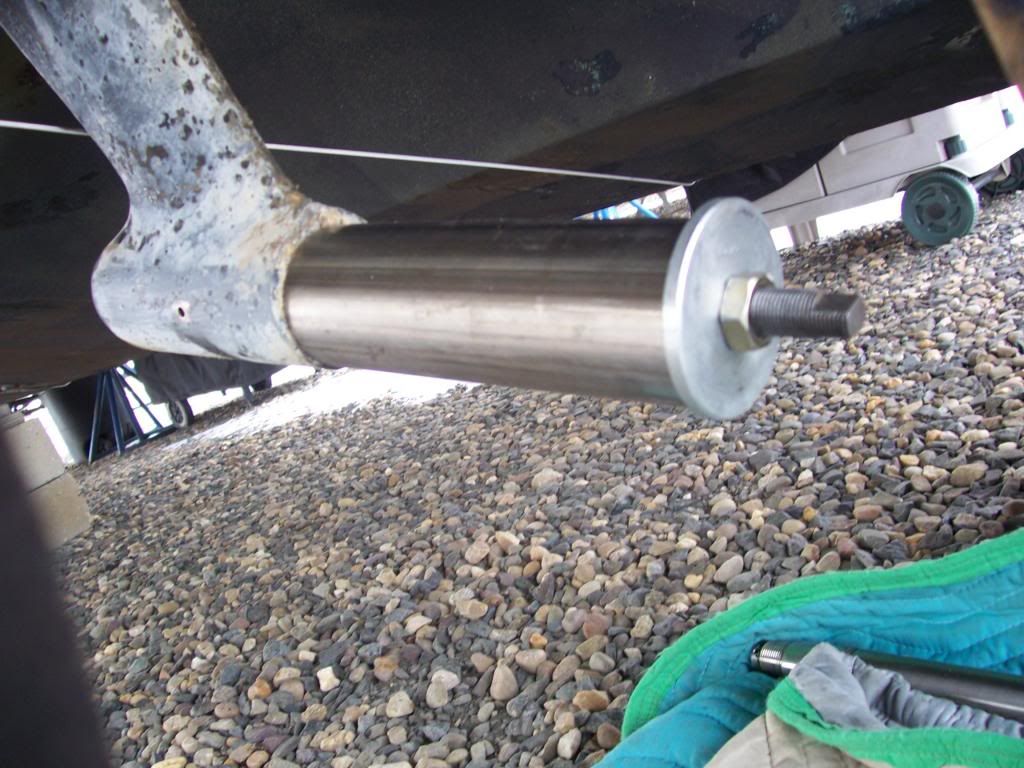
First thing was to get the prop off. I purchased this puller on ebay for about $90. Beautifully machined out of aluminum and can be used on 3 or 4 blade props. Worked like a charm. That's a JUMBO crescent wrench that I picked up at Harbor Freight. Remarkably it didn't break in the process.

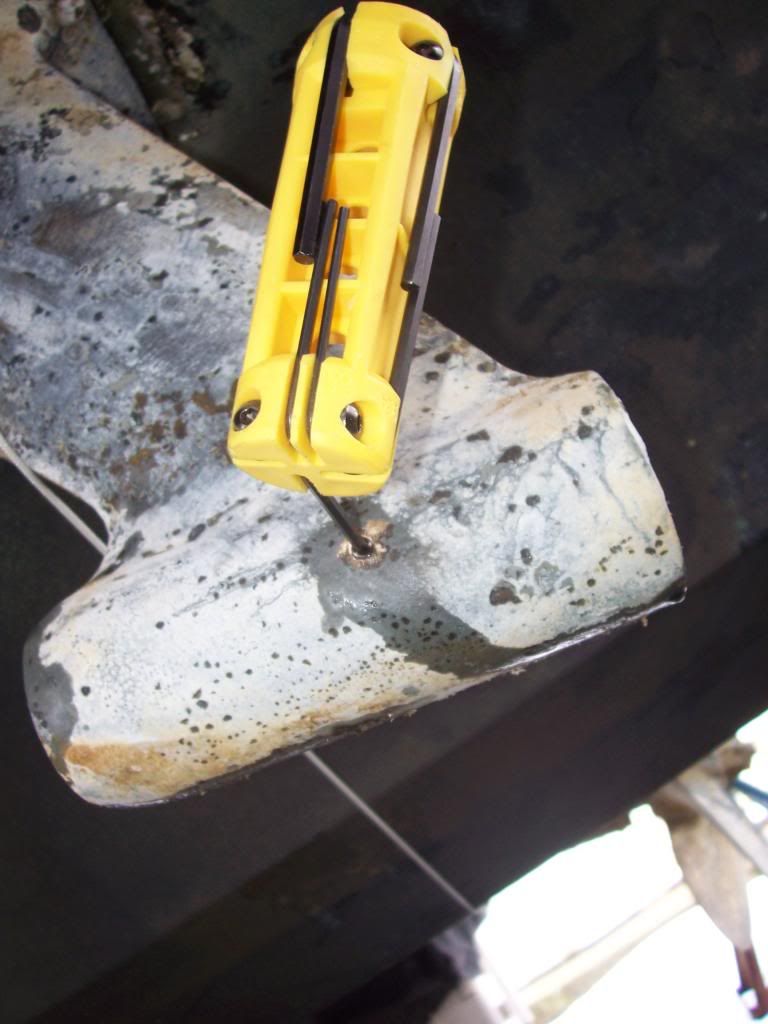
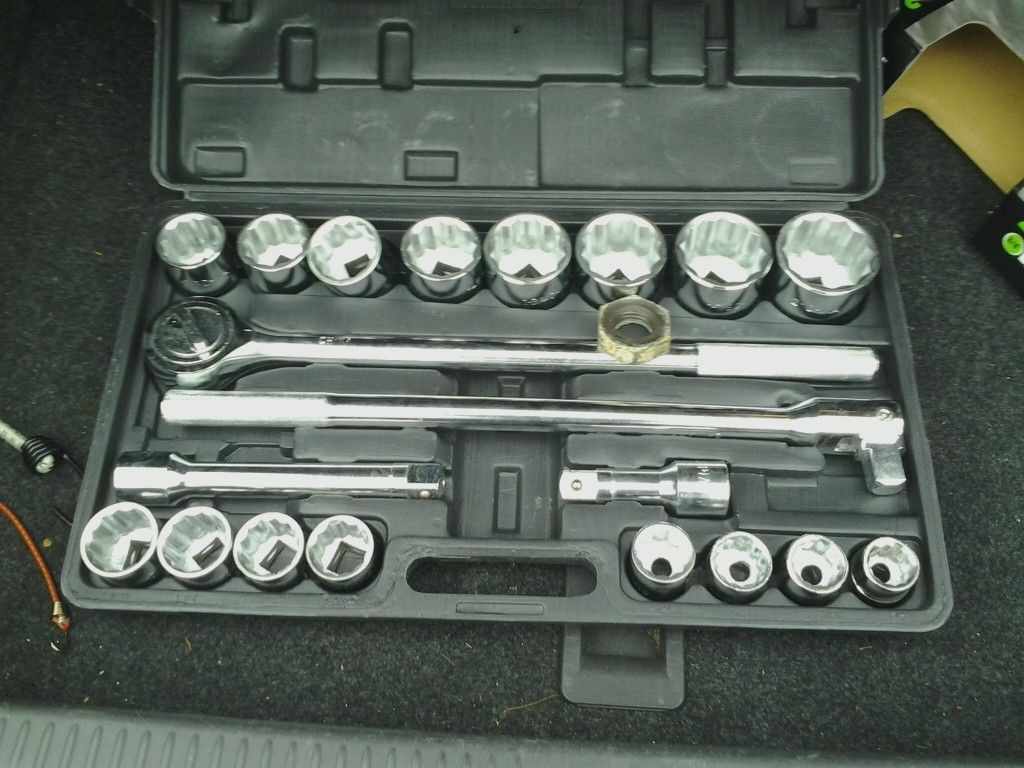
Speaking of Harbor Freight, I also picked up this monster socket set. I needed a socket large enough to get the nut off the other end of the shaft and didn't think it wise to use the crescent wrench for that. This set was about $40. Nothing broke during the process from this set either. Amazing. That's the prop jam nut sitting there. 1-13/16" socket needed for this job.
Attention now turned to the coupler end. Not very much room btwn this end of the shaft and the bulkhead. The trick is to get the coupler uncoupled and then pop the shaft side of the coupler off with a puller. But what puller is going to fit in this small space???
The bolts holding the halves together came of with no problem. Next was getting the nut off the end of the shaft inside the boat. I've heard horror stories about this part of the job. I spoke to Alex F about his method of fixing the propshaft so it doesn't free-wheel while being towed or running on one engine and employed his technique. And here it is.
and it worked like a charm.
Went under the boat, marked the shaft and tapped it so it would move INTO the boat about an inch or so. I then mounted this gadget, made for a friend of mine by another friend at Charter Machine Company in Metuchen, NJ. This was made for a Carver with Crusader 8.1s but lo and behold, it fits this Merc/ZF application as well. Lucky for me.
I didn't even have to turn that center bolt. A few even twists of the bolts and the coupler popped off. Maybe 20 seconds. So far, so good. This is turning out to be a piece of cake.
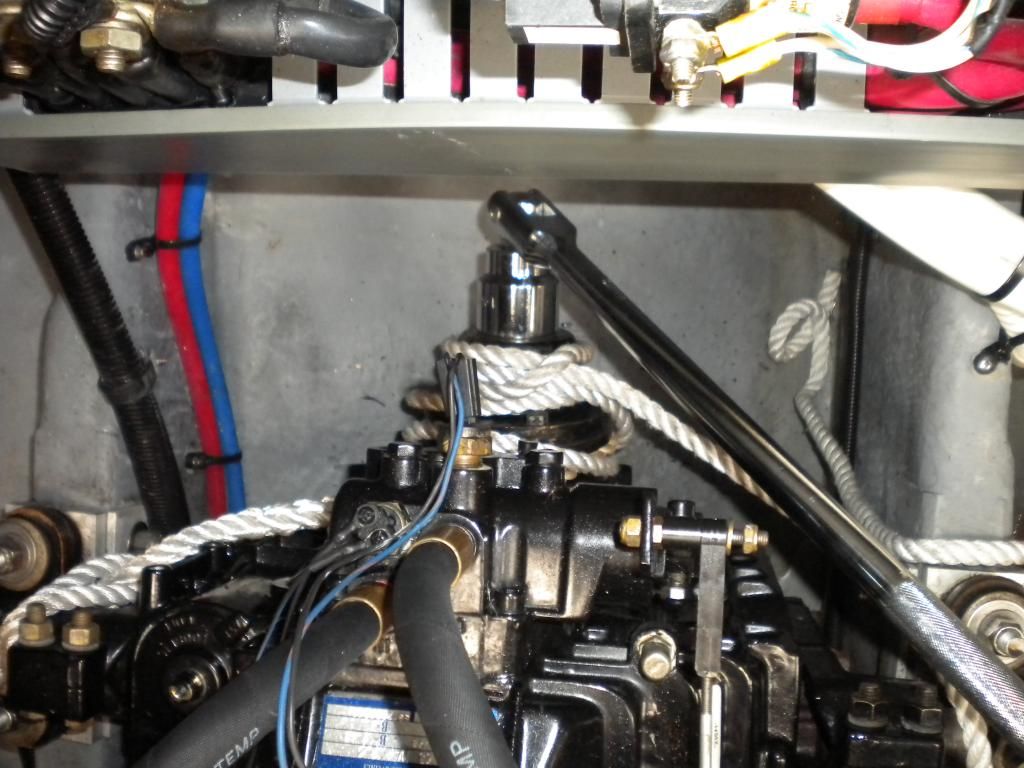
After I removing the raw water feed line and loosening the hose clamps from the old dripless, I headed back under the boat to move the shaft aft in order to be able to pull off the Strong Seals from the shaft. NOW we have a problem. The shaft was extremely tight in the cutless bearing and was very difficult to move. I've heard other people say that the shaft pretty much slid right down and out once uncoupled. Not the case here. So I put the prop nuts on and tried to bang on them with a 2 by 3 held parallel and tight to the long axis of the shaft. Again, I marked the shaft so I could keep track of how much it moved. I needed about 20". After about the 10th hammer-strike, I had my first Harbor Freight P.O.S. Tool company casualty. The 3lb had sledge I bought for just this occasion failed me.
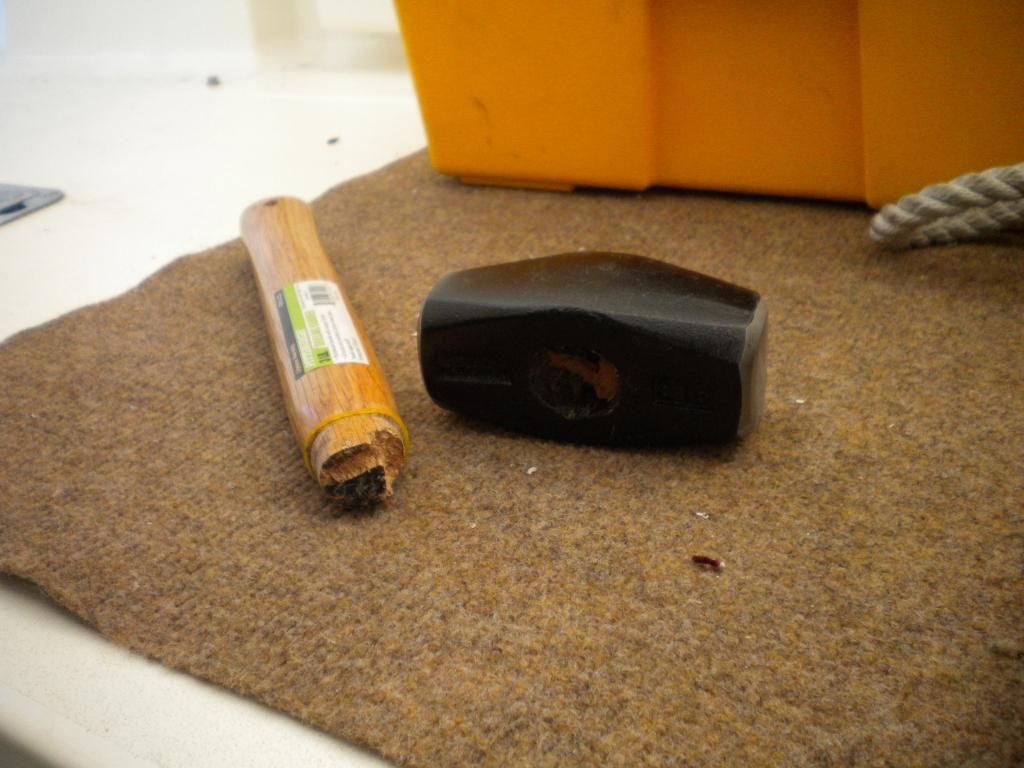
But I pressed onward with a regular hammer and after 15 exhausting minutes of pounding I move the shaft about 7". I dripped soapy water in the cutless bearing but it was not helping. All the while I'm thinking there has to be a better way. So I pack up and headed home. I had spoken to Frank Webster well before starting this job and we discussed the use of a slide hammer to get the coupler off the shaft, so I had borrowed one from my friend Jon. I didn't need the slide to remove the coupler, but I'll bet it could make quick work of moving the shaft. The question is, "How do you get the slide hammer to attach to the propshaft?" I came up with an idea - now I needed someone to make me an adapter. There is one man for this job - and that man is my MasterFab!

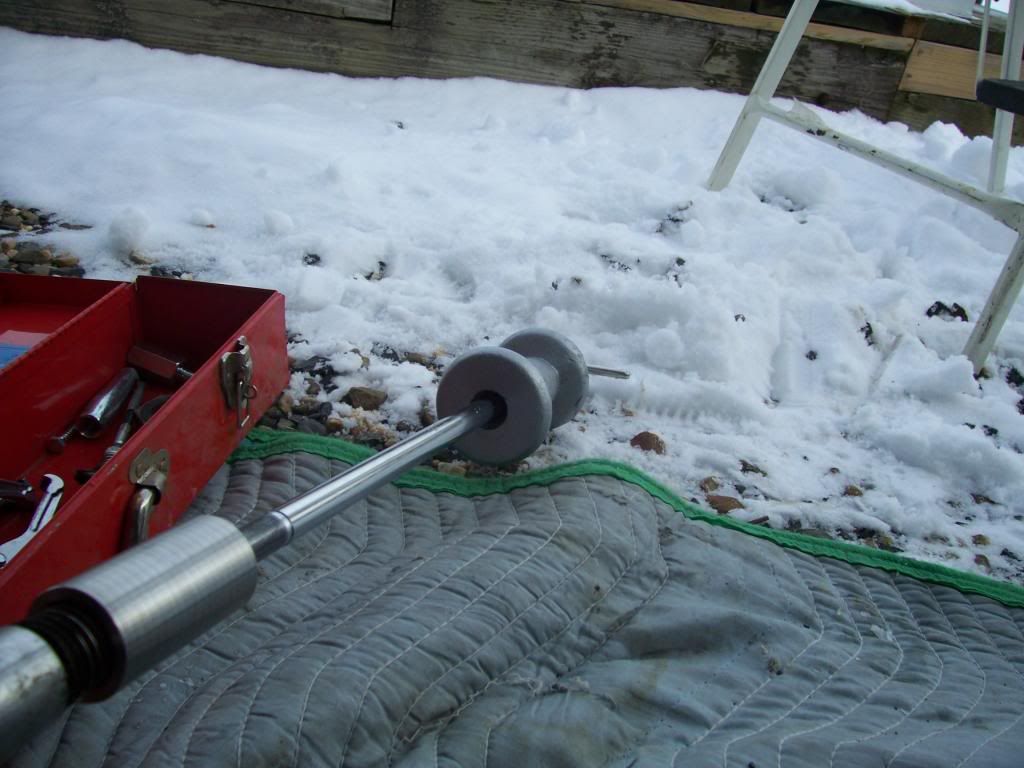
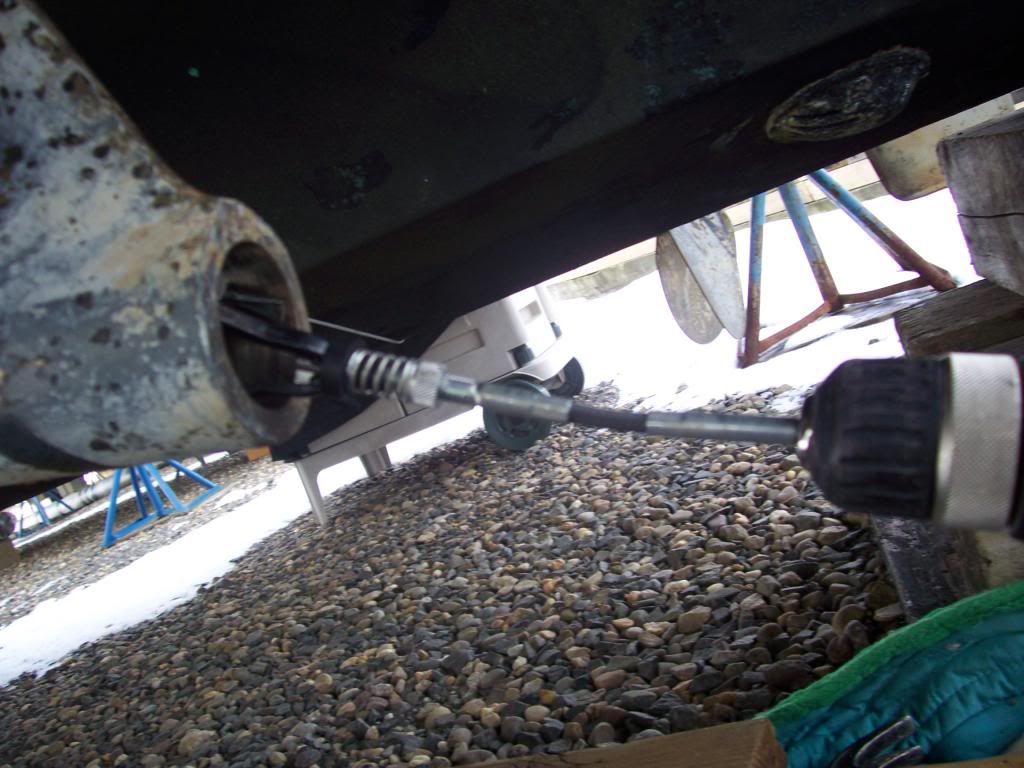
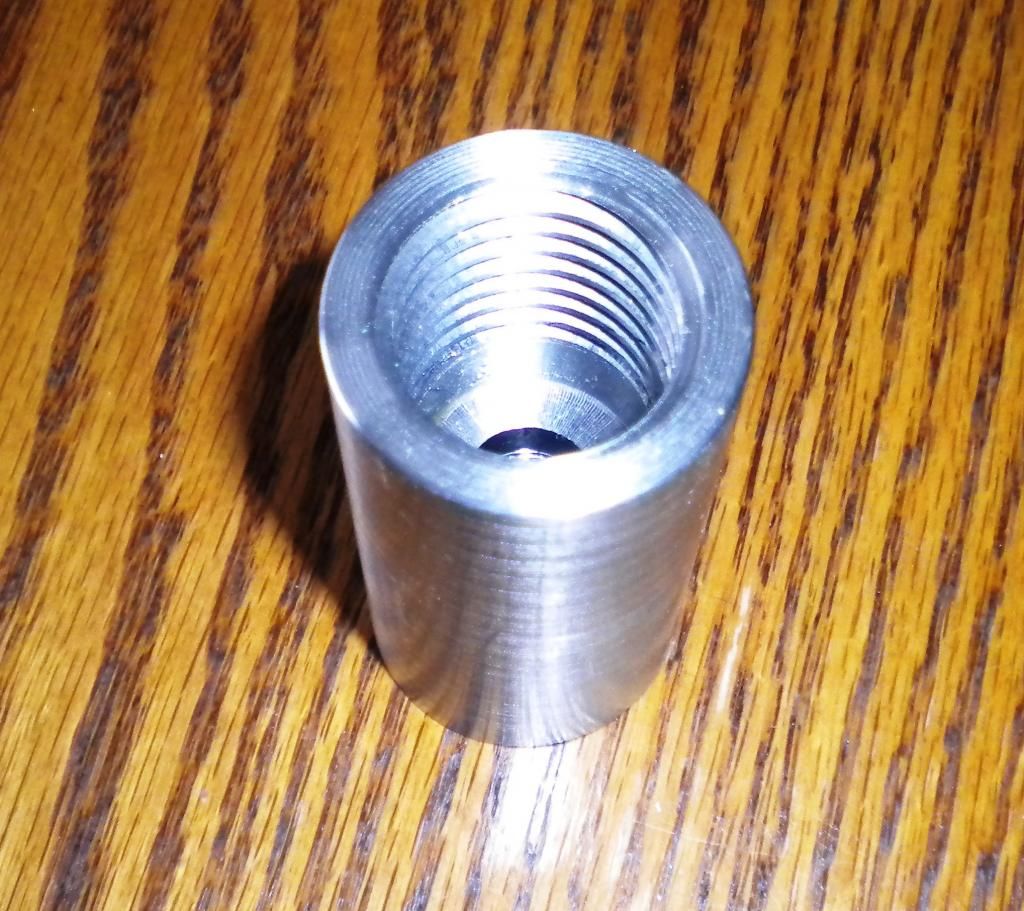
I emailed Dale a rough drawing of what I needed and he said no prob. So I hopped in the car and drove the 1h45m trip up the Garden State Parkway to Orange County, NY, home of DD Fabrication and Marine. Dale machined up this little gem for me in about 3 hours. How's that for "While-u-Wait" machining? 316 stainless, female thread to fit the prop shaft on one side, female thread to fit the slide hammer on the other. A work of art!
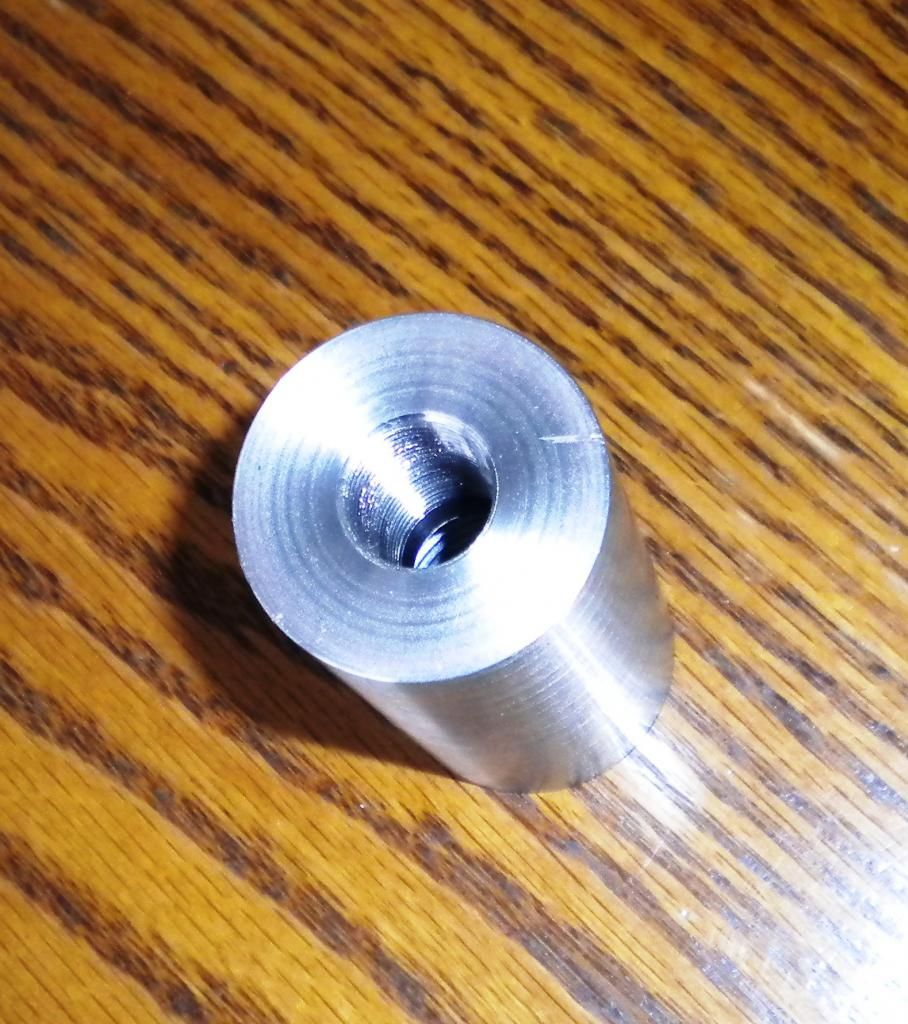
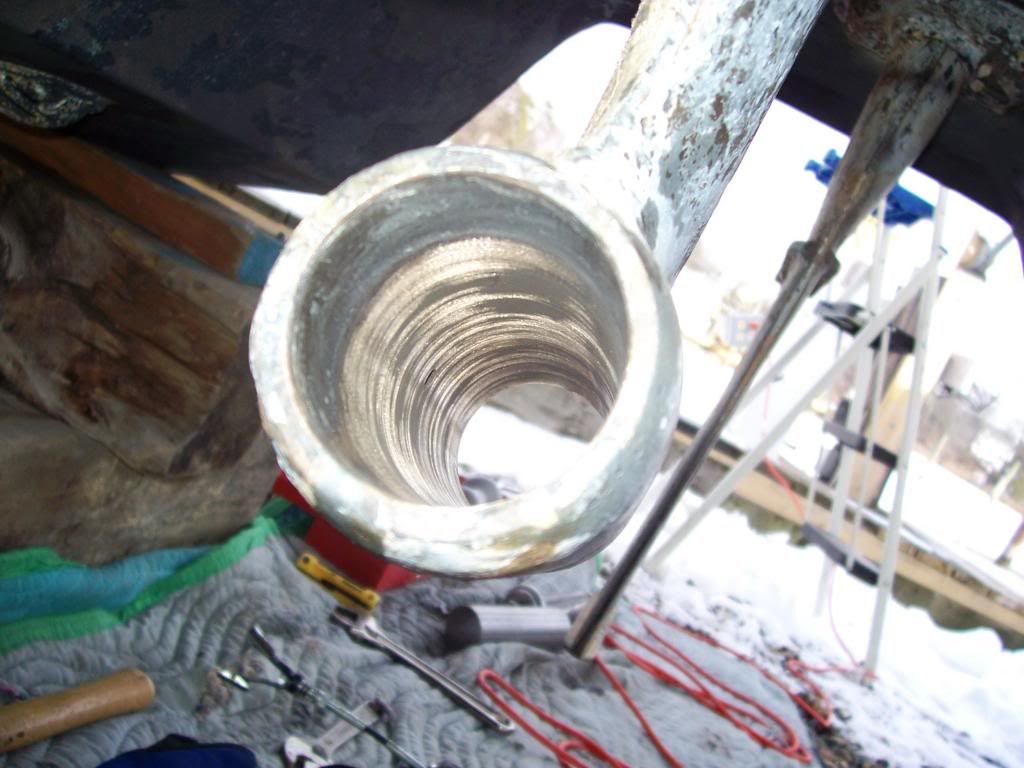
There was some question as to what the thread of the prop shaft actually was so I brought along the prop nut to be measured. Incidentally, the SR Parts Manual was wrong. It says 9 tpi, but in actuality it was 7 tpi. Trust but verify.
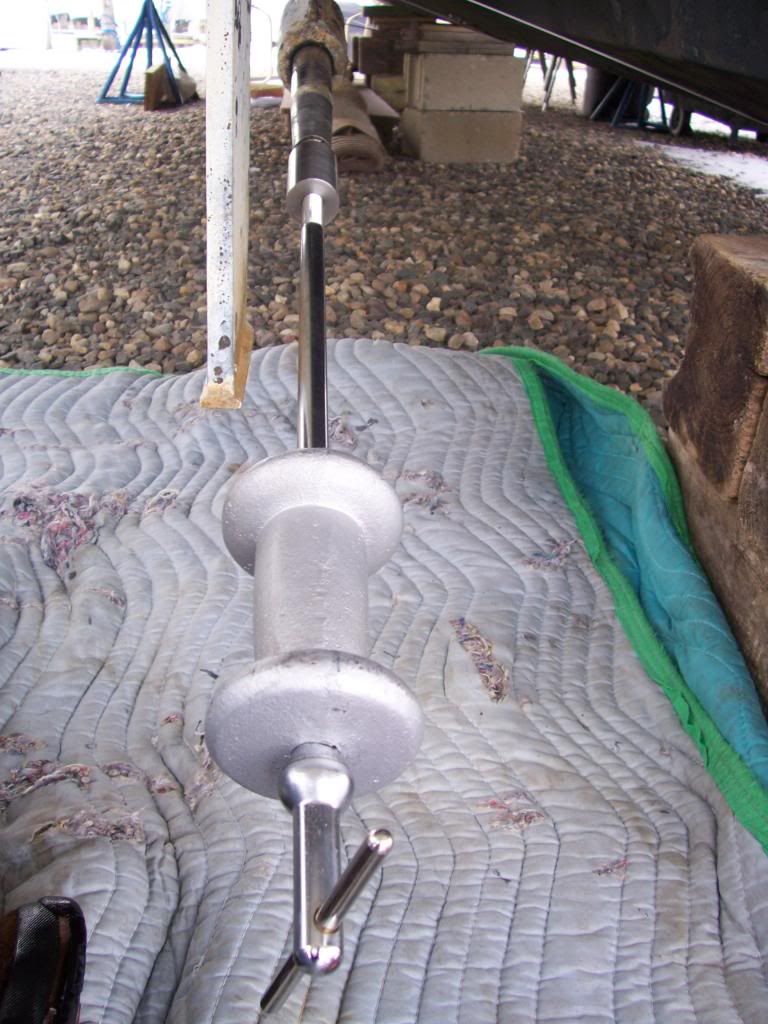
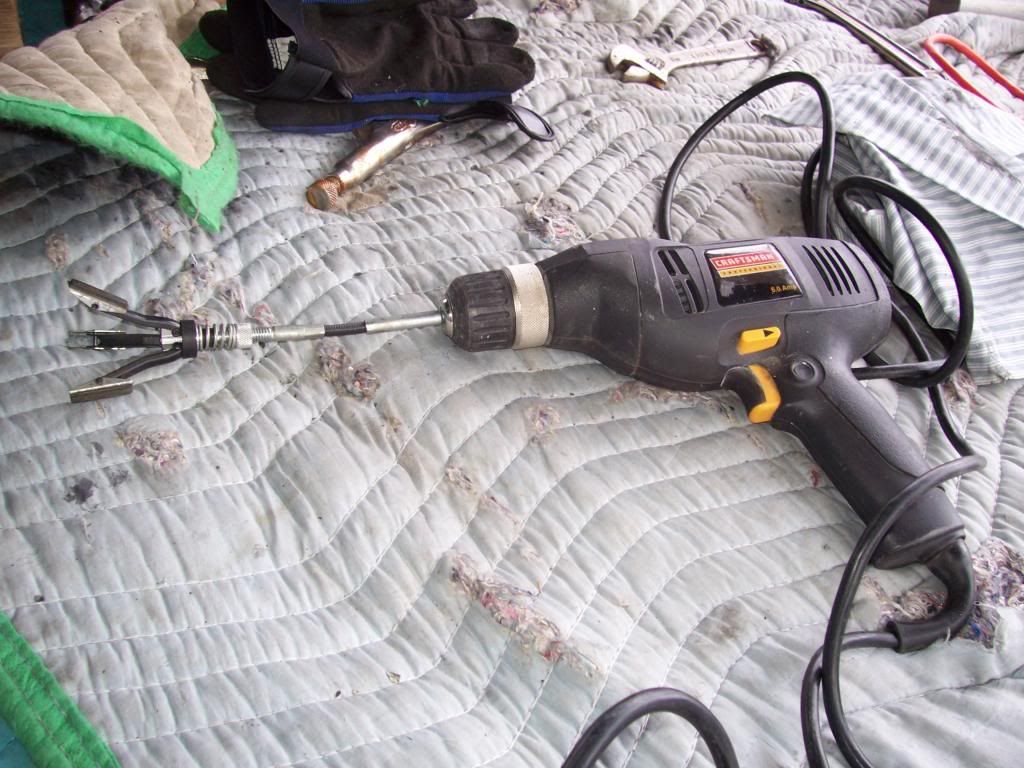
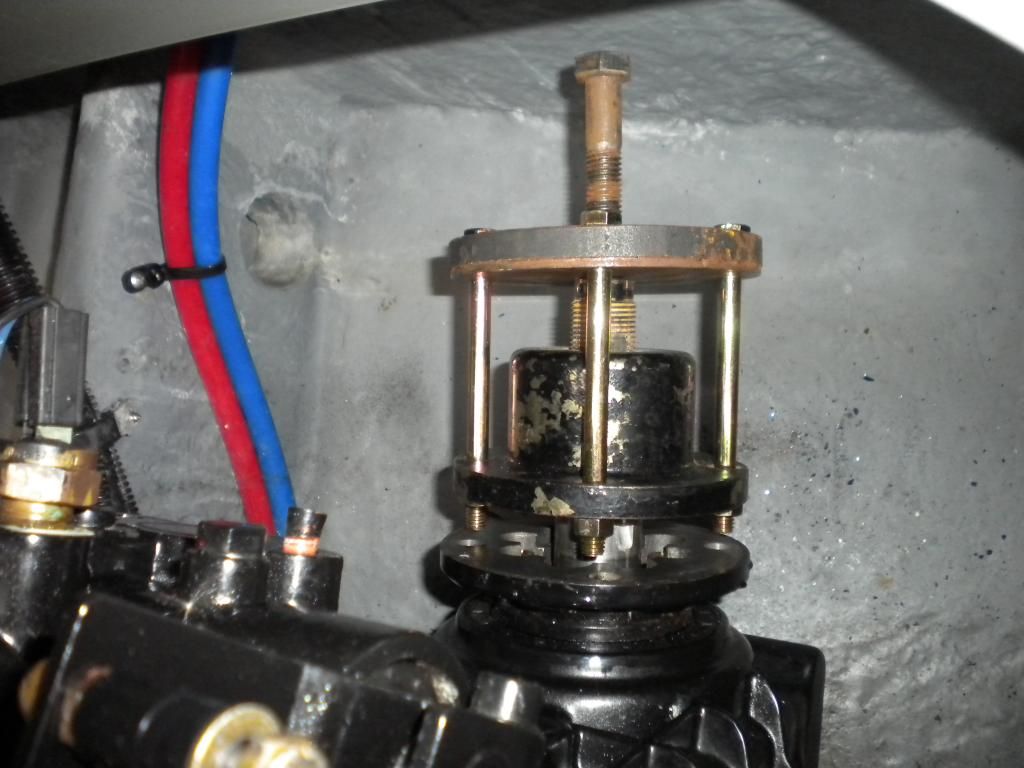
So here is the setup. The white thing is a bushing Dale fabricated to fit in the stern tube to center the shaft perfectly, which allows for a precision alignment of the engine. The gizmo at the top of the photo (with the threaded rod) is something Dale made to remove and press in a new cutless bearing. The three-pronged thing-a-ma-bob attaches to a drill and is used to clean the inside of the strut once the CB is removed. Also pictured is the slide hammer (3 pound) and the prop nut.

Here's where the story ends...for now. There's a blizzard raging outside and I have to wait for the weather to break to try out all my new gadgetry. But this is a good time for a plug. Dale does this stuff in his sleep and he is capable of fabricating just about anything you may need for marine applications (or any applictaion for that matter). He is MasterFab here on CSR and I know he'd love to hear from you!
So now all I can do is wait for some warmer weather to continue this post. Is it spring yet??
Here's the port side. Note the water stain beneath. One of the reasons I bought this particular model is the vast amount of space to work in the engine room. I can reach this while sitting btwn the motors without a great deal of contortion. These are the older (original) Tides Strong Seals. There is no cross-over and the blue tube is not corrogated. This is all going to be replaced. There was not spare lip seal on the shaft so that indicated to me that someone had already tried to stop a leak by slipping the spare in. I only say this b/c the stbd side, which does not leak, still has the spare lip seal in place on the shaft. I will not be disturbing the stbd side since it is dry and has a spare seal in place if the existing one should fail.
Here's the stbd side. You can see the housing for the spare seal on the left of the picture. A bit scuzzy under there but you'll have to trust me when I say it's not leaking!
This is what I will use to replace what I have. This is the Tides Sure Seal. I will put the one with the two connections for a future cross-over.
First thing was to get the prop off. I purchased this puller on ebay for about $90. Beautifully machined out of aluminum and can be used on 3 or 4 blade props. Worked like a charm. That's a JUMBO crescent wrench that I picked up at Harbor Freight. Remarkably it didn't break in the process.
Speaking of Harbor Freight, I also picked up this monster socket set. I needed a socket large enough to get the nut off the other end of the shaft and didn't think it wise to use the crescent wrench for that. This set was about $40. Nothing broke during the process from this set either. Amazing. That's the prop jam nut sitting there. 1-13/16" socket needed for this job.
Attention now turned to the coupler end. Not very much room btwn this end of the shaft and the bulkhead. The trick is to get the coupler uncoupled and then pop the shaft side of the coupler off with a puller. But what puller is going to fit in this small space???
The bolts holding the halves together came of with no problem. Next was getting the nut off the end of the shaft inside the boat. I've heard horror stories about this part of the job. I spoke to Alex F about his method of fixing the propshaft so it doesn't free-wheel while being towed or running on one engine and employed his technique. And here it is.
and it worked like a charm.
Went under the boat, marked the shaft and tapped it so it would move INTO the boat about an inch or so. I then mounted this gadget, made for a friend of mine by another friend at Charter Machine Company in Metuchen, NJ. This was made for a Carver with Crusader 8.1s but lo and behold, it fits this Merc/ZF application as well. Lucky for me.
I didn't even have to turn that center bolt. A few even twists of the bolts and the coupler popped off. Maybe 20 seconds. So far, so good. This is turning out to be a piece of cake.
After I removing the raw water feed line and loosening the hose clamps from the old dripless, I headed back under the boat to move the shaft aft in order to be able to pull off the Strong Seals from the shaft. NOW we have a problem. The shaft was extremely tight in the cutless bearing and was very difficult to move. I've heard other people say that the shaft pretty much slid right down and out once uncoupled. Not the case here. So I put the prop nuts on and tried to bang on them with a 2 by 3 held parallel and tight to the long axis of the shaft. Again, I marked the shaft so I could keep track of how much it moved. I needed about 20". After about the 10th hammer-strike, I had my first Harbor Freight P.O.S. Tool company casualty. The 3lb had sledge I bought for just this occasion failed me.
But I pressed onward with a regular hammer and after 15 exhausting minutes of pounding I move the shaft about 7". I dripped soapy water in the cutless bearing but it was not helping. All the while I'm thinking there has to be a better way. So I pack up and headed home. I had spoken to Frank Webster well before starting this job and we discussed the use of a slide hammer to get the coupler off the shaft, so I had borrowed one from my friend Jon. I didn't need the slide to remove the coupler, but I'll bet it could make quick work of moving the shaft. The question is, "How do you get the slide hammer to attach to the propshaft?" I came up with an idea - now I needed someone to make me an adapter. There is one man for this job - and that man is my MasterFab!
I emailed Dale a rough drawing of what I needed and he said no prob. So I hopped in the car and drove the 1h45m trip up the Garden State Parkway to Orange County, NY, home of DD Fabrication and Marine. Dale machined up this little gem for me in about 3 hours. How's that for "While-u-Wait" machining? 316 stainless, female thread to fit the prop shaft on one side, female thread to fit the slide hammer on the other. A work of art!
There was some question as to what the thread of the prop shaft actually was so I brought along the prop nut to be measured. Incidentally, the SR Parts Manual was wrong. It says 9 tpi, but in actuality it was 7 tpi. Trust but verify.
So here is the setup. The white thing is a bushing Dale fabricated to fit in the stern tube to center the shaft perfectly, which allows for a precision alignment of the engine. The gizmo at the top of the photo (with the threaded rod) is something Dale made to remove and press in a new cutless bearing. The three-pronged thing-a-ma-bob attaches to a drill and is used to clean the inside of the strut once the CB is removed. Also pictured is the slide hammer (3 pound) and the prop nut.
Here's where the story ends...for now. There's a blizzard raging outside and I have to wait for the weather to break to try out all my new gadgetry. But this is a good time for a plug. Dale does this stuff in his sleep and he is capable of fabricating just about anything you may need for marine applications (or any applictaion for that matter). He is MasterFab here on CSR and I know he'd love to hear from you!
So now all I can do is wait for some warmer weather to continue this post. Is it spring yet??
Last edited: