25thmustang
Member
Looks great, and should really brighten up the cabin!
Follow along with the video below to see how to install our site as a web app on your home screen.

Note: This feature currently requires accessing the site using the built-in Safari browser.
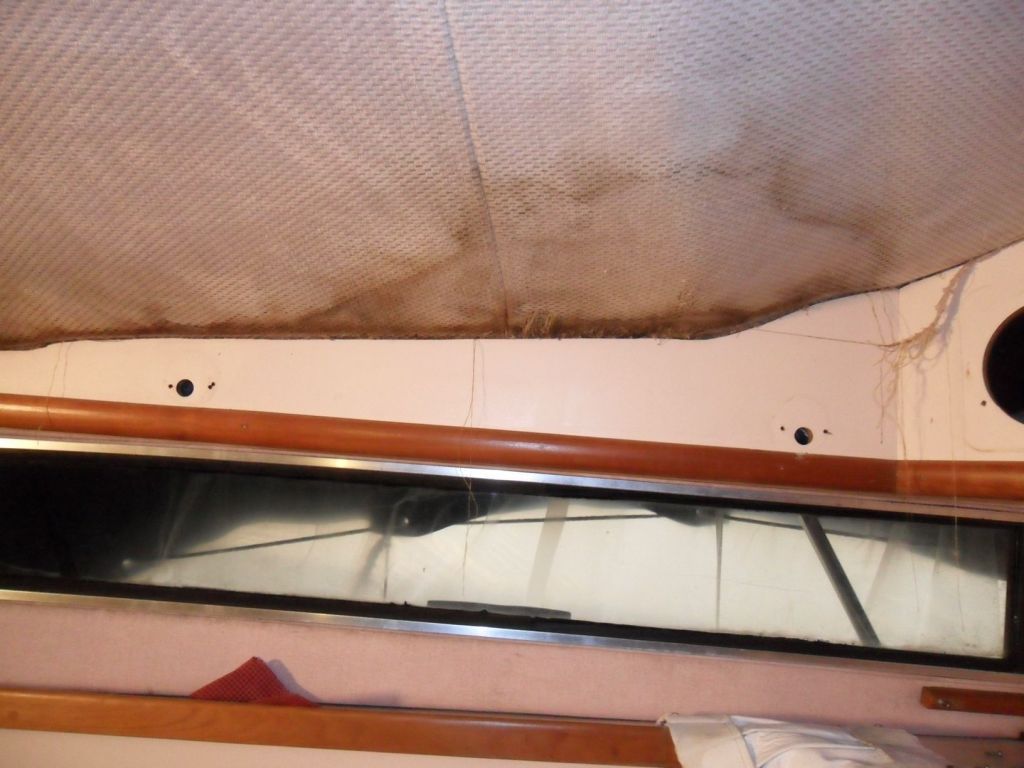


The years of the boat are different so the layouts are not quite the same. I have a couple of panels. Are you talking about the shore power panel down inside the boat by the stairs or the fuse panel next to the helm? I use a small digital camera to point into areas I cannot see. This way I can take a bunch of pictures and use them as my eyes. I know I have one more leak to fix, but it is a simple fix for this year. Water was running down from the windshield where the wiper wires run into the galley. I did replace the caulking where the hole is from the inside to the corner of the windshield. I also saw light coming through the corner. I am going to remove all the silicone they put on the edge of the windshield to where it is bolted to the fiberglass and caulk with 3m 4000 after I tape the area ( makes easy clean up)
I have heard of Captain before, and that would be the last resort for me. Anything that is bolted to the glass, I much rather remove, clean, and caulk. Once you put epoxy, it is very hard to remove without even more work. Take some pictures and look for water stains or where the dust is not as thick. That is how I found the leak at the sink. Did not see it until I got the pictures on the big monitor. The little 2.5 in screen is fine for very obvious items, but the 21" monitor is so much better on these old eyes.
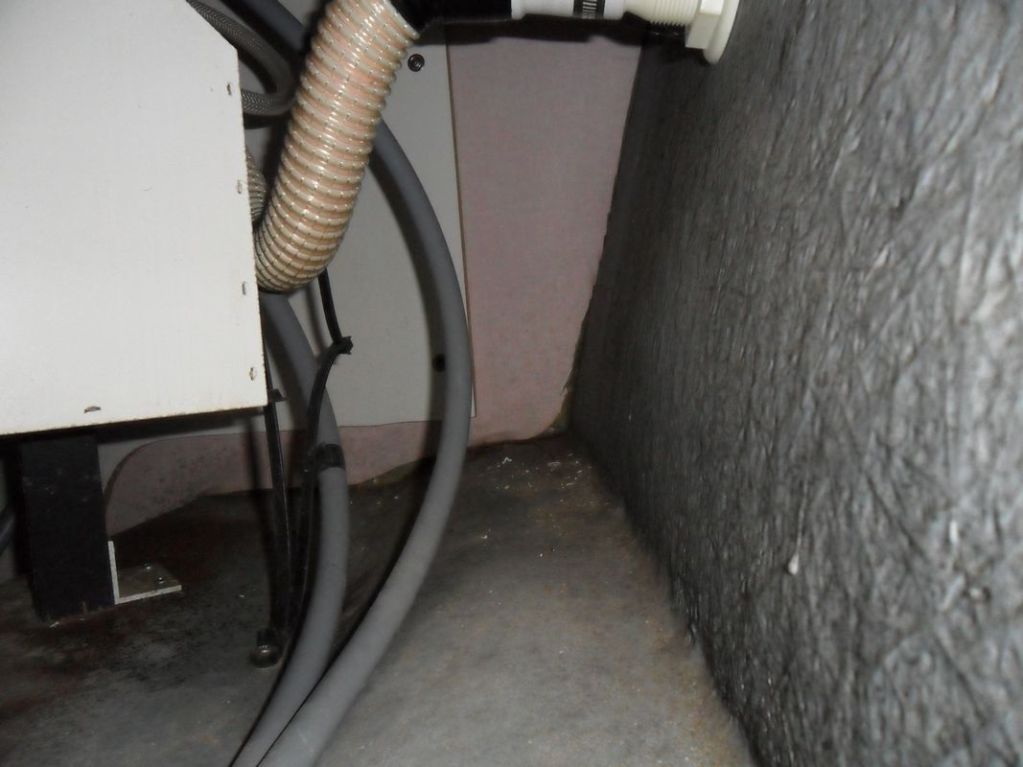
See the water stains to the left of the gray hose and next to the L bracket? It was only when I could blow it up that I could see the stains and it is right underneath the sink drain where the pipe was not cemented together, it was just forced fit. I ended up gluing it in place to stop the leak since it is only PVC pipe.

