Ka1oxd
New Member
- Nov 19, 2009
- 1,071
- Boat Info
- 1988 Sea Ray 340 Sundancer
- Engines
- 7.4l inboards
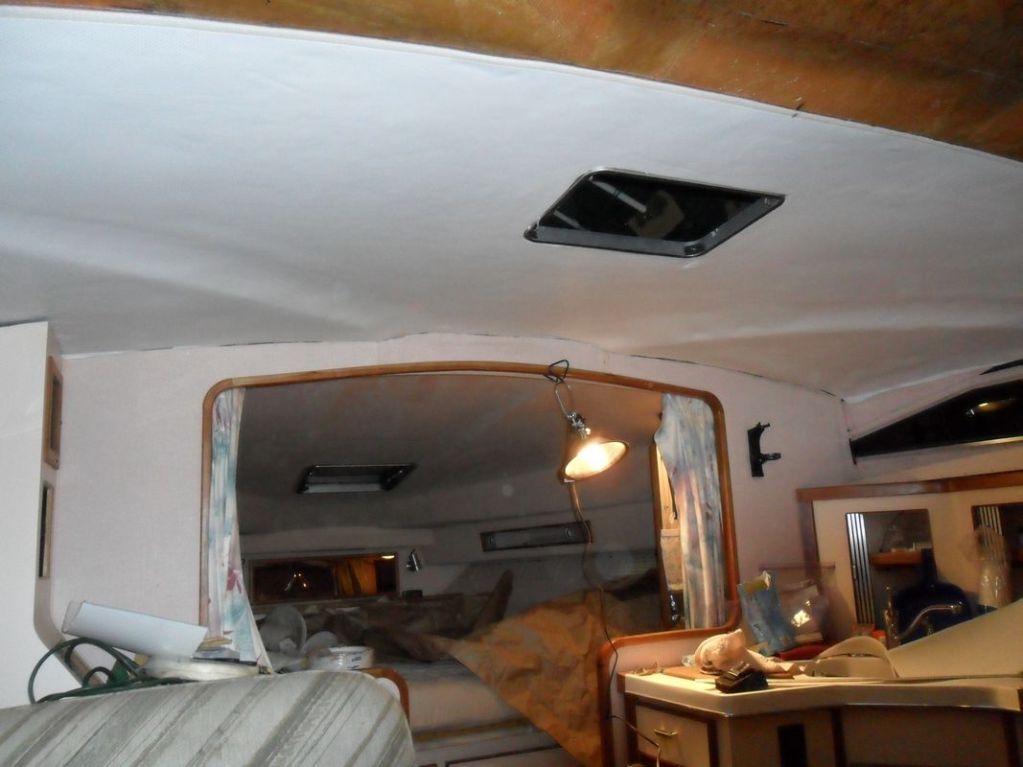
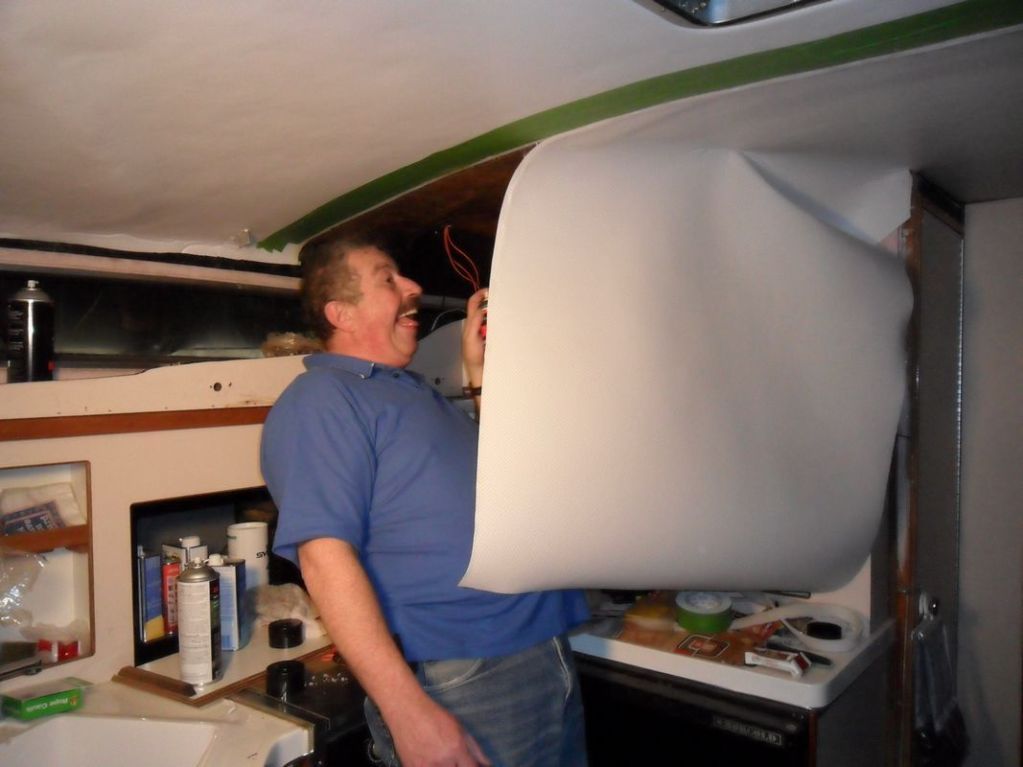
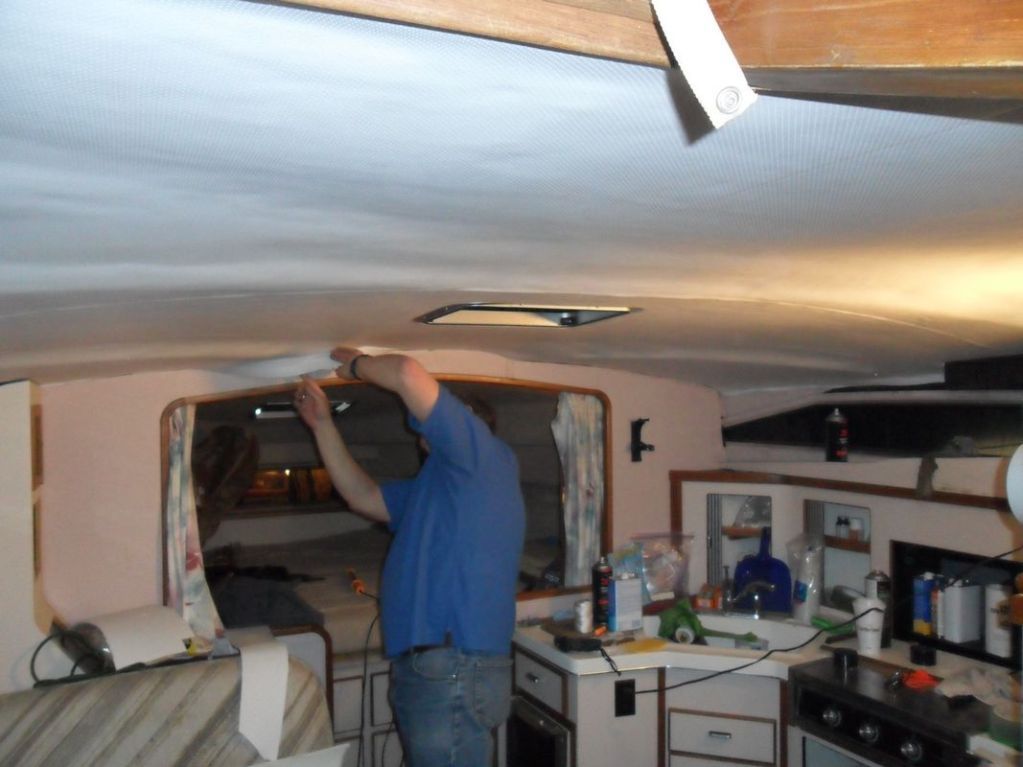
Well it is time to start working on the interior of the boat. What a pain the a$$ to pull the cabinets off inside to find leaks. So I decided to start a web page with the pictures and details.
http://1988sundancer.weebly.com/index.html
http://1988sundancer.weebly.com/index.html