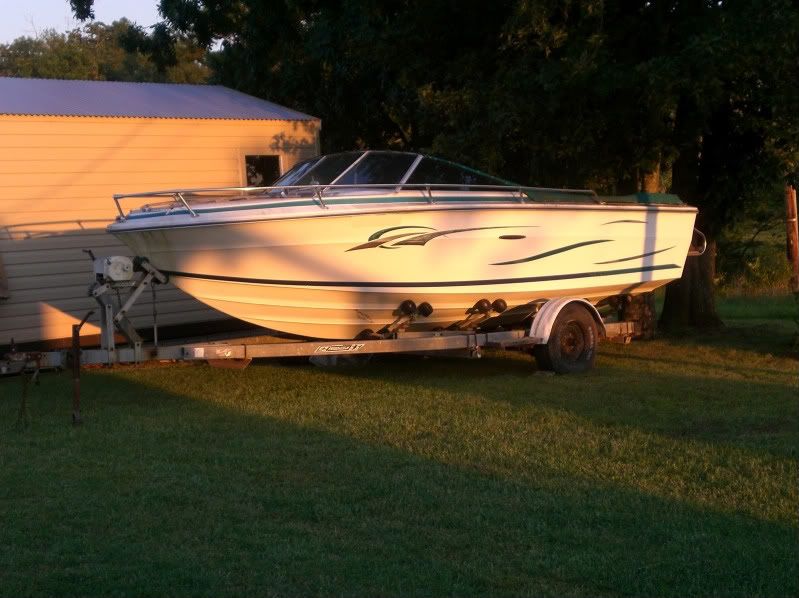
1978 srv200 closed bow 898 I/O
So this is my first boat, it was a freebie and needed work. My methods aren't as extreme as others I have seen on here, theres no reason to make it bullet proof, just water proof.
The bad: Transom, stringers, floor, needs storage and open bow.
I don't have many before pictures, so here it goes in order:
The day I pulled it home, it's dirty and oxidized...
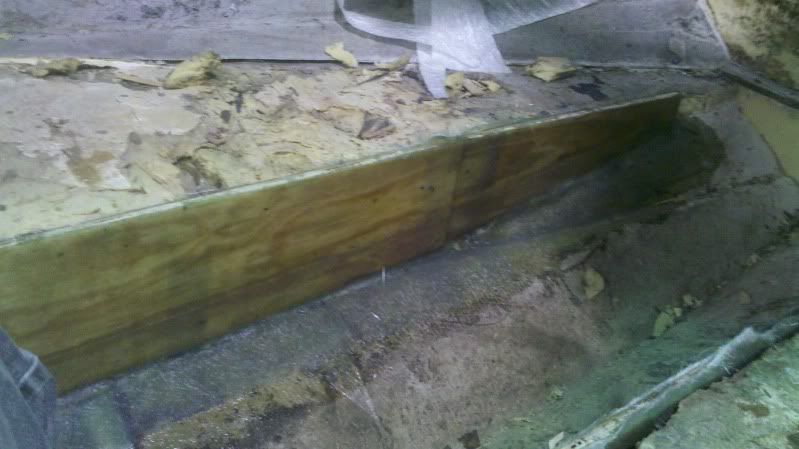
New transom
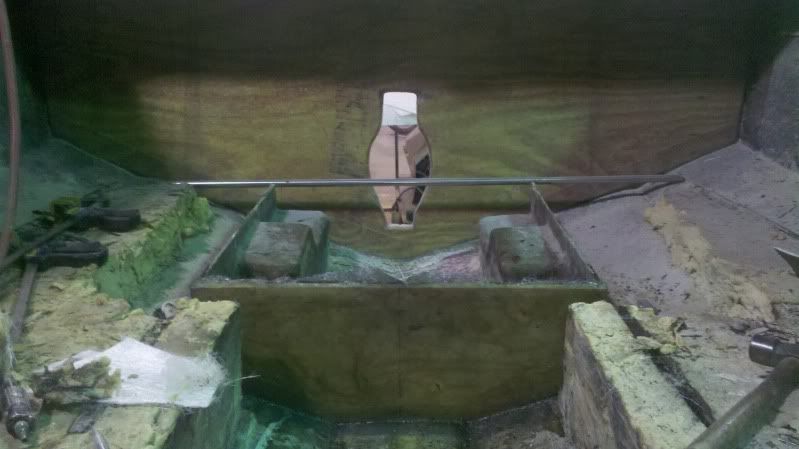
Full two sheets wide so I can add full length swim platform
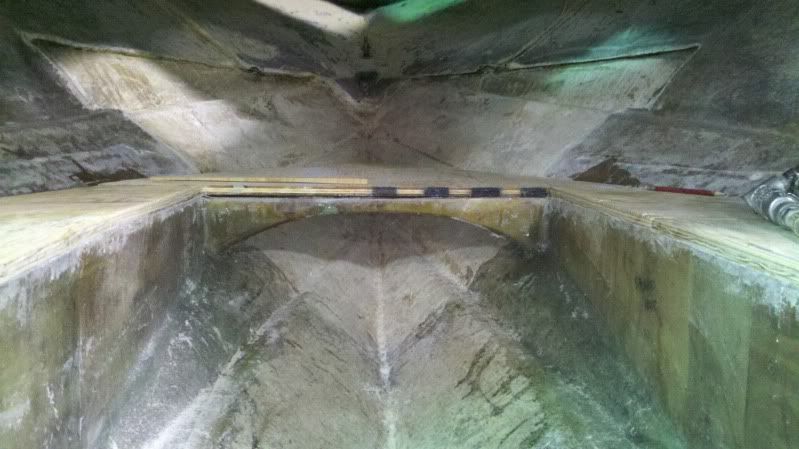
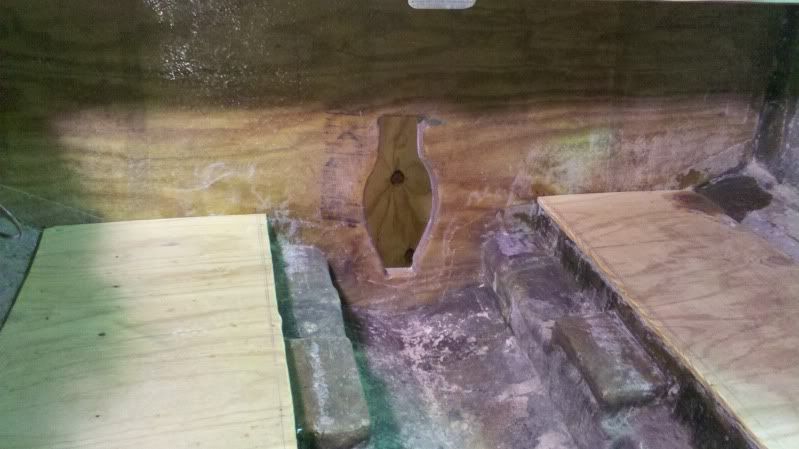
Bulkhead
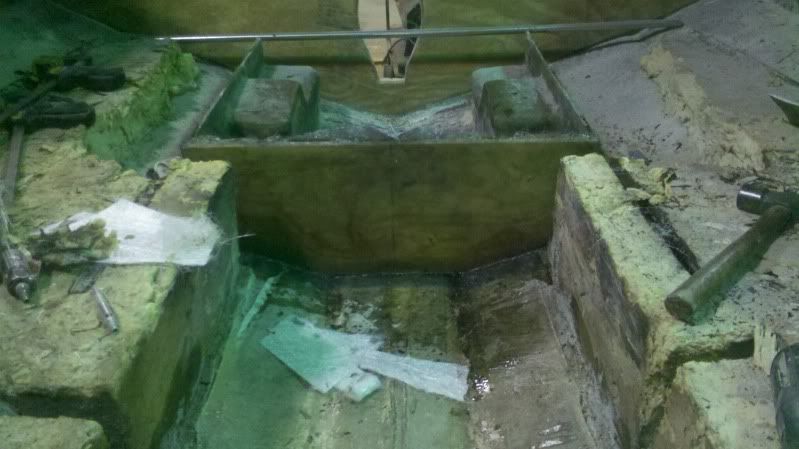
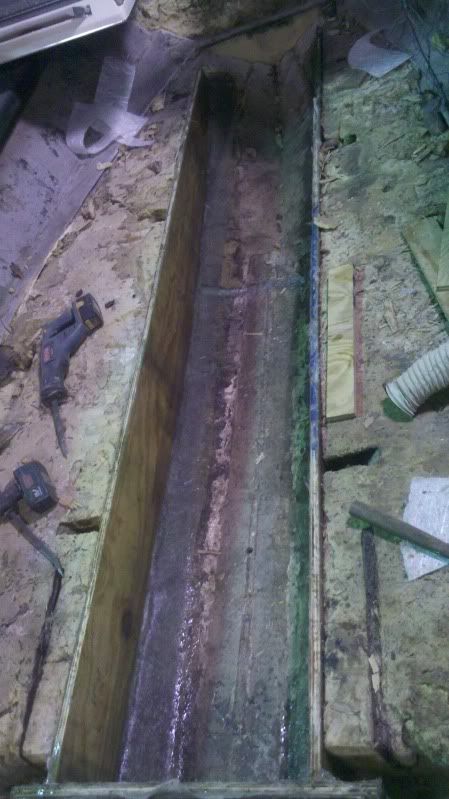
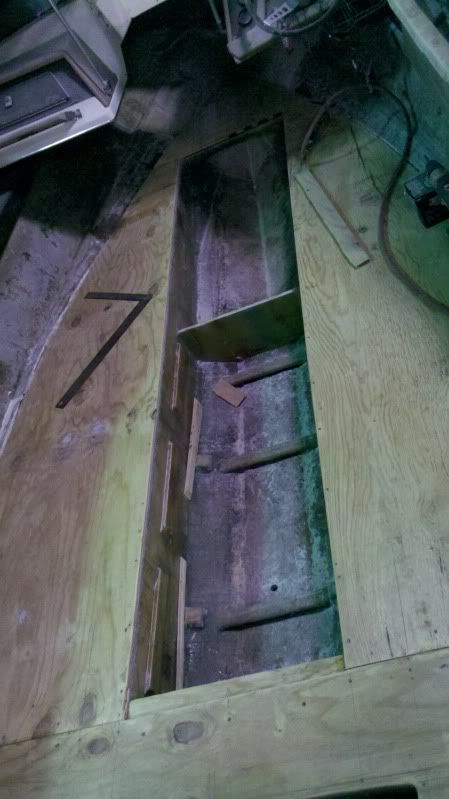
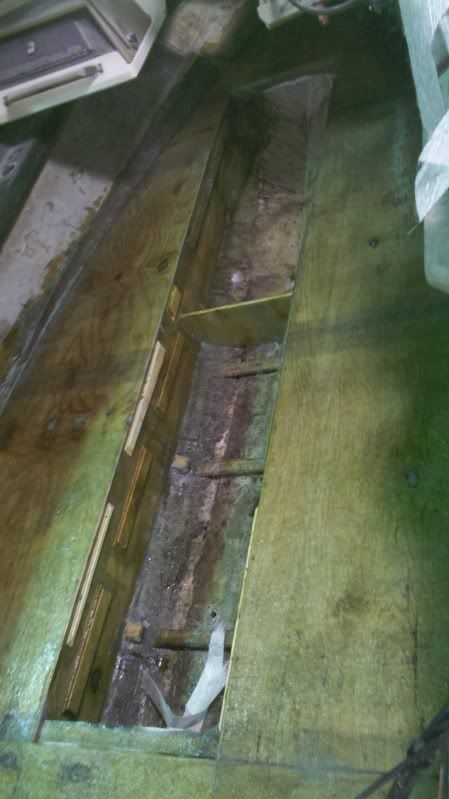
Stringers
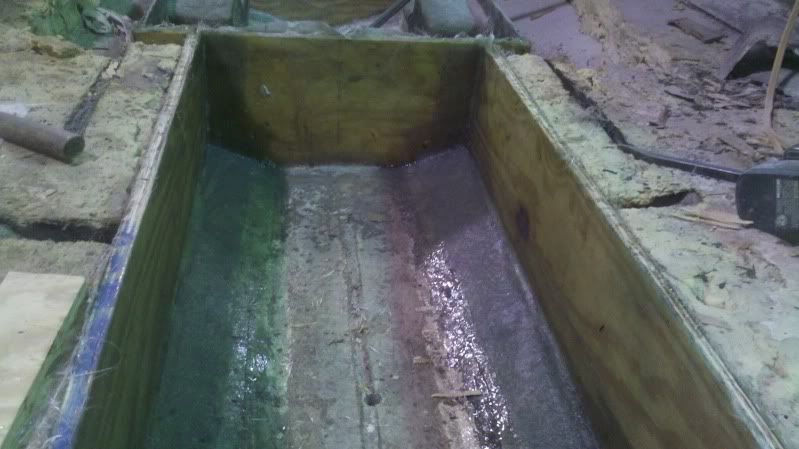
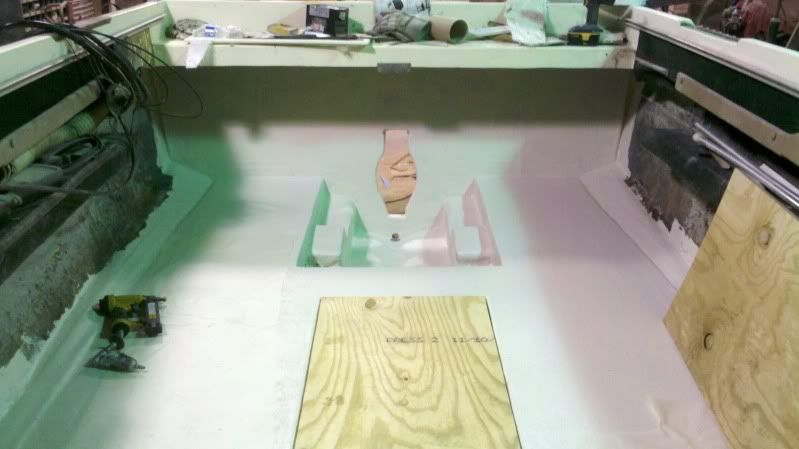
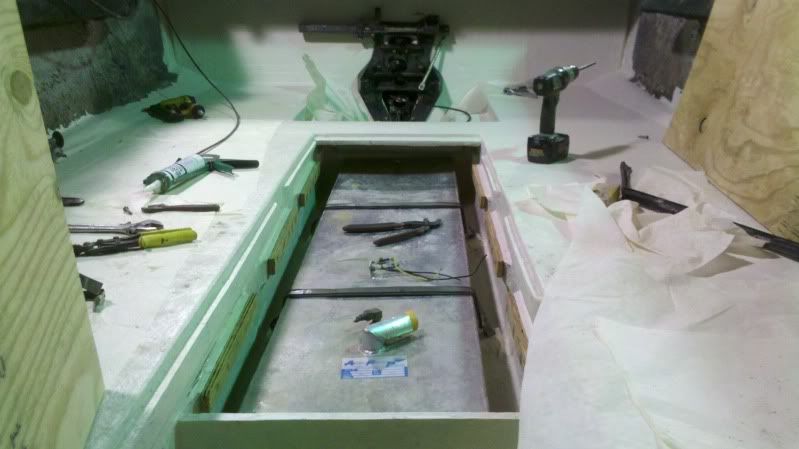
Removed fuel tank, foam and platform from front
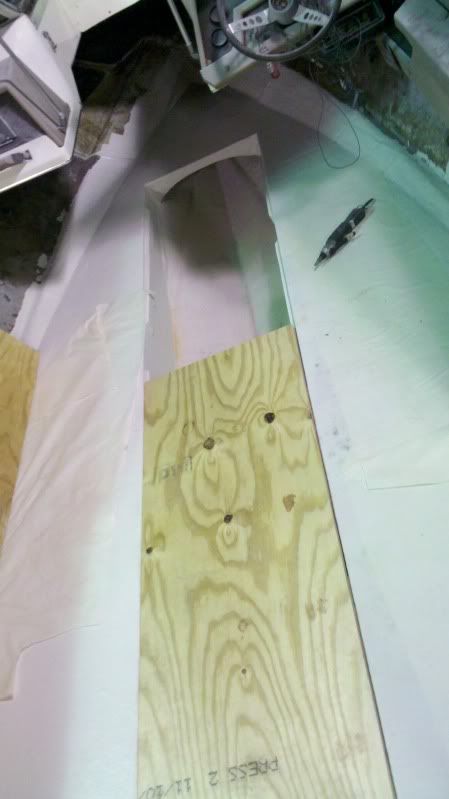
Floor extending to front with new storage and fuel tank room.
Floor Glassed
Gelcoat
New tank installed
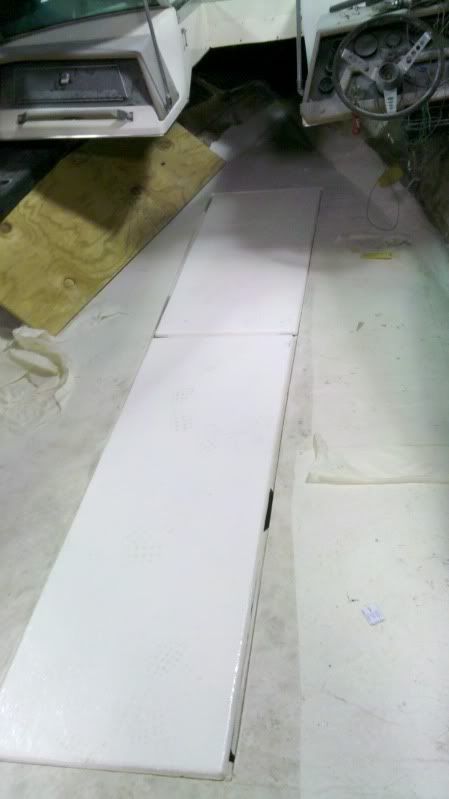
Storage lids gelcoated
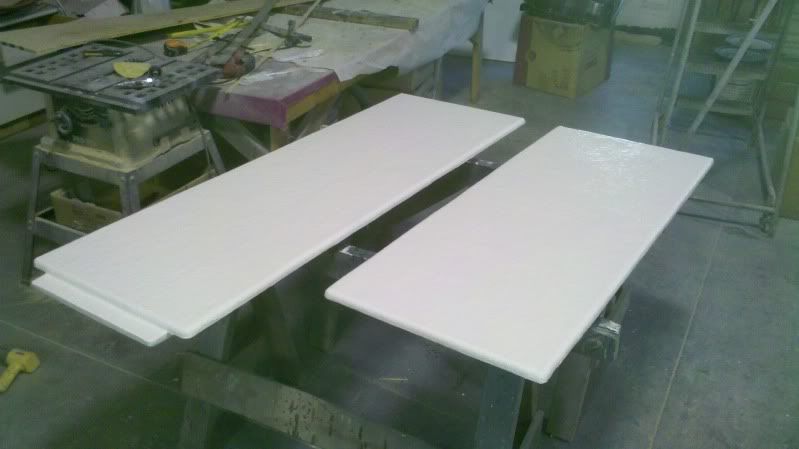
Lids not secured yet
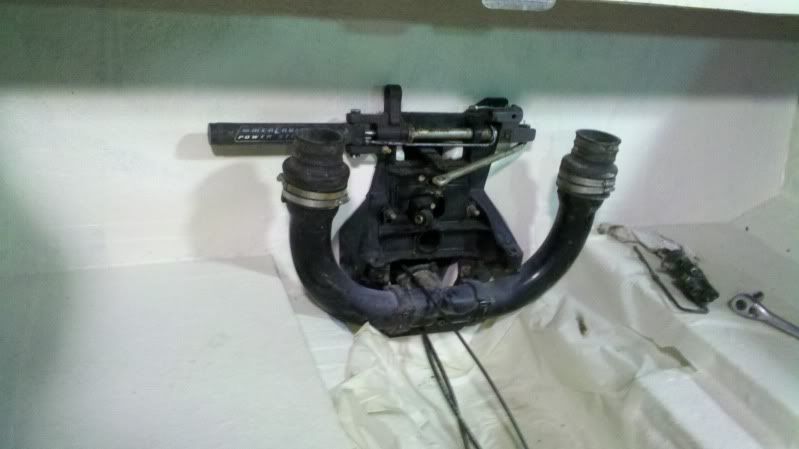
Transom plate and exhaust installed
Next:
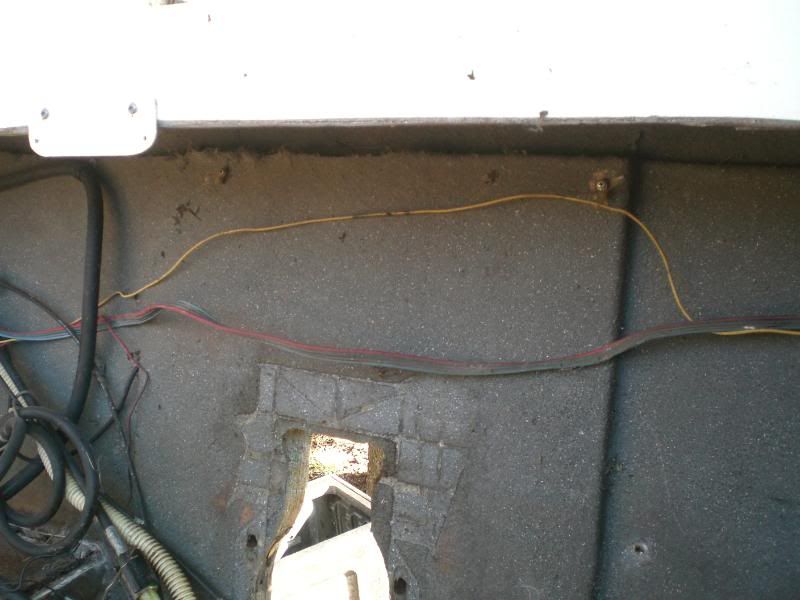
Fixed the rotten trim position/limiter wires, replaced bellows and install engine.
I'm waiting on bucket helm seats to come in and pedestals. No more back-to-back lounge seats!
Reconfiguring the interior panels, cover panels and laying carpet.
So this is my first boat, it was a freebie and needed work. My methods aren't as extreme as others I have seen on here, theres no reason to make it bullet proof, just water proof.
The bad: Transom, stringers, floor, needs storage and open bow.
I don't have many before pictures, so here it goes in order:
The day I pulled it home, it's dirty and oxidized...
New transom
Full two sheets wide so I can add full length swim platform
Bulkhead
Stringers
Removed fuel tank, foam and platform from front
Floor extending to front with new storage and fuel tank room.
Floor Glassed
Gelcoat
New tank installed
Storage lids gelcoated
Lids not secured yet
Transom plate and exhaust installed
Next:
Fixed the rotten trim position/limiter wires, replaced bellows and install engine.
I'm waiting on bucket helm seats to come in and pedestals. No more back-to-back lounge seats!
Reconfiguring the interior panels, cover panels and laying carpet.