Official 400EC thread

Looking for a new Bimini top for my 99 400 Express? Any ideas?

Jon

Most likely your best bet is to have a local canvas shop make one for you. A good shop can design and fabricate one without needing the old one.
 
Finally got my new refrigerator installed.


This towel bar needed to come off to be able to slide it straight in.
Use a 1/2" wrench to reach the nuts and washers holding in place.
 
Last edited:
Looks great Mark!! Any modifications or fabricating needed? Did it fit through doorway easy?
i see you have the fridge doors opening from the right, my existing one opens from the left (which has the door open into the sink and counter), do you find the right hand opening easier to access stuff in the fridge?
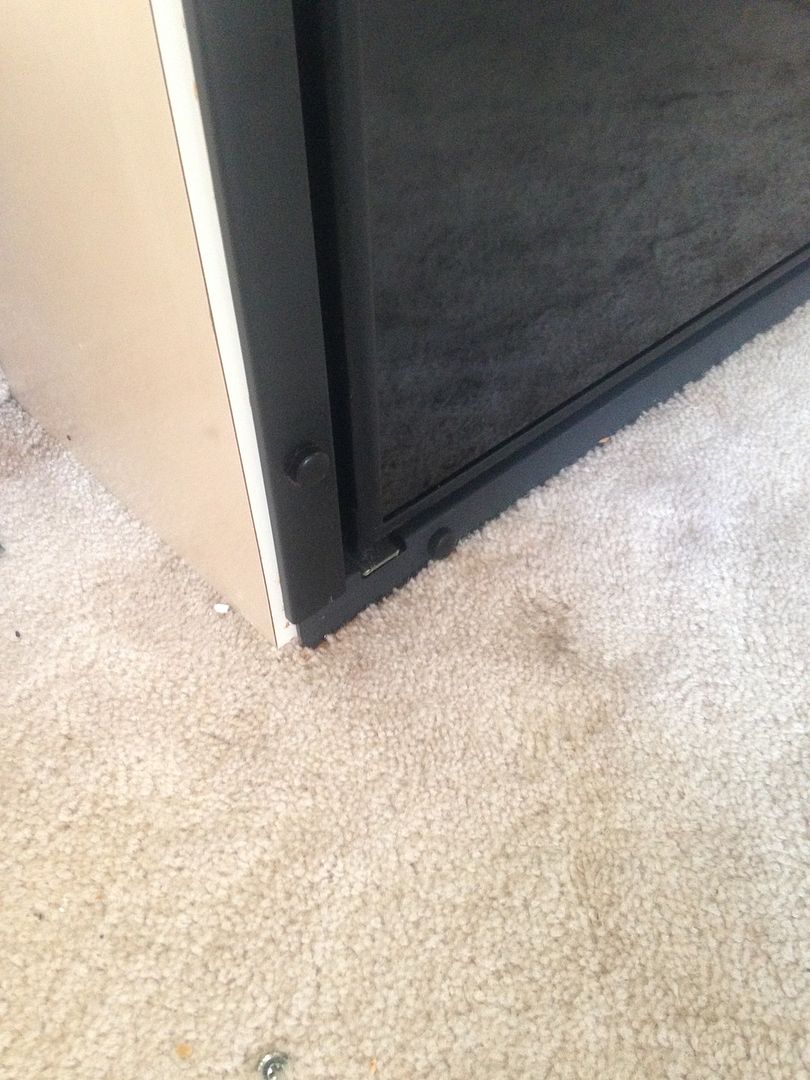
 
Cabin door needed to come off to make the opening just wide enough to get the stripped down Vitrifrigo into the cabin.


The slider is easy to remove with just a screwdriver.
Remove the four screws on the top and the three on the bottom.
Lift the door up and out.
 
Looks simple enough. I have the older style door but think it would be the same idea. There are two screws each at top and bottom of door that should release mine from the track.
 
Looks great Mark!! Any modifications or fabricating needed? Did it fit through doorway easy?
i see you have the fridge doors opening from the right, my existing one opens from the left (which has the door open into the sink and counter), do you find the right hand opening easier to access stuff in the fridge?

Only a slight mod to the bottom flange to make it fit flat against the opening.
Just a little hand grinding and repainting to prevent rust.


I did swap the doors to open the other way...just thought it's better this way.
Works well to load the counter right from the fridge.

Fitting it through the doorway was easier that planned.
Remove the mounting flange and doors and it just barely slid into the cabin with the cabin slider removed.
 
Thanks for posting. I will certainly refer back to this if (I should say, when) I change mine. I would love to get a report from you later in the year as to how the Vitfrigio holds up. Even though I can get a discount on a Norcold from a marine supply store I worked at, I think I am leaning toward the Virtfrigio when the time comes.
 
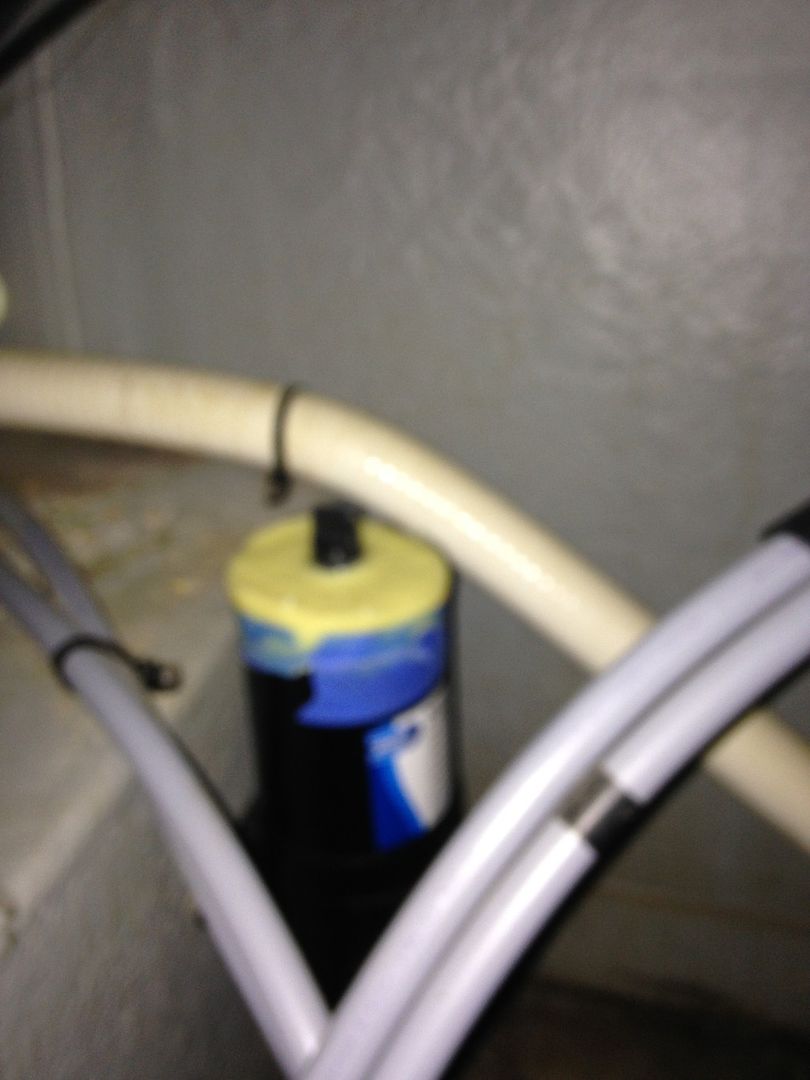
While behind the fridge, I noticed the water system accumulator was leaking from several stress cracks in the top of the unit.
I repaired it by masking tape the top to create a dish and then filled it with West System thickened epoxy.
Should be stronger than new.....didn't really care how it looked because, it's way out of sight and inaccessible.


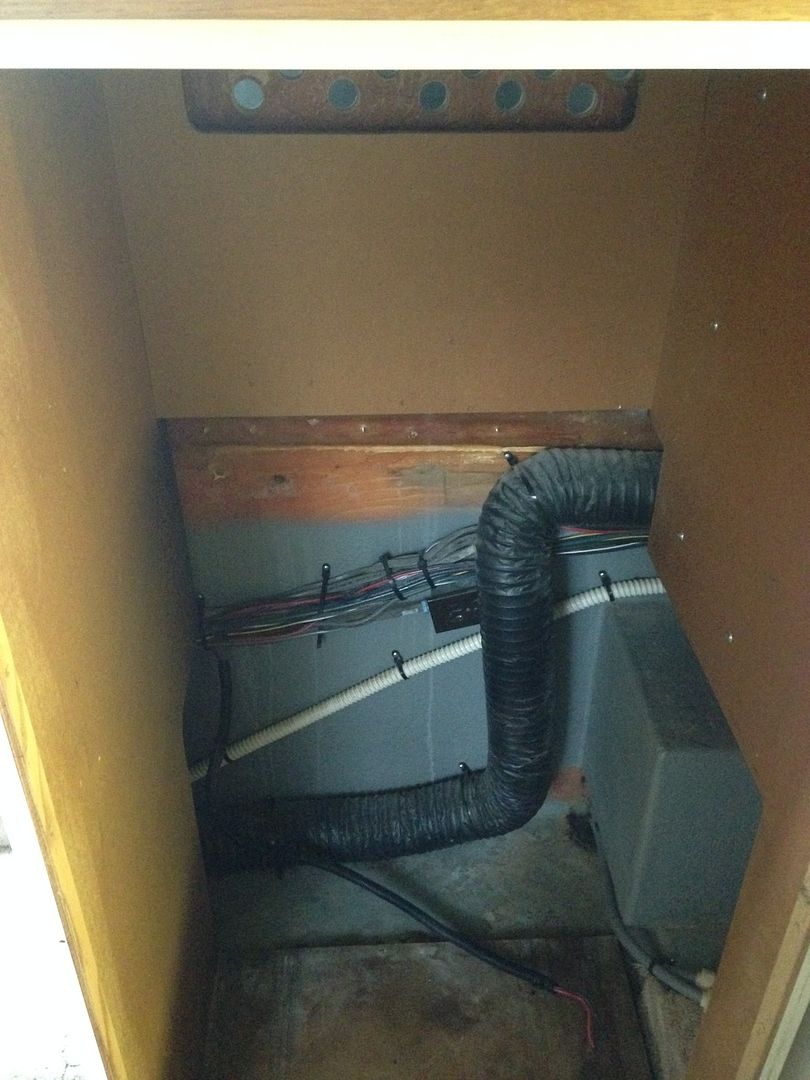
Its back in there to the right.
Also notice the vent holes that breath into the slider pocket / deck.
There is also a vent in the top of the cabinet to allow the heat from the fridge to escape.
 
Last edited:
Now on to fixing the worn-out, broken cabin door slider trucks that aren't made anymore.!
There is a new (improved?) truck and rail system but, really don't wish to dissemble my boat to install the new rails...and the new trucks won't fit the old rails!
I'm sure I'll come up with something......


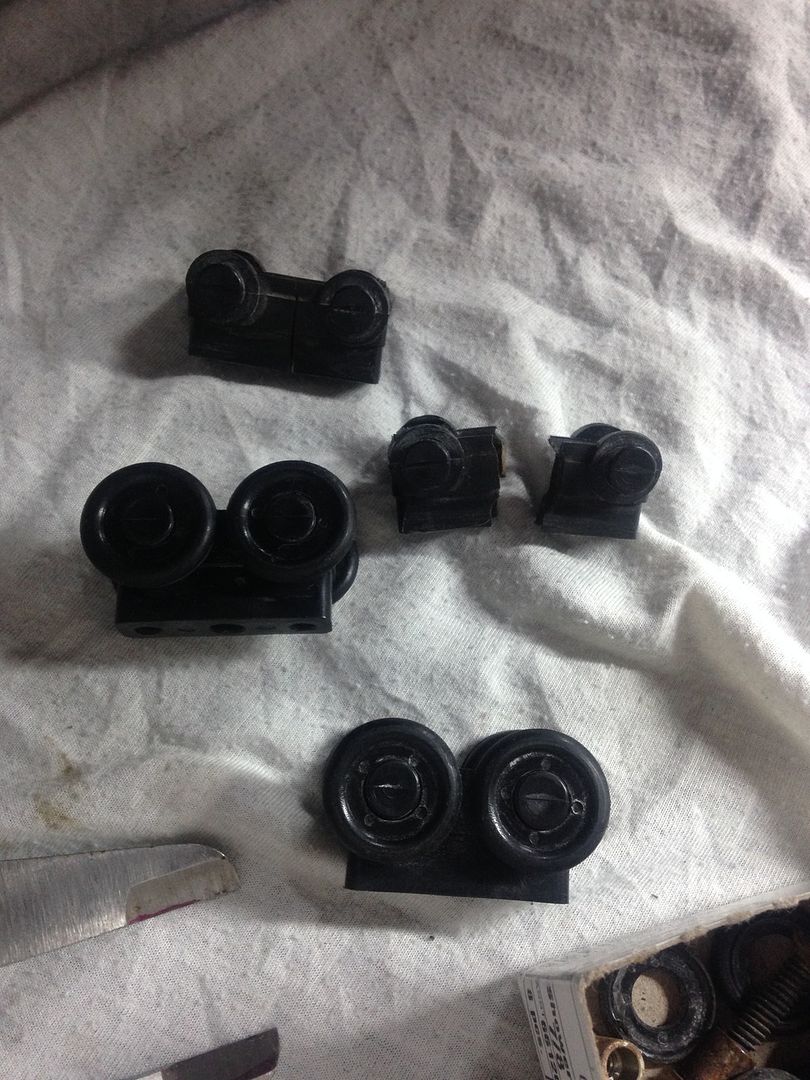
The 2 complete trucks are from the top rail and are still good.
The broken wheel-less trucks are from the bottom rail and need to be duplicated...some how?
 
Have been told one problem with the fridge in the 400 is a lack of air movement around the back of he unit...

Venting the shelf above might help extend the life of the unit.......

Jon
 
Now on to fixing the worn-out, broken cabin door slider trucks that aren't made anymore.!
There is a new (improved?) truck and rail system but, really don't wish to dissemble my boat to install the new rails...and the new trucks won't fit the old rails!
I'm sure I'll come up with something......


The 2 complete trucks are from the top rail and are still good.
The broken wheel-less trucks are from the bottom rail and need to be duplicated...some how?

CrazyGlue?
 
CrazyGlue?

I've decided to carefully sand the good ones down to the correct size to use in the bottom rail.
The top ones don't get nearly as much wear and I'll come up with something...maybe repair them. But, will still need to make new wheels for them due to the old ones being worn to a smaller diameter than when new...
 
Have been told one problem with the fridge in the 400 is a lack of air movement around the back of he unit...

Venting the shelf above might help extend the life of the unit.......

Jon

Heard that too....might add an extra fan under the stairs that vents the space to force more air movement back there.
There is already a vent in to top of the cabinet.
I am concerned that there's zero venting in the front.
The Norcold replacement has front vents top and bottom....
 
Last edited:
CrazyGlue?

Done, door closes with one finger now.

I had to get this done because, warm weather has finally reached the northeast and I'm home for a few days!

I took the two rollers or trucks from the top track that were in great condition and carefully sanded them down to the shorter height of the bottom trucks. Now I have two good trucks for the bottom track of the door.

I clamped the broken trucks from the bottom track back together in a vise with crazy glue :)
They need to be taller to be used in the top track so, crazy gluing a piece of plastic I found in my tool box to the top worked as both a spacer and brace to strengthen them.
Once installed they are supported with the mounting screws on either side so, should hold up fine.
Some filing, re drilling and reassembling the door.....works like new!

Thanks for the Crazy glue idea Harold....
 
Last edited:
Done, door closes with one finger now.

I had to get this done because, warm weather has finally reached the northeast and I'm home for a few days!

I took the two rollers or trucks from the top track that were in great condition and carefully sanded them down to the shorter hight of the bottom trucks. Now I have two good trucks for the bottom track of the door.

I clamped the broken trucks from the bottom track back together in a vise with crazy glue :)
They need to be taller to be used in the top track so, crazy gluing a piece of plastic I found in my tool box to the top worked as both a spacer and brace to strengthen them.
Once installed they are supported with the mounting screws on either side so, should hold up fine.
Some filing, re drilling and reassembling the door.....works like new!

Thanks for the Crazy glue idea Harold....

I was half-kidding, but am happy that it worked!!!
 
So, I am in the middle of another project. I wanted to move the forward facing white nav/anchor light from the windshield to the radar arch. I wanted to utilize my existing light pole but needed a way to get it to clear the open array radar. After some thought and tinkering, I have created my light mount: (it's not finished yet, still need to wire it, but it is bolted in. The radar array also needs to be remounted too. I am also taking this opportunity to change the mounting angle of the radar to try to pick up targets ahead of me better when I am at cruise speed.)
 

Attachments

  • image.jpg
    image.jpg
    91.5 KB · Views: 246
  • image.jpg
    image.jpg
    88.5 KB · Views: 252
  • image.jpg
    image.jpg
    81.9 KB · Views: 260
  • image.jpg
    image.jpg
    91.5 KB · Views: 243
  • image.jpg
    image.jpg
    78.4 KB · Views: 241
Common AC failure fix that is quite easy.

Just wanted to pass along a simple low cost repair if anyone has a "Crusaire" AC unit in their boat and the compressor does not shut off when set point is reached. Danger here is the fan speed slows or shuts off, which then limits air flow through and condenser which will then ice up, not good. From my research I found other Crusaire owners have same issue and actually carry one or two spare TRIAC's. There is a small electronic component called a TRIAC that you can get from Didgi-Key, Mauser, Arrow, etc. for about $8, or your local marine shop for $50 (LOL). This TRIAC is located in the small control box for the AC unit where thremostat plugs into and mounted with some conductive grease and two screws to the inside wall of said box. There are 3 wires, black, purple and yellow that connect via spade connectors. Make sure breakers are switched off and you double check there is no voltage at control box. Remove small cover and bleed voltage off capacitor before removing main PCBA cover. Takes more time to open the box than it does to replace the TRIAC. The TRIAC is 600 volt 35 amp. Part numbers are as follows: SanRex TG35F60 or Littlefuse Q6035P5. Stay cool!

Greg
 
Last edited:

Forum statistics

Threads
113,187
Messages
1,428,221
Members
61,099
Latest member
Lorenzo512
Back
Top