Teleflex Seastar helm pump leak on 1996 500 DA

Jul 13, 2009
868
Franklin Tennessee (Nashville area)
Boat Info
1996 500 sundancer
2001 340 sundancer sold
2001 270 Rinker sold
1996 240 sundancer sold
Engines
Twin 6v92 Detroit deisels
I noticed that over the winter that steering fluid had leaked from somewhere near my steering wheel and dripped down on to the helm floor. I searched everywhere for the leak and think that I finally found it from directly behind the steering wheel. I contacted teleflex and they needed a picture or two of the steering housing to identify the pump and provide me with the correct number for the seal kit they offer.
I sent them a few pictures and they immediately responded with the "correct" seal kit. Part number. I immediately ordered it and had it shipped in. Yesterday I removed the steering wheel and housing only to find that the drawing on the seal kit instruction do not resemble my actual set up. Needless to say I was very disappointed that this project has to remain unfinished until I can find the correct seal kit and instructions.

I can not find any part number anywhere on the helm pump or steering pieces . So I am going to post some pictures that I took that hopefully one of you guys have seen or owned before. Any help identifying this thing would be greatly appreciated also any experience with the install and purging would also be great.

Thanks in advance
Steve
6c68abe7ecc7966e7b41114e3154f0b5.jpg

dc593b22bdd1afaab9d573c2eb2cd1c9.jpg


3b66174118bc1c617ed81cdb34d019a8.jpg


c64b9505ce04fe8f677354a4d4940f6c.jpg


Sent from my iPad using Tapatalk
 
Ours always drips a little in the winter, as soon as it warms up, it stops. It has done it for years. Also, like the wasp nests in your helm, for some reason they love that spot, we have them there also.
 
Those aren't wasps nests, that is old school autopilot headquarters I hit the auto pilot button and wasps are summoned out of the nest and start steering the boat.
As far as the leaking goes....I have some kind of mental problem that doesn't allow me to not fix something on my boat if something is wrong, like a leak that only happens in the winter. I also have it pulled apart now, so I may as well fix it.

Steve
 
Last edited:
I did not know that was part of the Auto Pilot (haha). Our leak is so small, never drips to the floor. I find to many other things to play with, so its low on the list.
 
Great way to look at it..("play with") mine never ends up being that. It always turns into some crazy project that just leads into the next crazy project and so on and so on.

So far this spring has been a pain in the ass. I haven't left the dock and have had to work on all the following

1-repair water leak at water heater inlet (from disconnecting in winter)
2-replace head accumulator pump switch
3-shower sump pump wouldn't turn on (that ended up being minor till I broke the lid and had to make a new one)
4-still trying to replace vent window from last fall when I fell on it and shattered it
5-oil and filter changes (ended up burning up the oil change pump)
6-replace Racor filters (actually went fine)
7-re caulking all boat including port windows, hatches and cockpit
8-remove and clean all canvas
9-replace seal on helm steering pump...you know how that is going
10-try and locate leak in water tank when filling up tank
11-replace windshield wiper blades (not going well, the blades would not work on arms so when I went to replace the arms after painting them, didn't fit because the shaft on the motor is smaller then the the arm attachment (parts guy blew that)

Still to come
1-pull the boat out of the water next Sunday morning
2-removing props and having them tuned
3-replacing the speed transducer on the tri data
4-cleaning the bottom and and wellness check
5-May install trim tab indicator if I can figure out what I need.
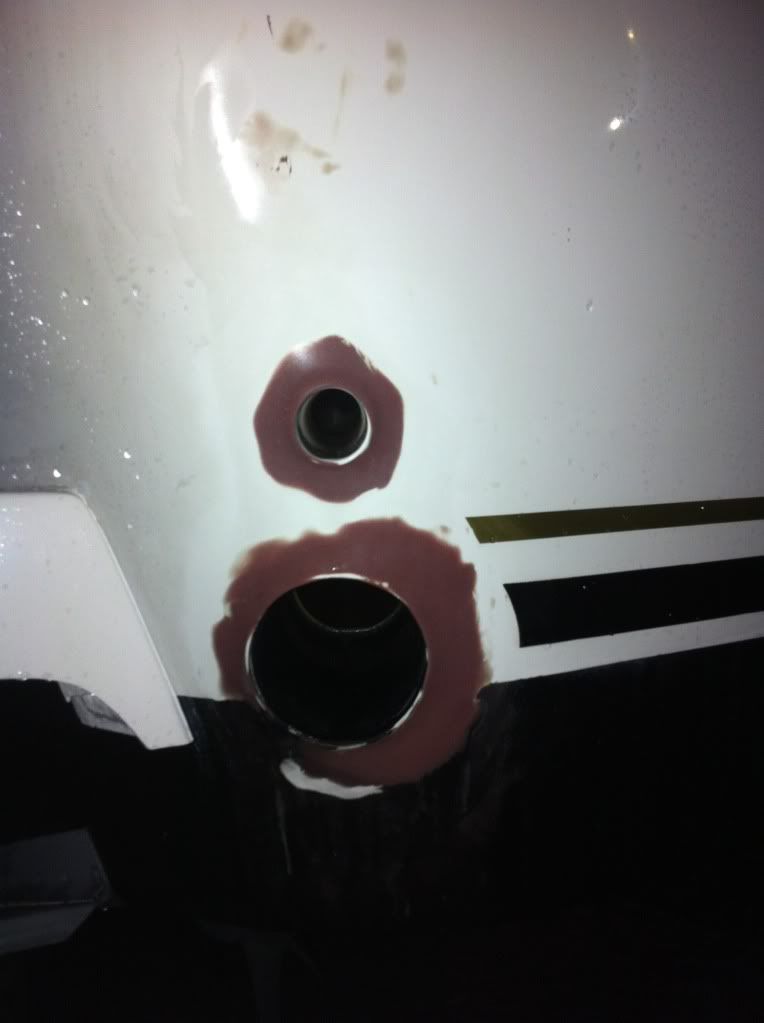
6-repair gel coat chips around exhaust (was there when I bought the boat)

Who know what else I will find when it comes out. I am guessing that it will be something crazy.

Now do you understand why I don't consider it "Play with"

Steve
 
Helm rebuild kit HS5176
Helm fill kit HA5438
Seastar Oil HA5430
 
We had all the cracks around the exhaust ports 2 years ago, they,re back already. Dont you love boating.
 
Thank you very Much TTmott. I really appreciate it. Have you installed one of these seal kits before? Does the entire helm pump have to be removed?

Steve
 
They are caused because searay forms and fills the area with polyester filler(i believe they call is cabosil) instead of epoxy,$1300 to have mine repaired correctly.
 
I wonder what causes them and if they are worth repairing if they keep coming back.

Steve

I had the same cracks and see them on other older SeaRays.

The cracks come from that area being too thick with gelcoat.
The repair is to grind out the excess gelcoat and add fiberglass, fairing compound and new gelcoat.
I fixed mine a few years ago..so far, so good.

This is before the gel was sprayed on.
 
Thank you very Much TTmott. I really appreciate it. Have you installed one of these seal kits before? Does the entire helm pump have to be removed?

Steve
I have and very easy to install. The hardest part is refilling so the fill kit is a no brainer. The helm unit must be removed to rebuild and that is very easy (at least on my boat it was). A couple of pointers:
Set up a clean work area to disassemble, clean the parts and pieces, and reassemble.
Clean, Clean, Clean. Dirt and grit is your enemy on hydraulic systems. I used paint thinner and toothbrushes to clean; It worked very well.
There are a couple of small ball check balls so disassemble on a white towel and reassemble on a clean white towel.
The paper instructions that come with the kit are useless so it you need, photo document as you tear apart, however, there really aren't that many parts.
Get two quarts of oil and purge all of the old oil out of the system so you don't recirculate particulate and end up with the same issues.
Your fill procedure may be different if you have hydraulic assist (which I don't), but on the hydraulic actuator I put tygon hoses on the bleed fittings and submerged the ends in a bleed container in oil in the bottom of the container; this is so air isn't sucked back into the system. Slightly crack the bleed fittings and cycle the steering back and forth with the fill kit installed at the helm and purge out all of the old oil. Empty that old oil and put new oil in that bleed container and cycle the steering again with a quart of oil at the helm fill kit. As the helm kit gets low put oil from the bleed container back in the helm fill container and continue to cycle the steering. You may have to periodically close the bleed fittings and cycle the helm left and right to continue to move air out of the system. Your helm fill kit will see air bubble up the fill hose as you cycle the steering. Just keep bleeding, cycling, and watching for air in the hose. When the steering becomes smooth and no more air you are done. Make sure to cycle the steering hard over left and right every time. I started by watching this:
https://www.youtube.com/watch?v=Bsi0dclYKcU


Hope this helps.

Can't tell you how much that helps. I really appreciate it. I will be pulling the pump out tonight and taking it home to do the rebuild. The video is a big help. I also noticed that the bushing on my shaft is a little broken up and needs to be replaced. I am hoping that I can find one somewhere.

Thanks again for all the help.
Steve
 
Last night I made it to the boat and got the helm pump pulled out and didn't notice any fluid residue on the back or sides of the pump and it was a little bit oily at the shaft seal. I replaced the shaft seal and left the pump in tact. Everything went smooth. Today it will be filled and purged. Hoping for the best.

Steve
 

Forum statistics

Threads
113,241
Messages
1,429,106
Members
61,122
Latest member
DddAae
Back
Top