lpvanam
Member
- Aug 8, 2009
- 105
- Boat Info
- 2006 Sea Ray 340 Sundancer "Even Moor Memories"
- Engines
- Dual 6.2L MPI - V-Drives
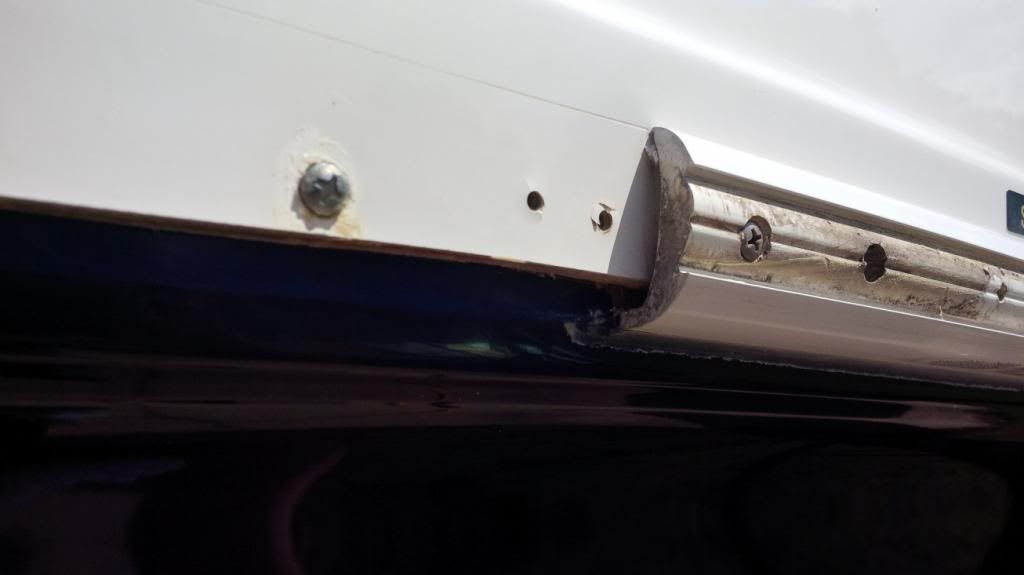
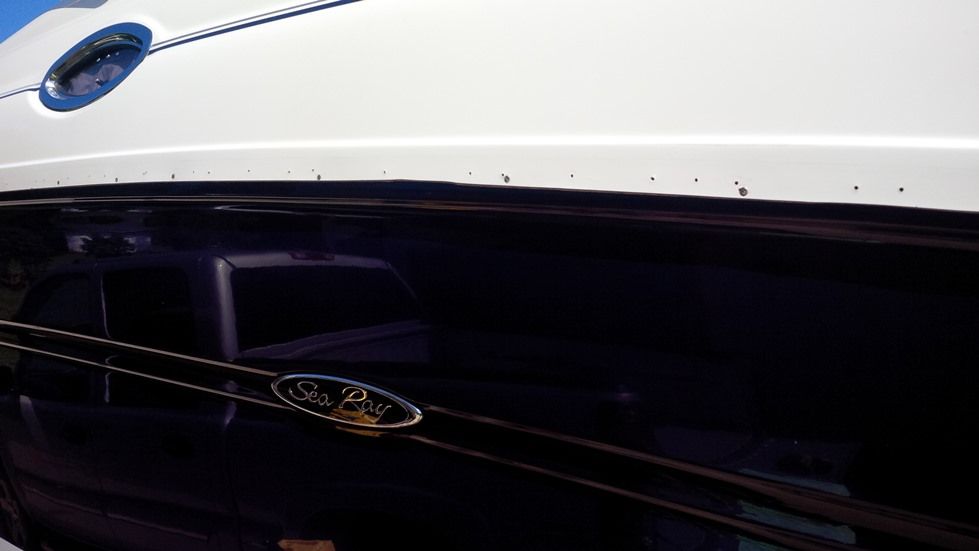
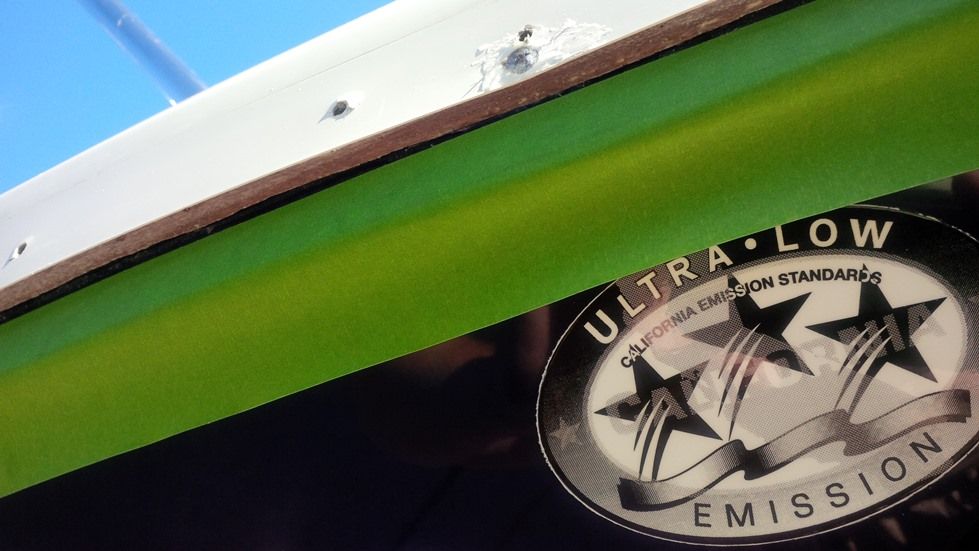
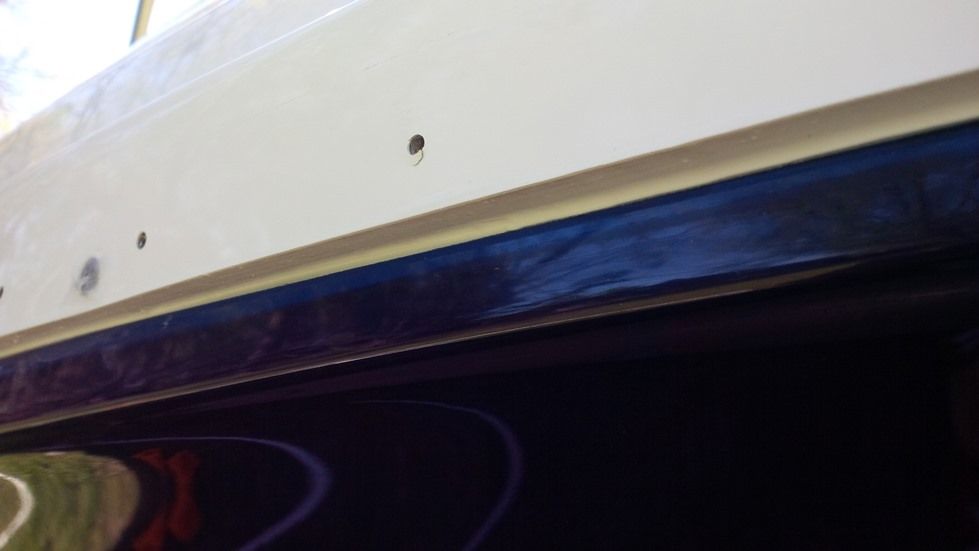
I have some leaks that I think are coming from the rails and cleats. Any rebidding advice would be appreciated.
Sent from my iPhone using Tapatalk
Sent from my iPhone using Tapatalk