New 260DA owner, few questions...

SeanO

New Member
Apr 5, 2010
43
Atlanta, Ga
Boat Info
2006 260 Sundancer
Engines
6.2 Mercruiser
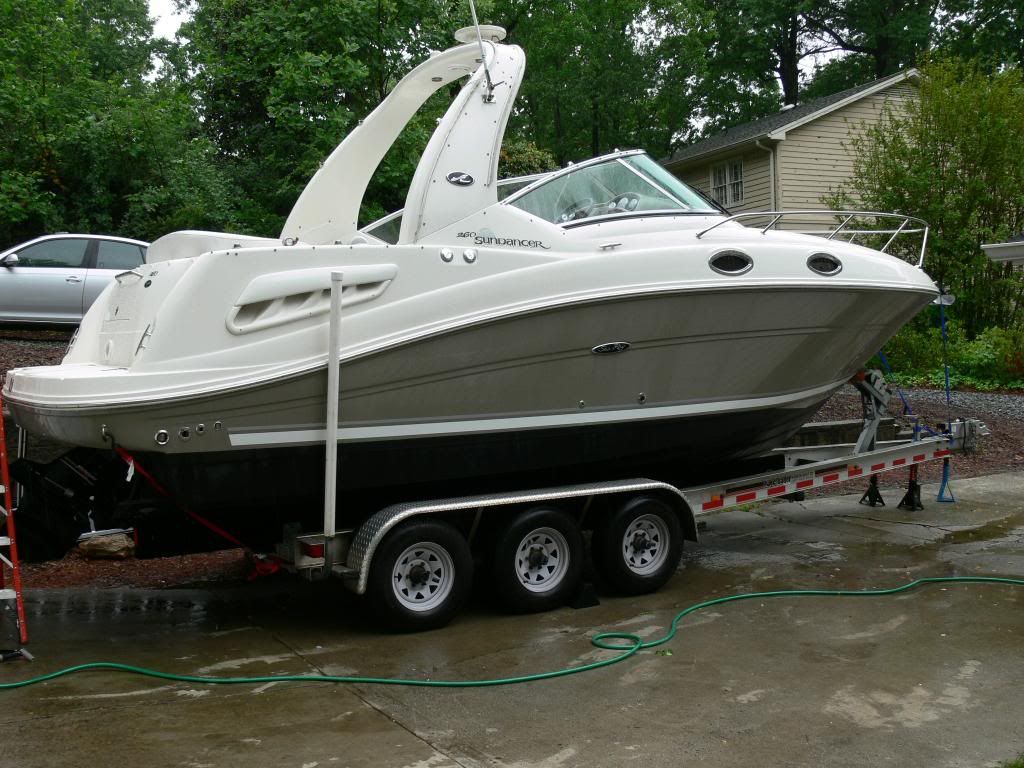
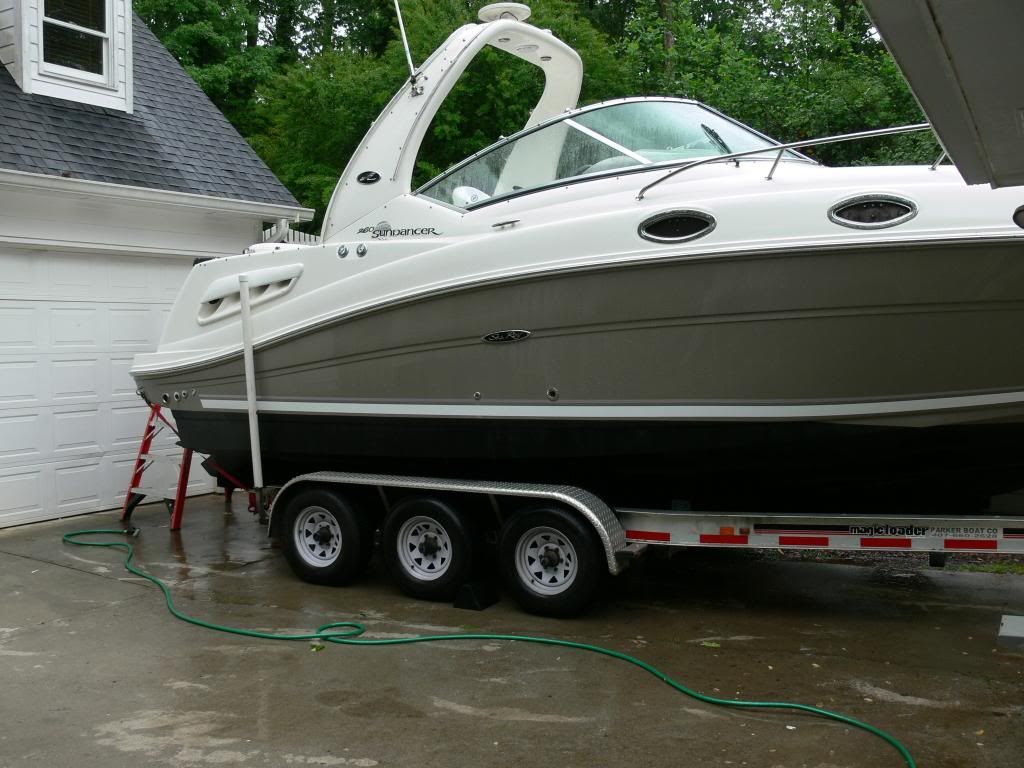
Did the long drive yesterday- 7:00am to 2:45am and now have the 260 in my driveway. It was a terrible drive last night through heavy storms and strong wings. The boat pushed me all over the road at any speed above 55 for most of the trip. Anyway, I made it. No video folks as she got up before I did and saw able to see it (this was a bit of a suprise for her) She loves it.

Looking it over today and I have a few questions.
1. There are some holes in the swim platorm where something used to be. I need to fill them... what would be the best way?

2. Same thing for where a tranducer was installed in the transom (although maybe my new one will match up).

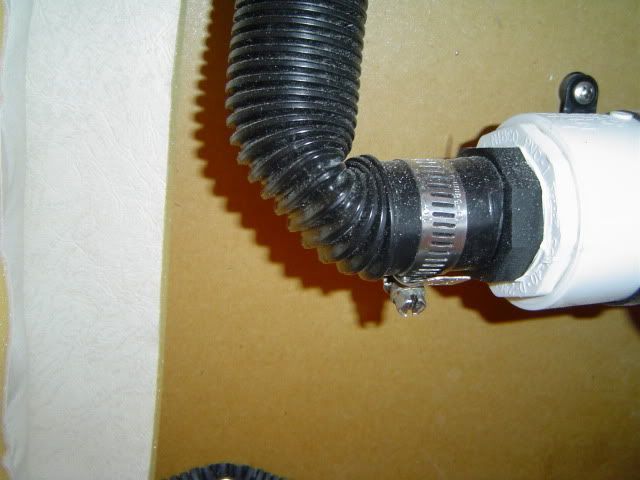
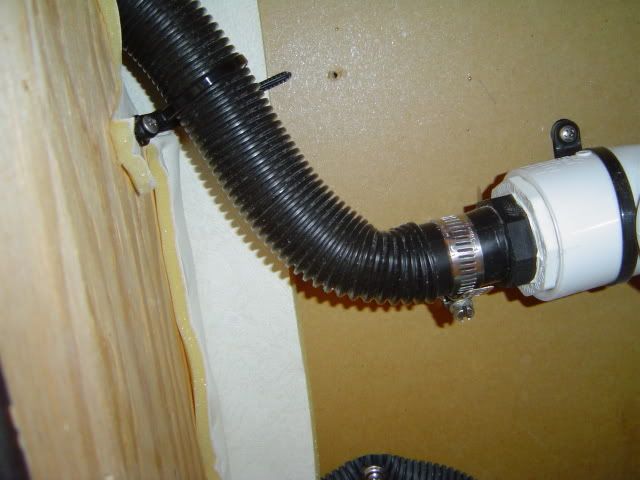
3. In front of the engine, next to the bildge there is a black plastic thing about 2" in diameter and 6" long. It appears to be a spare for another one that may be screwed into the hull. What are those?

4. Wires. I am installing gps/ tranducer/ new vhs antenna, new speaker wires, etc. Is there a "best" way to route wires?
P1080143.jpg

P1080145.jpg

P1080146.jpg
 
Alos, the floor drain in the stairwell is very slow- ok to use draino (it's out of the water)?
 
Sean

Glad you are home safe and I think we can answer some of your questions.

The holes in the swim platform appear to be mounting holes for Davits which are used to mount a dinghy to the swim platform. Because these holes are open to your bilge and because some of them are located on the non skid it is best to let a fiberglass person fix these. Talk to your local Sea Ray dealer to see if they have a repair person or can refer you to someone. In the meantime, I would just plug them with with some big globs of white silicone as a temporary measure so you don't get water in the bilge. The silicone can be removed pretty easily to affect the correct repair.

The Transducer hole in the transom is a strange one. Normally there is no need to have a hole in the transom for anything. Maybe you also want to get that patched by the fiberglass person. Can you post a picture of it?

The thing in front of the engine is a plug for the Temp-depth transducer in case you ever pull that out. Mine is wire tied to my tranducer.

Do not put Drano in the drain for the cabin stairwell. You likely have a kinked hose like I had on mine. I will search for the picture I have (somewhere) and explain in another post what was wrong with mine.

Wiring....................we need a better explanation. It appears you already have a GPS antenna on top of your spoiler on the port side.

Dave
 
I located the pictures I was looking for that may help you help to solve the drainage problem you have with the drain in the stairwell. Here are two pictures.

DSC03757-1.jpg


DSC03758.jpg


The drain you are speaking of goes under the floor and comes thru to the starboard side and is fastened into a plumbing fixture to drain water overboard. You access this area by removing the small panel on the starboard side in the mid cabin. It is the panel right in front of the larger one that contains the AC ducts. Once you open it up you can see all the plumbing. The first picture shows what I found when I opened mine up. Basically the hose was crimped which would not allow the water to drain properly. The second picture shows why it was crimped and how I fixed it. In the second picture you see a small empty screw hole just to the right of the hose in the yellowish panel. My hose was originally mounted over there. If you notice there is a screw mount zip tie on the hose itself but the zip tie is now mounted to the plywood panel. The way Sea Ray did it originally it had such a severe angle going into the plumbing it caused the hose to crimp as shown in the first picture. I would think Sea Ray probably installed most of the hoses the same way mine was installed so yours may have that same crimp. I would remove the panel in the mid cabin and have a look to see if that is so.

Hope this helps.

Dave
 
Great! I'll take a look. With the holes I was hoping to use nuts & bolts (button head allen bolts) with rubber washers and/ or silicone....

Also discovered the speakers are shot and the wired remote is inop.

Survey missed all this stuff
 
Looks good Sean, glad she approved...

Dave covered everything else, but regarding the wiring, in general here are a few places to get at things.
1.) Removing the panel in the stbd side of the mid-cabin, exposes access to many items A/C, upgraded stereo amps, etc. However it also is directly below the "glove box" at the helm below the throttle. If you remove that glove box you'll see stereo wiring and wires that lead to the radar arch etc. This is a nice "mid-way" point between the helm and the arch. There is a small shelf of plywood inside there that is accessible from both the glove box and the mid-cabin panel. I found it usefull for mounting my Garmin marine network components on both sides (top and bottom) of it.
2.) The port cockpit speaker is fed from behind the battery switch, through that storage space under the cockpit sink and up to the radar arch. You should see it there.
3.) There is a chase way for "internal cabin" wiring from stbd to port at the aft ceiling of the mid-cabin. There is a box shaped cover there that can be removed.
4.) Behind the stereo head unit you will get access to audio and video feeds
5.) Behind the microwave is more wiring that feeds the cabin speakers, windlass, and more.
6.) Inside the closet (if we can call it that on our boats) there is TV wiring behind the stbd side panel which holds the TV antenna gain control. You need to remove the clothes hook, top panel then stbd panel to get in.

Cheers and congrats!
 
Last edited:
Great looking boat! Congratulations! It will be difficult to get a good fiberglass repair on the swim platform since the holes are in the non-skid. You may think about having the holes filled and then install FlexiTeak on the swim platform.
 
The new boat looks great... congrats! There's always something to do on a boat 'eh? :smt001
Those 'non-skid' deck repairs are almost impossible to do without having them stand out. I like the flexi-teak too.... it looks nice... kinda' classy. Your idea of sealing up a low profile 'decorative-ish' style bolt (like these button heads maybe?) would work well and not look like a repair so much... not to mention cost next to nothing. I used these on my 23' Weekender with the same holes in the same place.
Happy boating!

Head-Screw-2_250x250.jpg
 
Last edited:
Great, thanks. I spent the entire day cleaning, fixing, etc. The interior looks like new again. I moved the VHF radio back down to the stock location and the Hummingbird 788 in the dash. Still need to wire it up...
Made an aluminum plate (attached via silicone and SS screws) to cover the area where a radar arch was removed and added a place for the anchor lights.
The stock stereo sounds fine but a couple added speakers were shot so they've been removed and new ones ordered.

There was a bunch of Garmin stuff in there- a GSD 22 for example, and a bunch of wires. I removed some but there are wires that go to the engine compartment (I'm guessing) and arch. I wonder if the Garmin system utilized the stock Sea Ray location for the transponder (SR depth guage inop)... wish I could do the same with the Hummingbird stuff. Same with the GPS antenna as the garmin is already installed.

Still a lot left to do!
 
Did you remover the Arch? If so why?

Great looking boat. Good luck and you and your wife will enjoy her i'm sure
 

Forum statistics

Threads
113,214
Messages
1,428,707
Members
61,110
Latest member
rvlewis
Back
Top