My Swim Platform Before and After

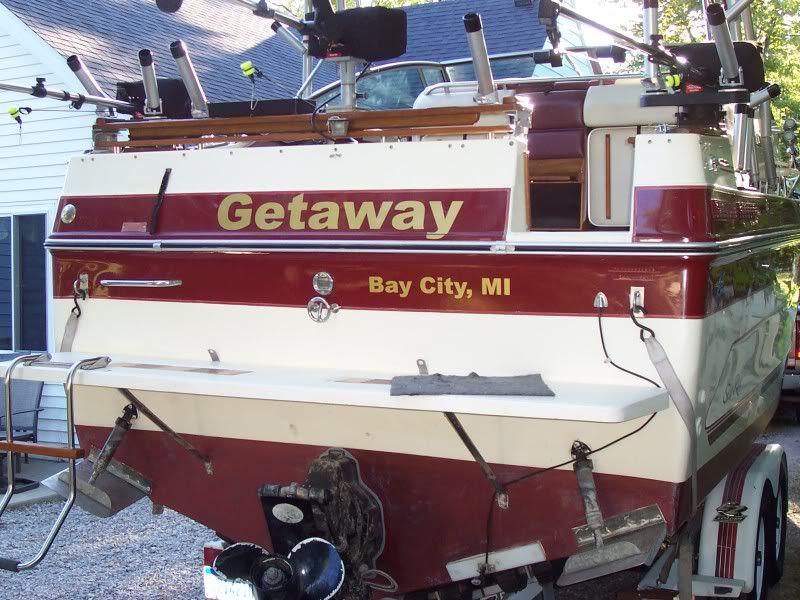
Great job on the platforms. Built mine too but went old school and made it look like the original. Great satisfaction in doing it yourself isn't there? Even left the ding in the support just for character.
Used aluminum struts underneath.

swim platform.jpg
 
Looks good, I like keeping things original looking like you did.
Funny you post to this thread today, I only have a page or two left on making an extended platform. Seems it is 14 pages long with pictures and documentation.

If anyone wants a copy of file now send me an e-mail with an e-mail address that allows for attachments it should answer all your questions.

Ken
 
Last edited:
Ken you did a wonderful job and it looks like a pro! I did go the swimplatform.com route for me. It used the same holes for the supports that were already there. But I did have to plug and create new holes for the platform.

As far as creating a project document, you should check out weeby.com. You can create a free website that uses a good interface to make any one a web designer and the best thing it is FREE! Check the link in my signature on my projects this year.

Thanks James and thank you for that tip on the web site I do have a number of projects that I have done that I would like to host some where. Windlass install, Xantrex smart charger with a Link 1000 monitor and a few more I am working on.

Ken
 
Thats a pretty cool idea Chris. Any hole in the transom concerns me too. I would love to get rid of the six that I have for my platform.
 
Here is the material list to do the rebuild.

Material List
  1. 4X8 sheet of exterior glad plywood (same material used in 1988).
  2. Quart white gelcote. I used about a quart but if you need to add another coat 1 quart won’t be enough
  1. 1 oz strong gelcote yellow tint.
  1. 1 oz strong gelcote red tint.
  1. 50 ft X 36 inch fibreglass mate.
5 -Gallons of non-waxed resin and hardener don’t get the waxed.
  1. Quart of acetone used for cleaning up any spills or cleaning tools.
3 - 3” rollers and a handle used for gelcote, don’t clean them throw them away 3 coats.
8 - ½” paint brushes, I bought the non name cheap ones, used to mix resin and help with spreading resin
8 - 1” paint brushes, I bought the non name cheap ones.

Ken
and here is a picture of all the tools I used, you can do this project with less tools than I used but you know what they say about boys and their tools.

2441tzk.jpg
 
Last year, I completely tore out the transom and stringers in my 268 and rebuilt the entire support structure of the boat.

To avoid water intrusion from my swim platform mounts, I followed the West Systems book for mounting hardware.

These are the steps I took:

1. Drill 1/2" or 5/8" diameter holes completely through the new transom where the bolts mount.
2. Fill the holes with West Systems 105/205 thickened with 404 microfibers to about a mayonnaise consistency.
This can be done by taping one side of the hole, then filling the pockets using a frosting application bag that you would get
in a grocery store baking isle.
3. For a 1/4"bolt, drill 1/4" holes through the middle of the epoxy plugs all the way into the inside of the boat.
4. Through bolt the swim platform with long ss bolts sealed with 3M 5200 sealant.

Now, if for some reason, the swim platform bolts do leak, they will leak down through the epoxy plugs and into the boat where you will be able to see them leaking instead of soaking into the core.

Wouldn't you have the same problem with everything else thats bolted to the transom as well (ie trim tabs). Did you use the same process for them?
 
Yes. Same process for trim tabs, transducers etc.

Actually, for mounting my transducers, I mounted a 1" thick x 3" wide x 12 inch long piece of nylon to the transom. All of my transom mounted stuff screws into that piece of nylon and never gets into the glass. The nylon piece is held with 2 lag screws that are in epoxied holes, then it is 5200'ed to transom. All of my wires are brought through the transom way above the swim platform and water line. Not the prettiest way to do it, but no more water intrusion.

You can see it here:
100_7000.jpg
 
I hope to sealed the hole under the "clamshell" where the wires penetrate the transom. You will have water coming through there in certain conditions if you don't seal it at least with silicon.
 
That swim platform is so awesome! I would love to get a copy of the write up if you ever finished it.
 
That looks great! And I also just ordered 4 of those LED pods. for 20 bucks shipped, I can't go wrong.
 
His ebay site states not to use the underwater though?

Do not exceed voltage specified in above listing
Do not connect to any AC power within using AC/DC adapter
Do not install these LED in extremely cold or hot environment
Do not use this item under water

Party Pooper. :smt043:smt043
 

Forum statistics

Threads
113,223
Messages
1,428,884
Members
61,116
Latest member
Gardnersf
Back
Top