Navigation
Install the app
How to install the app on iOS
Follow along with the video below to see how to install our site as a web app on your home screen.

Note: This feature currently requires accessing the site using the built-in Safari browser.
More options
You are using an out of date browser. It may not display this or other websites correctly.
You should upgrade or use an alternative browser.
You should upgrade or use an alternative browser.
Adding GPS Multi Function Display with Engine Data to the helm
- Thread starter rondds
- Start date


mistercomputerman
Well-Known Member
- Jan 6, 2008
- 4,321
- Boat Info
- 410 Sundancer - 2001
- Engines
- Twin 8.1L Mercruisers - 2009
Thanks, I will try to make it down to the boat this week and check on the size. the height is what I reall need to check.
Let me know if you are interested. I put an e9 under my e12, so it is not doing me any good.
rondds
Well-Known Member
- Oct 3, 2006
- 8,859
- Boat Info
- 2001 380DA
- Engines
- Merc 8.1s (2008)...Hurth ZF 63 V-drives...WB 7.0 BCGD (2013), Garmin 8208 & 740 MFDs, GMR 24xHD dome
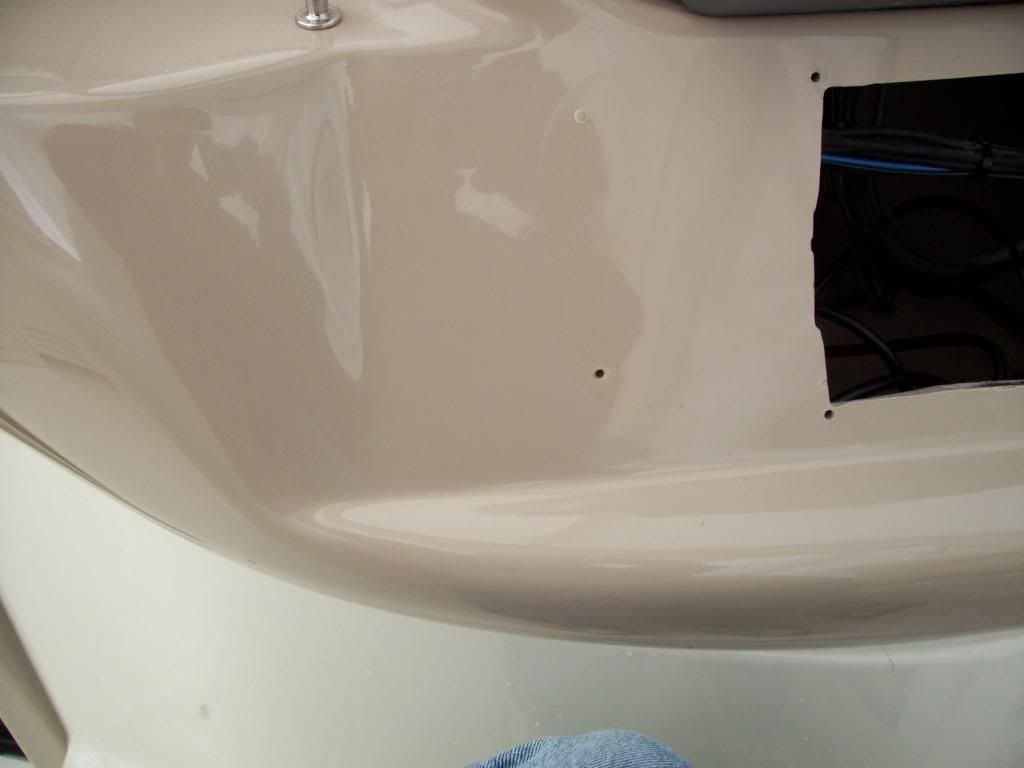
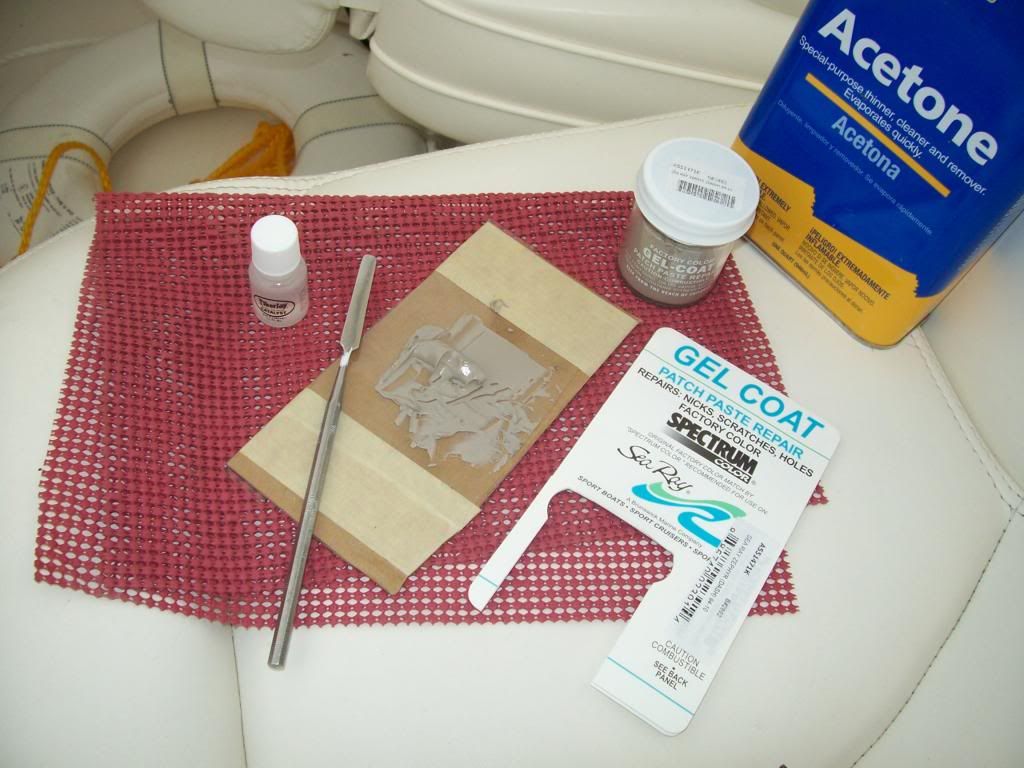
Brought some supplies home form work to fill in the screw holes left after removal of the fake wood panel. The yellow-capped cartridges contain composite resin (you know it as "bonding" or "white fillings.") They fit inside the gun and are "caulked" into the hole. The holes were prepared by cleaning the surrounding area with acetone and rolling up a small piece of paper towel, soaking it in acetone and passing it severak times through each hole. The nail is to tamp down the material once it is placed into the hole. The wand-looking thing is an LED curing light. This material cures in 10 seconds when exposed to a bright light (not UV light).

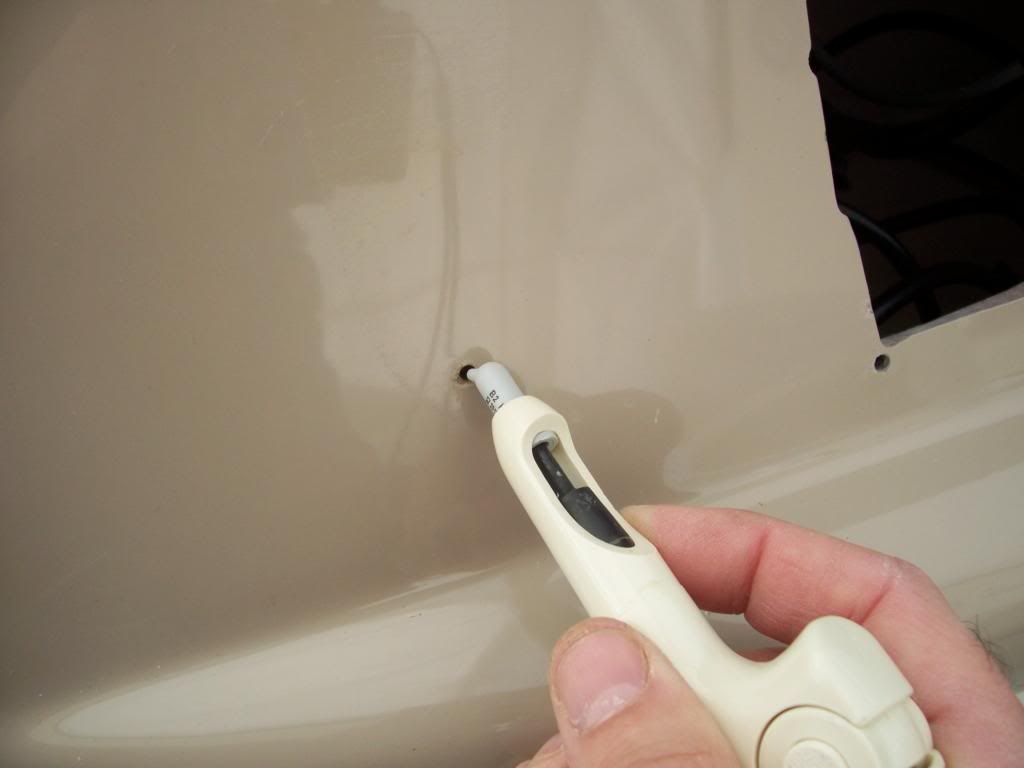
The material can be cured up to a depth of 2-3 mm. So I caulked in about 1/2 the depth of the hole but made sure it just mushroomed out from the inside of the help. Cure that 1/2, then fill it the rest of the way and cure again. This can be cured from inside the cutout so there really is no concern that the entire repair was not cured to full depth. The composite resin is delivered in a stiff but shape-able consistency. It is very easy to work with - much easier than epoxies - and it cures in seconds. Probably way too expensive to use for this application but this batch had expired so I was going to throw it out anyway.
Here's one of the holes. The one above has already been filled...
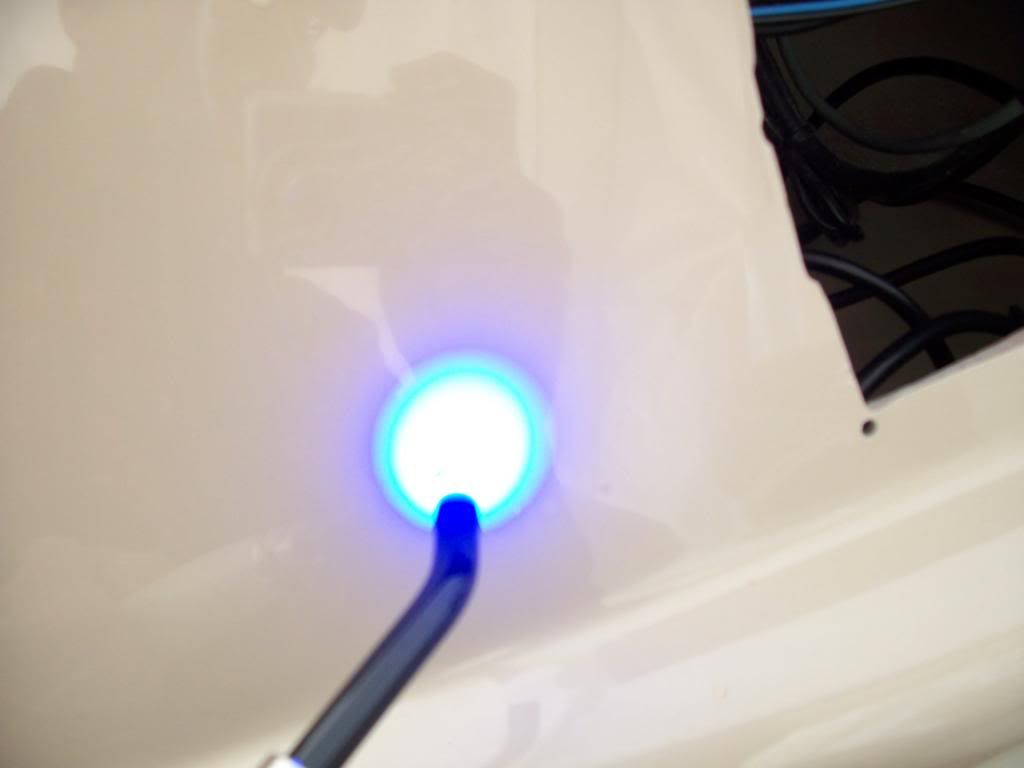
Curing light in action...
Time to mix up the gel coat. I taped another piece of packaging plastic over a piece of cardboard to act as a mixing pad. You try to spatulate the gel coat and flatten it out so as to not incorporate air in to the mix and into the repair. Often times you start sanding and an air bubble emerges at a deeper layer.
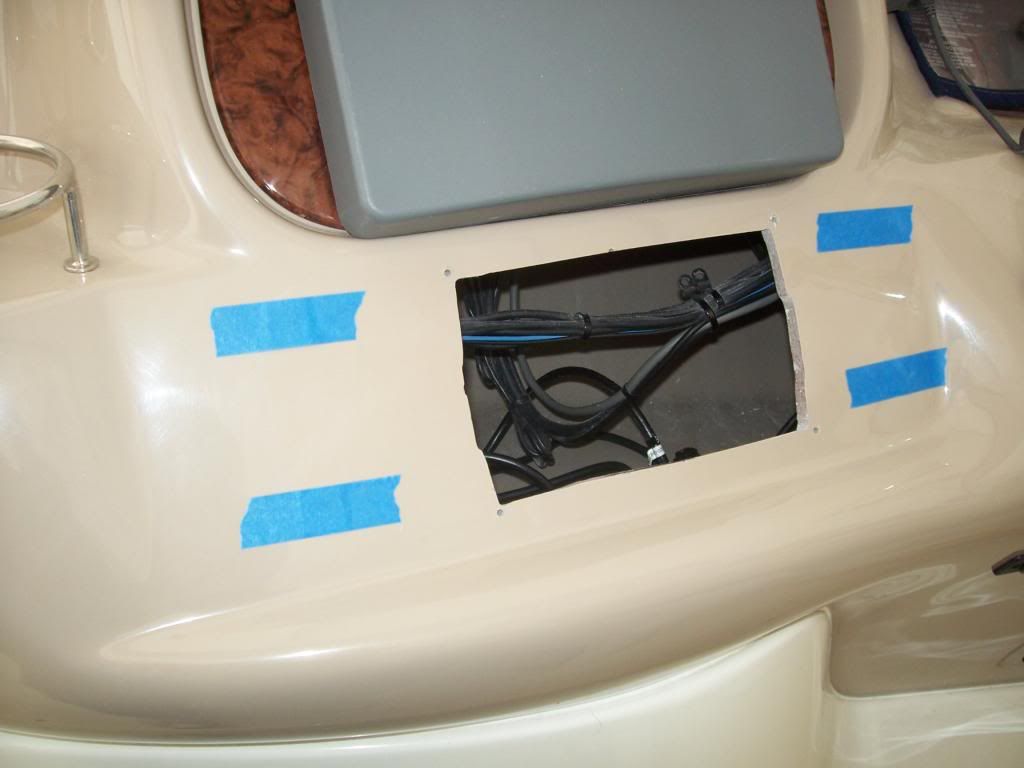
I first dimpled the hole and beveled the edges of the repair about 2mm all around the hole. The gel coat is spackled on and then covered and compress with plastic (cut from the gel coat packaging), then taped it in place.
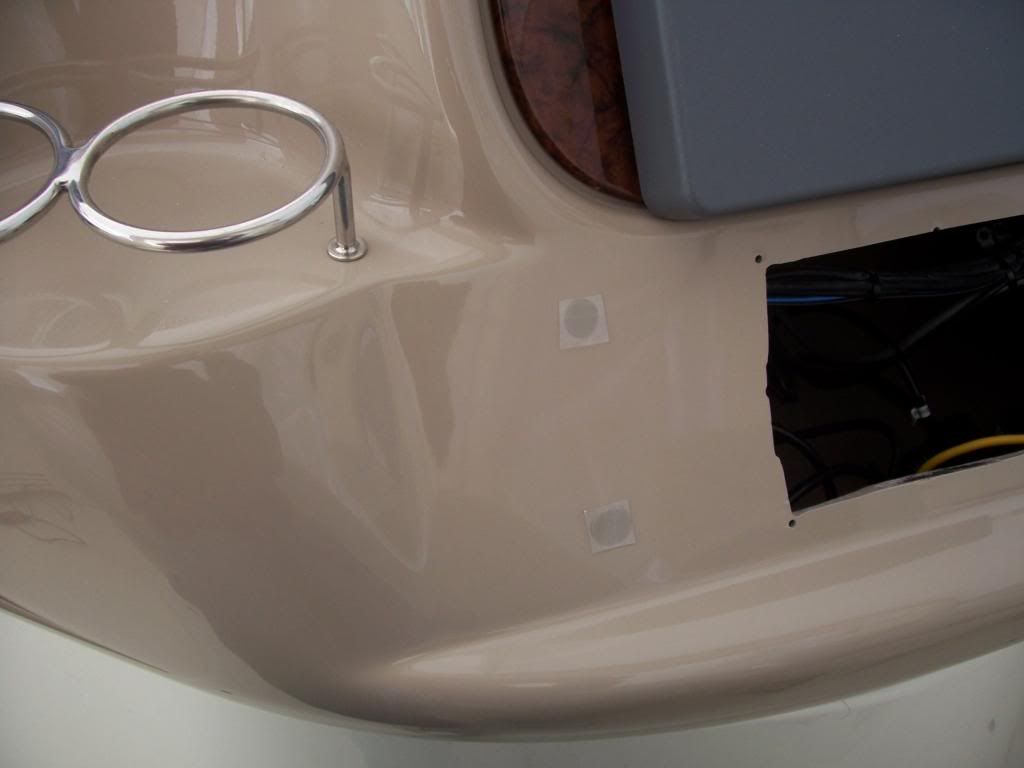
This is how I left it. Will return next week and start wet-sanding.
The material can be cured up to a depth of 2-3 mm. So I caulked in about 1/2 the depth of the hole but made sure it just mushroomed out from the inside of the help. Cure that 1/2, then fill it the rest of the way and cure again. This can be cured from inside the cutout so there really is no concern that the entire repair was not cured to full depth. The composite resin is delivered in a stiff but shape-able consistency. It is very easy to work with - much easier than epoxies - and it cures in seconds. Probably way too expensive to use for this application but this batch had expired so I was going to throw it out anyway.
Here's one of the holes. The one above has already been filled...
Curing light in action...
Time to mix up the gel coat. I taped another piece of packaging plastic over a piece of cardboard to act as a mixing pad. You try to spatulate the gel coat and flatten it out so as to not incorporate air in to the mix and into the repair. Often times you start sanding and an air bubble emerges at a deeper layer.
I first dimpled the hole and beveled the edges of the repair about 2mm all around the hole. The gel coat is spackled on and then covered and compress with plastic (cut from the gel coat packaging), then taped it in place.
This is how I left it. Will return next week and start wet-sanding.
Last edited:
I wonder if there will ever be an application similar to yours that will be affordable in the future? That's a nice easy procedure to repair these holes. We all have avoided moving electronics around the helm in fear of not repairing the holes correctly. Nice job Ron can't wait to see the finished product.
rondds
Well-Known Member
- Oct 3, 2006
- 8,859
- Boat Info
- 2001 380DA
- Engines
- Merc 8.1s (2008)...Hurth ZF 63 V-drives...WB 7.0 BCGD (2013), Garmin 8208 & 740 MFDs, GMR 24xHD dome
Joe, quite honestly, I really don't know why they haven't used light curing in fiberglass applications. The big problem with composite resin in the dental world is polymerization shrinkage. That's another reason why you have to fill teeth in small increments - to minimize the shrinkage, which causes the material to pull away from the walls of the tooth. When that happens in a tooth it's really bad; but not so much for small repairs like this. However, it is still best to place and cure smaller doses at a time.
Frank Webster and I had a discussion about potential problems that could result by using this material - he was concerned about the differences, if any btwn the composite resin and the fiberglass resin. My reply was, it shouldn't really be an issue. The properties of these materials are very similar. This stuff is a "filled resin" which means they crush up cured resin and mix it in the stuff, which imparts strength (think of a road surface). The smaller the filler particles are, the more highly polishable the material is. Unfilled resins are also used in dentistry but are not great for load bearing areas and will wear away over time. My sole need in this project was to obturate the holes with something that would stay put, and I hate waiting for stuff to dry (time is money in any business, esp the tooth business!), so dental materials fit the bill.
I should add that for larger holes (say, anything over 1/4") I think I'd use one of the more commonly used marine materials. Epoxy (West systems, Marine Tex) are great too, as would be fiberglass resin (very runny, though). But these are messier, less user friendly, take much longer to cure and are subject to the same shrinkage issues.
Last edited:
rondds
Well-Known Member
- Oct 3, 2006
- 8,859
- Boat Info
- 2001 380DA
- Engines
- Merc 8.1s (2008)...Hurth ZF 63 V-drives...WB 7.0 BCGD (2013), Garmin 8208 & 740 MFDs, GMR 24xHD dome
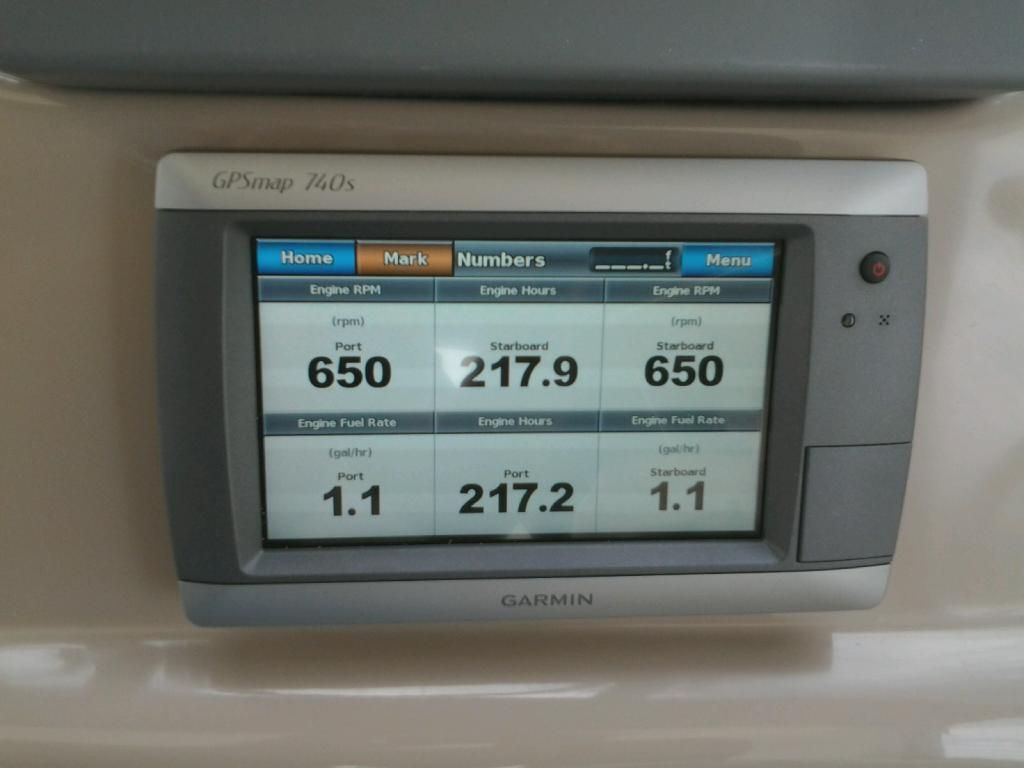
Had a little trouble deciphering how to label the engines but figured it all out with the help of a gal over at Garmin tech support. I have to spend some time setting up what I want displayed but at least the darn thing works!