- May 16, 2019
- 1,035
- Boat Info
- 07 52 Sedan Bridge, 2019 Brig Falcon 360HT-30HP Honda, 2003 16' Dauntless
- Engines
- Cummins QSM 11 660 HP w/ ZF 325-1A
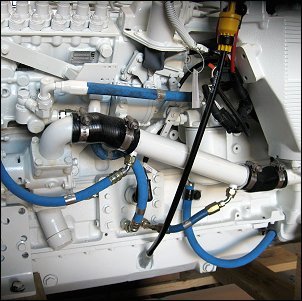
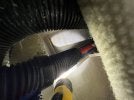
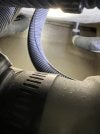
Carter - can you share these pictures again? It sucks the forum lost all these photos.Found some external pics - My 58 is in the foreground with dockmate’s on my stbd side for comparison. Hopefully you can enlarge ad see some more detail... View attachment 110985 View attachment 110986
Thank you