brewster16
Well-Known Member
As a follow up I can now tell you that my "1000 hour" (my boat has 860 hrs) has been done.


 Service for 2 QSC engines and generator is officially $15K. It was done professionally and included tear down/removal of all cooling components of these 3 engines...Heat exchangers, after coolers, fuel and transmission coolers, impellers, hoses/water tubes, hardware, serpentine belts as well as Aircep internal coalescing filter replacement and generator anti siphon hose replacement.
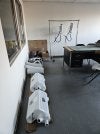
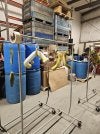
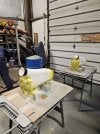
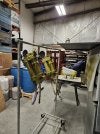
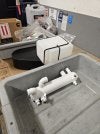
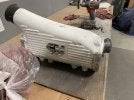
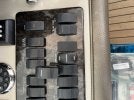
7 seasons since I had it done last and while I did not have any engine overheat, my cores were full of scale and debris. (pictures above) The job took about 3 weeks and included complete cleaning, acid washing, sand blasting, prepping re-painting, greasing interphases, O rings/gaskets and pressure testing all components, impellers, reassembly and re-installation. All components were carefully examined for excessive electrolysis pitting and strength. Fortunately I did not have to replace any of the cores or housings except for 1 of my "combo coolers" which was showing serious signs of degradation of solder joints.
7 seasons since I had it done last and while I did not have any engine overheat, my cores were full of scale and debris. (pictures above) The job took about 3 weeks and included complete cleaning, acid washing, sand blasting, prepping re-painting, greasing interphases, O rings/gaskets and pressure testing all components, impellers, reassembly and re-installation. All components were carefully examined for excessive electrolysis pitting and strength. Fortunately I did not have to replace any of the cores or housings except for 1 of my "combo coolers" which was showing serious signs of degradation of solder joints.