268DA and Weekenders

Thought I would add a couple of pictures of my windlass.

I went with a Lewmar V700, Lewmar roller, Lewmar solenoid and breaker. Ran 6 AWG marine wire. I mounted the solenoid and breaker in the ER. I may move the breaker to someplace more accessible in the future in case it ever pops.

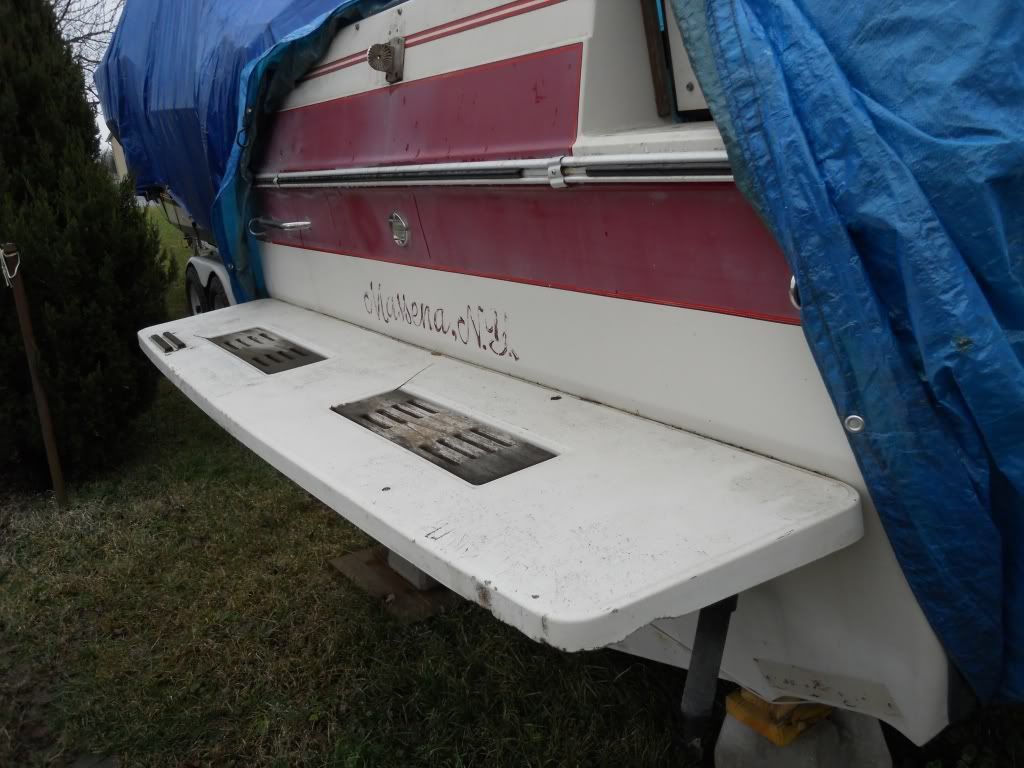
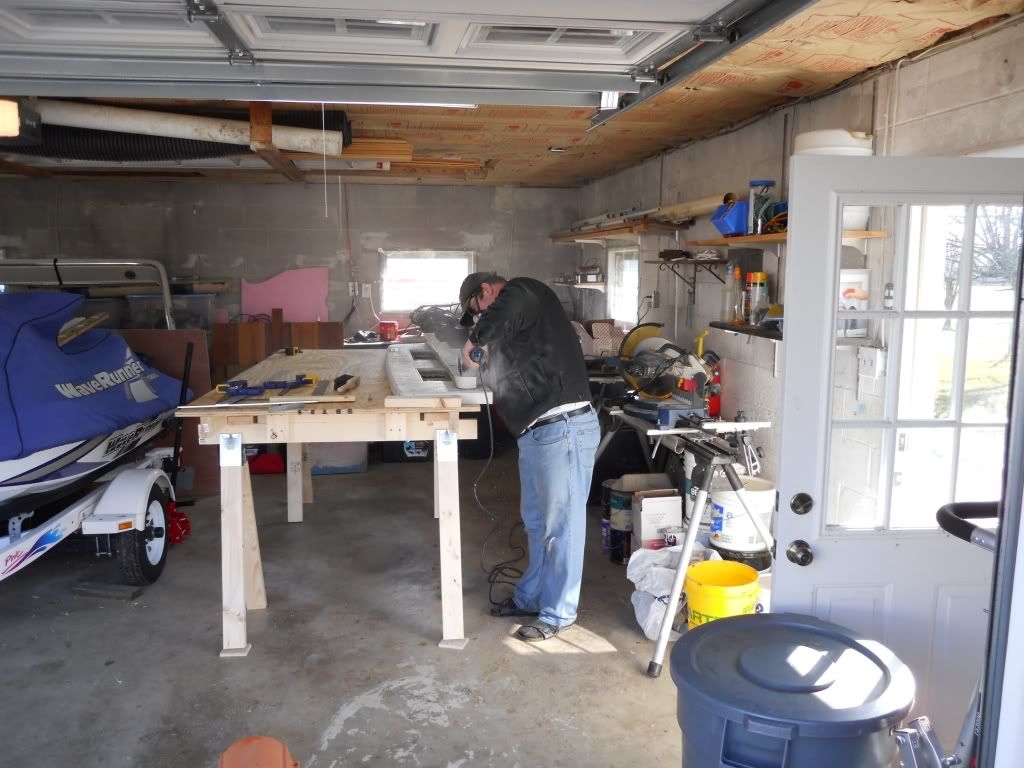
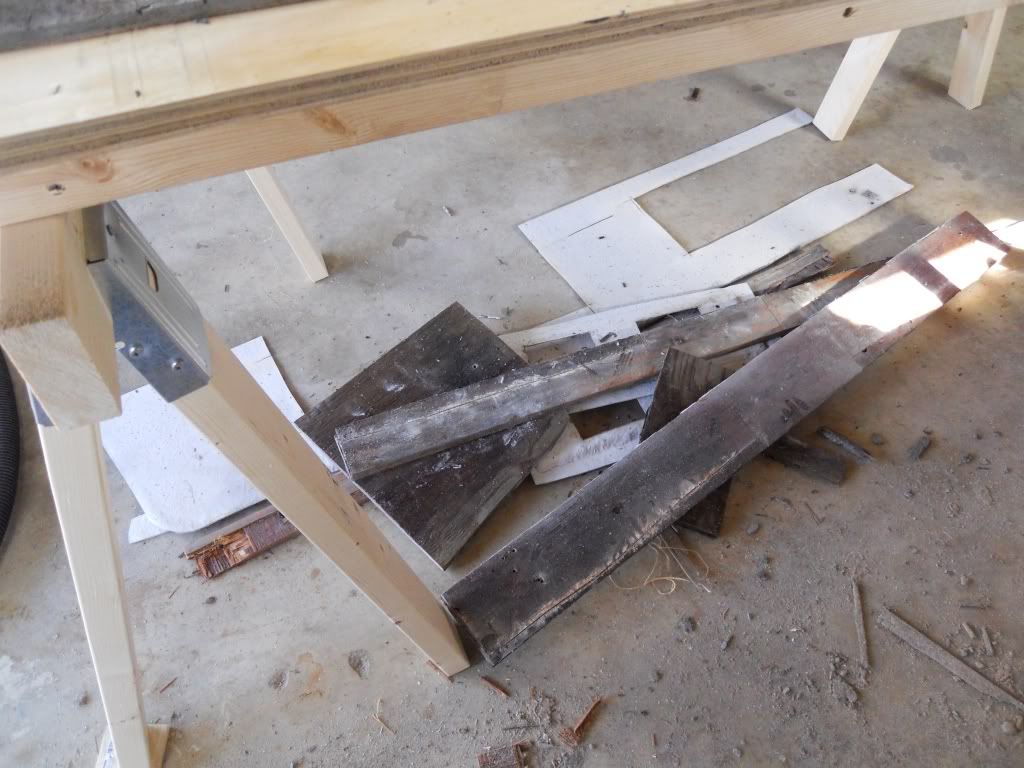
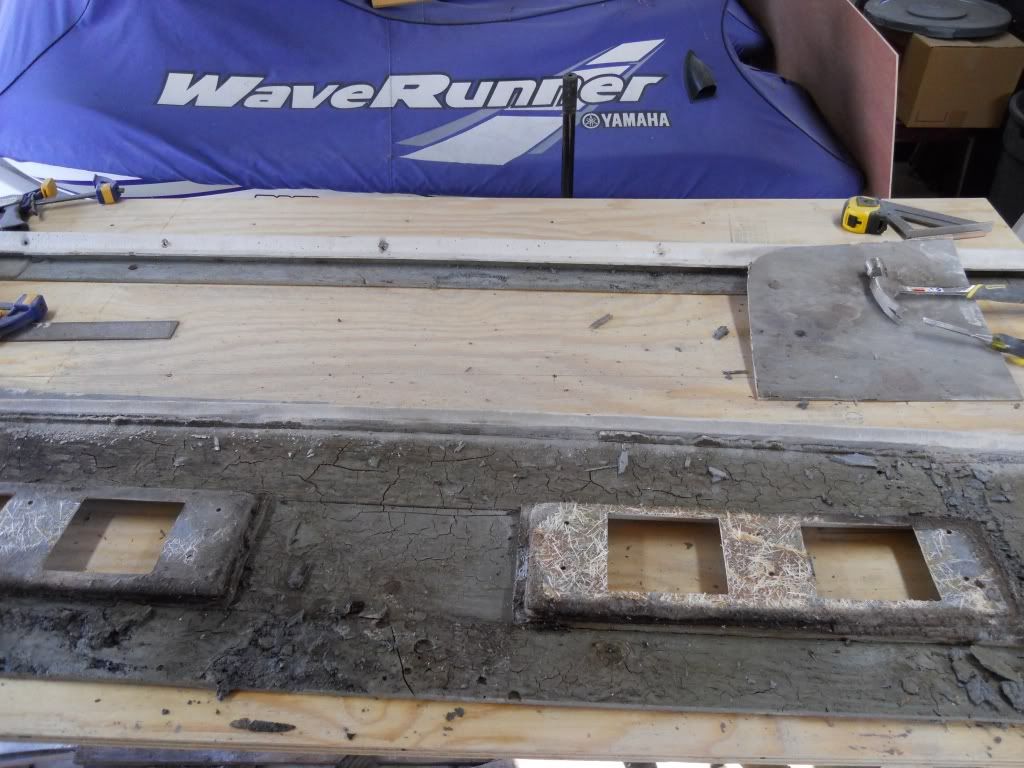
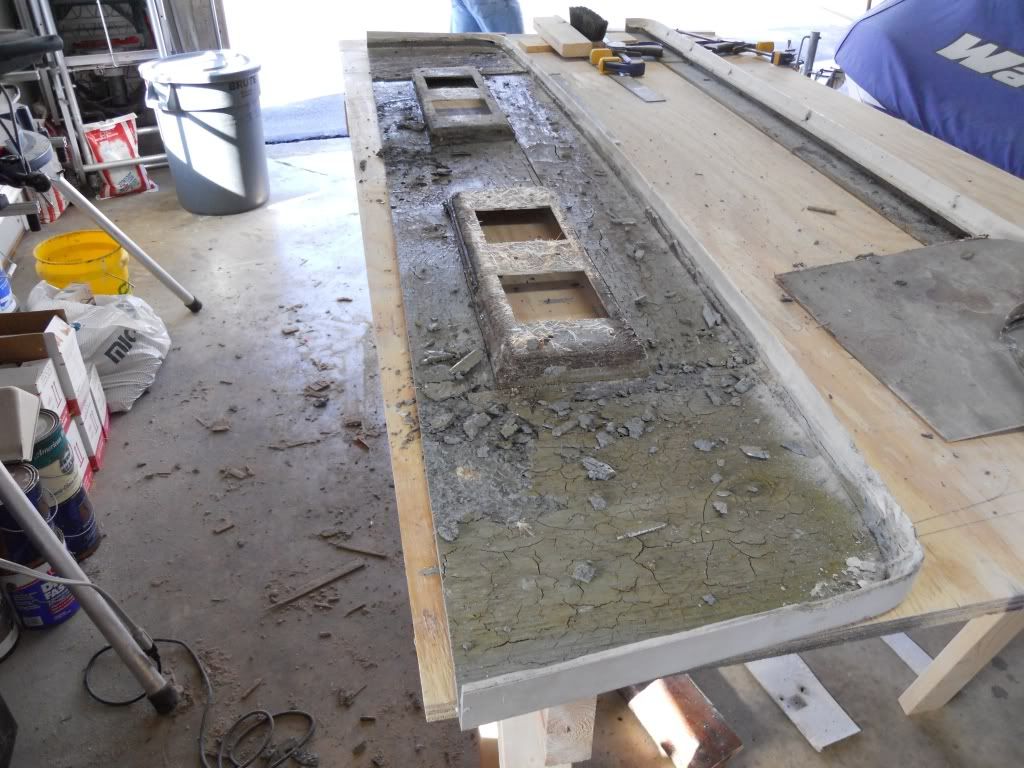
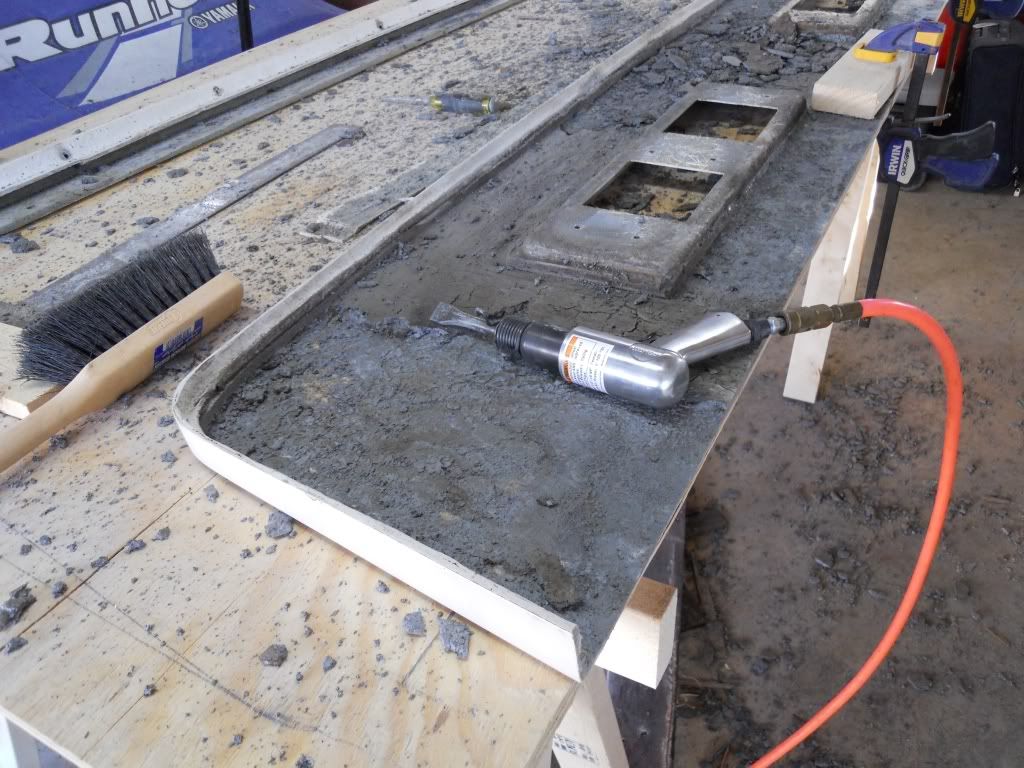
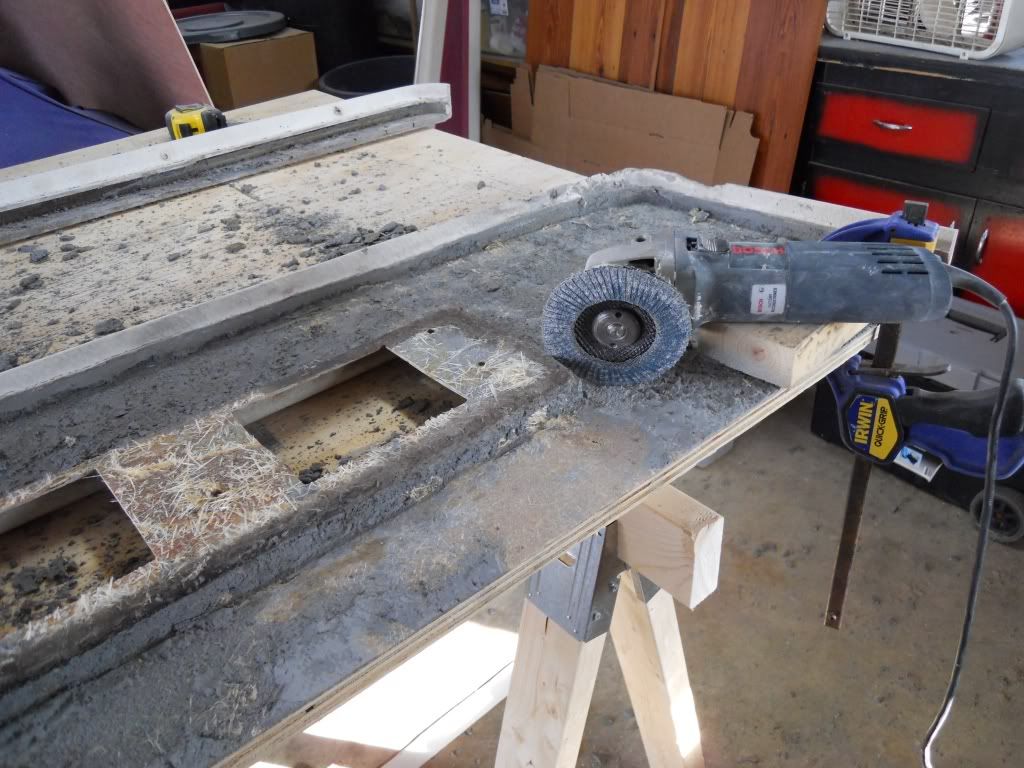
I ended up making a new pulpit. The original was starting to come apart and I wanted to make sure it was strong. For the new pulpit I used some teak I had laying around. My teak was too narrow so I butt-joined two pieces with a "biscuit" and epoxy. I then “epoxied” the whole thing to a 3/16” sheet of stainless. It ended up being around three inches shorter (wanted to cut down on leverage) and one inch wider than original. There is a ¼” sheet of aluminum under it for a backing plate. I did not want to make the anchor hatch unusable so I mounted everything to the pulpit. Also, this way I can always put it back to stock if need be.

When pulled up the swivel stops just before the windlass. When anchored I run up front and tie off to one of the cleats. I had a spool of Yale Super Plait so I used 300’ of that and 30’ of chain. 22 pound Lewmar Delta.
We used the heck out of it last summer and the setup works good. The only issue I had was the line would catch sometimes going back into the locker. I think I need to pull it all out and make sure there aren’t any twists in it.

pulpit front.JPG

pulpit top.JPG

pulpit bottom.JPG
 
Last edited:
Looks good John,

We just pulled off the pulpit from our (my buddy sn200189 on here) from our "junk boat" and will be rebuilding it for mine that never had one. It is coming apart but the wood seems solid. Probably will just take it all apart and re-glue and staple it back together then refinish.

Mike
 
I thought about reusing my pulpit but didn't want to destroy it taking it apart.

Hey, you wouldn't happen to have the front cabin hatch on your "junk boat"? We tweaked ours last summer and I need to find a replacement. Thanks.
 
I am still not 100% positive I am going to put it on my boat. Kind of looks unique without it. But I probalby will.

I think we do have the hatch. But give me a pict or a good description of exaclty what your looking for. I am new to this boat thing and don't want to lead you on becasue I don't know what I'm talking about. I think your asking about the top part of the doorway into the cabin? Window that slides forward out of the way when open?

Mike

I thought about reusing my pulpit but didn't want to destroy it taking it apart.

Hey, you wouldn't happen to have the front cabin hatch on your "junk boat"? We tweaked ours last summer and I need to find a replacement. Thanks.
 
Nope, the forward most hatch. The one right above the V berth.
 
Ok... Are we talking about the Window hatch or the Anchor Locker hatch? lol We have both by the way...
 
Ron
The 268 is really tippy. When on a plane, my 268 will roll hard in turns. I've never had a problem with an immediate lean coming on plane. What's your top speed? RPM at WOT?
 
Looks good. I've thought of doing this myself.

The deepest part of the anchor locker is under the access door. Maybe the best option would be a new cover for the anchor locker that was bolted solid with the windlass bolted to it, then on one side, cut an access hatch?
 
The cover piece over the dash is easy to recover. I recovered mine using some thin foam and stretched some vinyl over stapling in down as I went.

To get the dash cover off there are two screws that are accessed from inside the head. Open the access door in the head, toward the starboard side there's at least one screw, maybe two. Then some screws on the front.

I'll try to find the pictures.
 
Looks good. I've thought of doing this myself.

The deepest part of the anchor locker is under the access door. Maybe the best option would be a new cover for the anchor locker that was bolted solid with the windlass bolted to it, then on one side, cut an access hatch?

Actually, on mine the deepest part is just forward of the hatch. It slopes forward towards the bow to the drain. So, the deepest part of the floor is almost directly under where my windlass drops the rode.
 
Dave and I started our Swim Platform project in earnest today. We plan to document the whole thing. Should we post here or start a special thread just for that. Can someone tell me the best way to deal with the pictures we want to post?

Thanks,

Mike
 
Unless you're a sponsor, you're limited to the size/amount of files you can upload. Most people just upload to PhotoBucket/Picasso and attach the hyperlink to their post which seems to work pretty well. Best of luck the the project; post some pictures once you get underway.

Matt
 
Yeah, load them to Photobucket.

Then cut and past the "http" hyperlink into your post. You can leave it as a link for people to click or....

You can type in these image tags around the link
example:


The pic will then be shown in your post.
 
268 Swim Platform Exansion.

Original Swim Platform. I am sure you all know what these look like.

OrigPlatform.jpg


Original.png
 
268 Swim Platform Exansion.

Cut and Clean - Cut end off the old platform about 4" in from the transom side using a rotary saw and carbide blade. Used angle grinder to remove the bottom layer of fiberglass and removed the old wood. There was a layer of bondo like resin between the wood and the top layer of fiberglass. It was cracked thought and was mushy like paste in some areas. We used an airhammer with chisel bit to remove this then used the grinder with sanding disk to remove what was left.

Next step will be to mount the two haves to the table a build a frame for the expanded sides.

Remove Old Wood
RemoveOldWood-1.jpg


Old Wood - Was wet thoughout...
OldWood-1.jpg


Resin between wood and top...
ResinBed1.jpg


Another look at resin...
ResinBed2.jpg


Airhammer to remove resin.
AirHammer.jpg


Grinder to clean up.
Grinder.jpg
 
Last edited:
How much bigger are you going with the swim platform? Looks like a great project and I know the inside of my platform looks exactly like yours. I'm thinking of digging into it in a couple of years and maybe adding 2 inches of extension to it.

Adding too much more concerns me especially when we are trolling or anchored in rough seas. I know there is a huge amount of hydraulic pressure that is applied to the swim platform as it pounds the waves. I've seen water shoot pretty high through the holes in the platform while trolling in 3-4ft waves. When I used to mount my cooler out there, I've had the waves shoot it right off the platform...lol.
 
We are looking to double the size out to about 40 inches. This way the cooler will be behind the vents and the water can't blow it off. lol Seriously, I have not seen anyone complain of issues with larger swim paltforms and there is debate on if you even need the vents. If anyone has had issues, I would like to hear about them.


How much bigger are you going with the swim platform? Looks like a great project and I know the inside of my platform looks exactly like yours. I'm thinking of digging into it in a couple of years and maybe adding 2 inches of extension to it.

Adding too much more concerns me especially when we are trolling or anchored in rough seas. I know there is a huge amount of hydraulic pressure that is applied to the swim platform as it pounds the waves. I've seen water shoot pretty high through the holes in the platform while trolling in 3-4ft waves. When I used to mount my cooler out there, I've had the waves shoot it right off the platform...lol.
 
Last edited:
We had a leak since we bought the boat in the September of 2010. It was about a gallon or a little more a day. Could not find it. I replaced everything and sealed all through hulls. Well, this past summer I had the engine hatch open while it was in the water and I had to stand on my head in the bilge to fix something and I found the leak. It ended up being the transom seal. So, this fall I pulled the motor and basically everything else in the bilge. I am going to update the entire engine room; new paint, tidy up the wiring, replace water hoses, etc. I feel very fortunate that I did not have any rot at all. The boat is "trailered" so it only spends weekends and maybe one or two full weeks in the water through the summer and comes home to dry out after use.


Anyway, I would really like to pull the fuel tank to check the padding behind and under it. Has anyone ever pulled the fuel tank without cutting anything? I don't think it is possible.

Anyway, here are couple of pictures from pulling the engine. I am lucky in the fact that my brother in law owns a tower erecting company and brought the crane over to do the job. Made things very easy and quick.

CSR 4.jpg
CSR 5.JPG
CSR 9.JPG
 
Nice to have the equipment to pull it and an easy winter. check the coupler on the flywheel for stress while you have it out.
Good luck
 
Yeah, I've completely disassembled my 268. You are very fortunate to not have rot in the transom. Make double sure that everything you have mounted on the transom (especially the swim platform) has the screws/bolts sealed good with 3M 5200.

Also, I had a similar leak to what you are describing. It is very common on these boats. The leak actually came from the shift pin that runs through the transom bracket. Not the transom bracket seal itself. A good way to tell is if you raised the lower unit, the leak got worse. When you lowered the lower unit, the leak almost stopped. There is a seal that goes around the shift pin that goes through the bracket and it gets wore out over time. I replaced everything and it was costly, but it solved my leak problem.

As far as the gas tank, if I remember right, you may need to cut away an angled piece of glassed wood that is in front of the gas tank to be able to remove the tank. You will also have to hog out a support on the underside of the floor (to clear the gas tank inlet) just aft of the tank to be able to slide the tank out. The tank will be seated in there pretty good - at least mine was. It took a lot of prying and pulling to get her free.
 

Forum statistics

Threads
113,229
Messages
1,428,966
Members
61,120
Latest member
jingenio
Back
Top