Club Sea Ray banner

'01 340 Cockpit upgrades project in progress with pics

37K views 49 replies 26 participants last post by  04cobra23  
#1 · (Edited)
'01 340 Cockpit upgrades project COMPLETE with newpics

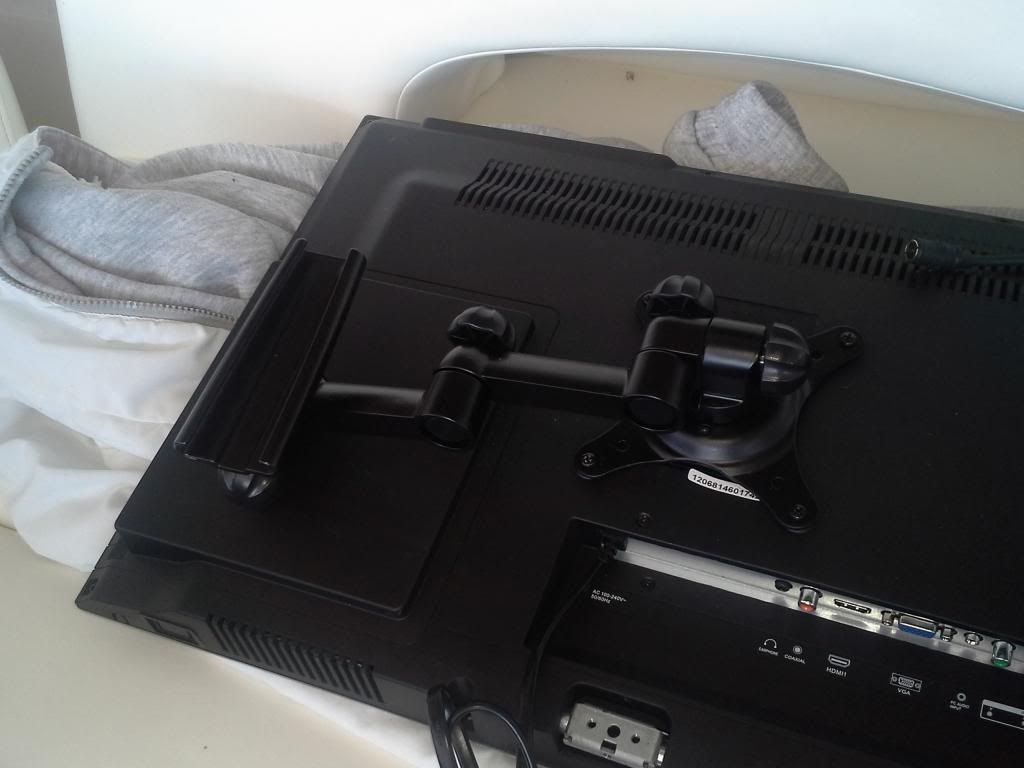
Been a bit busy during the frigid off season. I installed a cockpit TV - its a Curtis 24" LED HD TV/DVD combo. I installed a new outlet and cable input so when the TV is hung on its mount, the wires will not be visible. I ran the wiring up from the existing outlet that's near the floor just below the arch base. I put a splitter in and connected the TV to the glomex antenna on the arch. We are near St. Louis so I get about 18 or so channels that are all digital and crystal clear


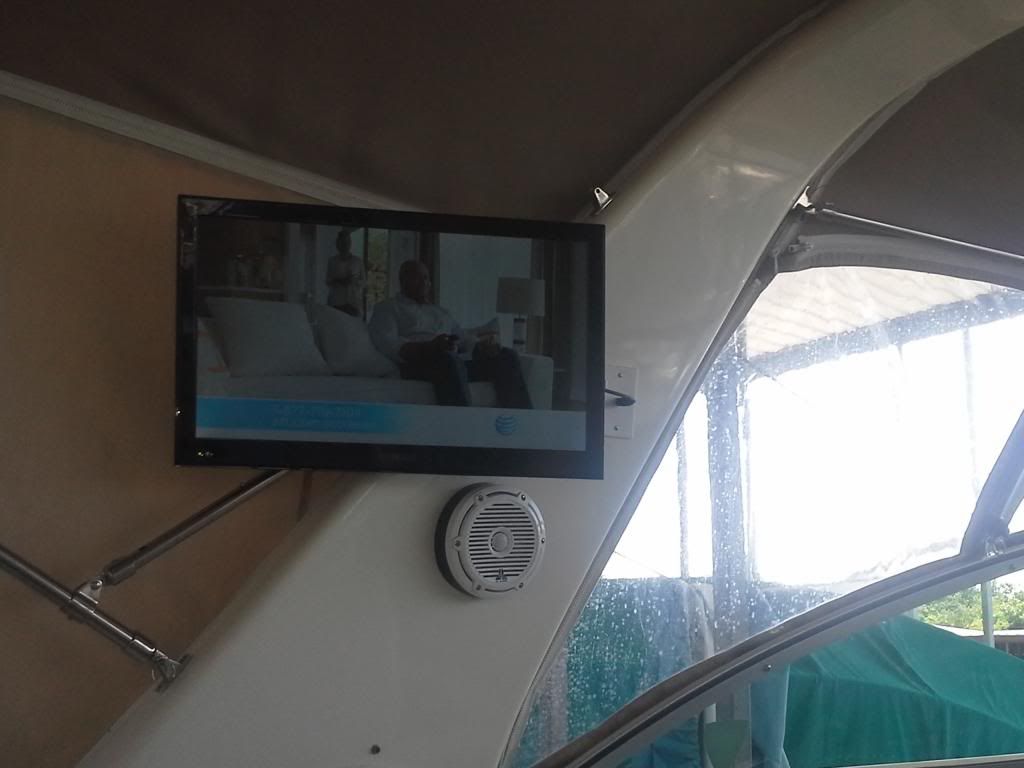
The TV mount is a locking swivel/articulating quick connect mount.


Here it is mounted and in action


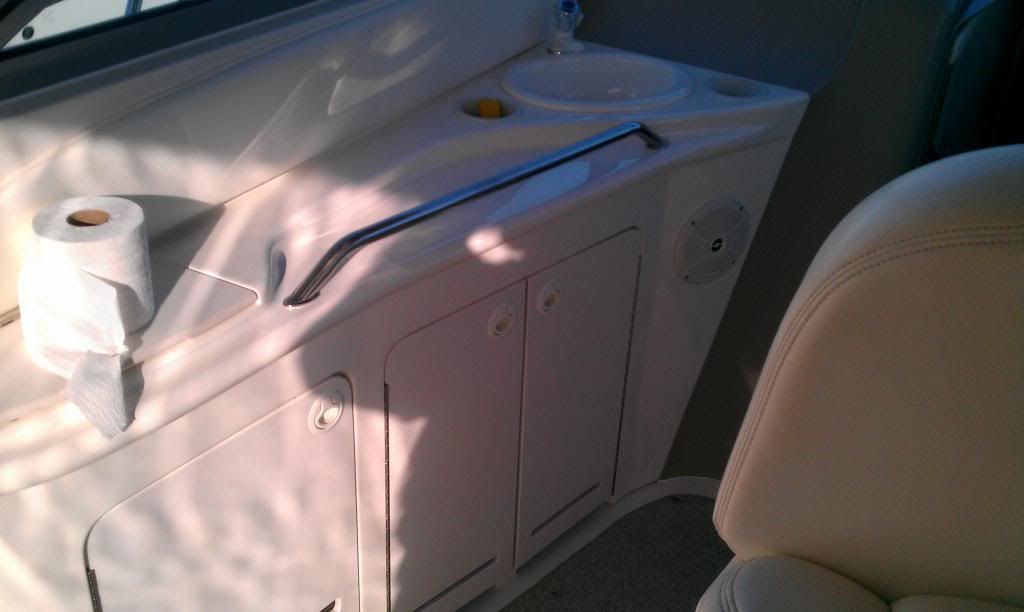
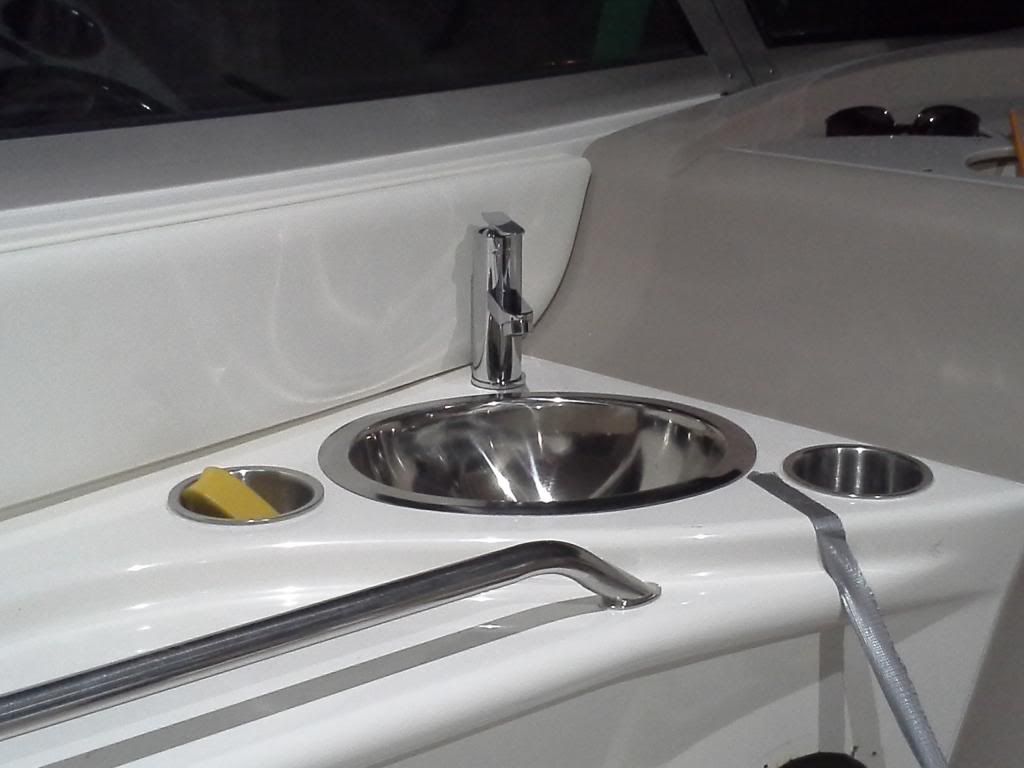
I have also started a wet bar upgrade from the standard Sea ray sink and faucet To an all stainless version. I put in all new SS door latches, cup holders sink and faucet. I also ran a hot water line for the cockpit sink. Here is the before


And here is a couple of the almost finished project. Sorry the pics are not the best but you get the idea. I'll post some better ones when I get it all done.
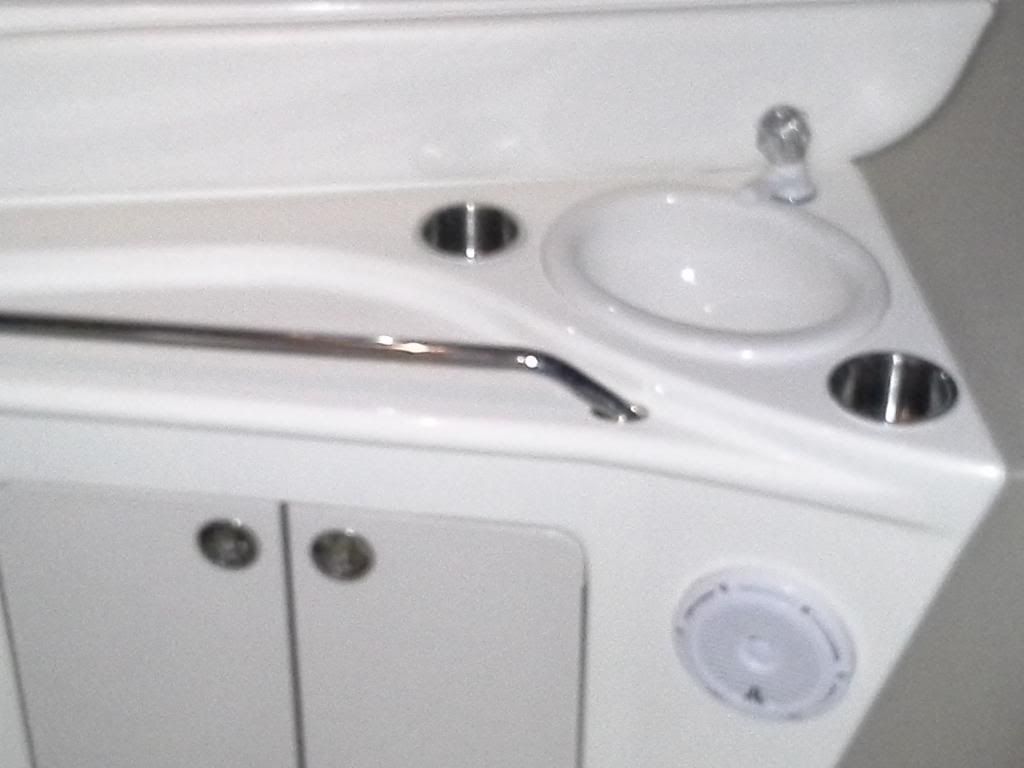


#2 ·
Looks good! I have contemplated changing the sink to stainless. I may just have to follow up with that! I like the idea about the hot water back there. The only thing is I would try to minimize the size of the outlets mounted on the arch. Maybe a combo with a single receptacle with a cable jack? They make some sweet units for inside but not sure about outside...
 
#3 ·
I thought of that but they did not sell any, or I could not find any with an outlet and a coax in the same box unit. Found them with HDMI, but not the cable.

Took the hot water idea from Dale - Mastefab. He is great guy and always willing to help with answers and advice. Overall, has been pretty easy and enjoyable work. Now if I can only figure out my bathroom light issue I'd be set...but thats for anther thread.
 
#4 ·
where did you get the dark colored backing for the JL speaker on the arch. I have white ones that do not look even close to as good as yours!
 
#5 ·
I got the spacer rings from sonicelectronix.com. I dont really like them and had a plan to change them to white starboard rings made by another member but had other things come up and completely forgot about them until your post. Thanks for the comment and reminder.

Sent from my SAMSUNG-SGH-I437 using Tapatalk
 
#9 ·
Thanks X, I used standard outdoor electrical wire,12 guage I think. It was a simple direct connect to the existing outlet and then string it up to the new outlet box. I did change the older grey outlet face plate to a new white one like in the picture. I backet the tv mount with a 1/4" thick 6"x2" piece of starboard and large stainless steel washers. It was a very tight fit inside the arch. The tv locks in place pretty well. I boat on the mississippi river so we dont see any big water like you salties do. I did put a rubber bumper on the arch where the mount arm touches just in case though.

Sent from my SAMSUNG-SGH-I437 using Tapatalk
 
#25 ·
i was thinking the same thing David and found a heavy stainless steel mixing bowl that I just about bought to use as a sink by drilling a hole in the bottom and fixing a drain. But haven't had the guts to try it yet.
 
#13 ·
Sure, I got the Scandvik sink model 10280 here: http://www.go2marine.com/product/20...9211F/scandvik-stainless-steel-oval-sink-13-1-4-x-10-1-2-x-6-mirror-finish.html

I also had to get a new drain and because of the sink drain cutout size is 1-1/2", my choices were very limited. I ordered a Forespar drain from WM here: http://www.westmarine.com/forespar--plastic-drain-fittings--P011_331_001_006 I got the 907013 model so I did not have to change the through hull fitting and would be able to use the existing drain hose.

The faucet I got on ebay for about $50.

My boat has the 15mm waterlines so I needed to use the Sea Tech metric lines and fittings. I got the water line and fittings here: http://www.freshwatersystems.com/c-282-seatech-fittings.aspx
and here is how I plumbed it under the sink:


I just cut some of the silicone out from around the cold water line and shoved the new red line through the floor using the same hole. I'll seal it back up with some spray foam when its all done. There is an access plate just above the fuel tank sending unit that I used to reach in and thread the line back to the ER. I zip tied the new line to the existing cold water line so it wont get out of place in the future.

This weekend I'll add more pictures of the plumbing I did in the engine room to connect the hot water there and then I'll also get some good shots of the whole upgrade completed.
 
#18 · (Edited)
#22 · (Edited)
#23 ·
I know this is after the fact so don't get mad. you can just use a single outlet behind one of those covers and put your cable outlet in the other one.
Why be mad? If it can help someone else with their project, then its serves a good purpose. I did look at some similar products but none were compatible with the flat/flip style weatherproof outlet cover I wanted to use. The existing oem outlet cover and the 2 new one I used are a center screw mount (between the two doors) and the cover is molded and recessed so the outlet fits into the cover for a tight weatherproof fit. The one you show would not work either due to the mounting set up.
 
#27 ·
#29 · (Edited)
Here it is all complete and ready for first spring use. The plumbing was easy and I reused the same drain hose. I had to buy a new drain from WM though. The adhesive caulk from WM made a bit of a mess but cleaned up pretty easy.


The new hot water line going through the floor along side of the existing cold water line and it was run on top of the fuel tank back to the er. I sealed the gap with great stuff spray foam.


Here it is all put back together.


The lighting here is from the 2 new Lumitec Shadow lights installed in the arch. The lights are on full bright but can be dimmed on white and they also switch to red and blue


Here they are installed. They mount flush to the arch. I also put 2 in as courtesy lights.


Here is a better one of the TV in the home position. Its articulating mount allows it to move so it can be moved around and locked in place to be viewed from every where above deck.


Thanks for looking and for all the nice comments.

 
#31 · (Edited)
Yes, they fit right in the existing holes in the arch and the courtesy light locations. The arch was a flat surface and quick install. The courtesy light surface is slightly rounded and can not be screwed down flush completely on all sides or it will crack...dont ask me how I know. I just screwed two of the screws down tight and then only snugged down the third side and filled the small gap with white silicone caulk. So far, im really happy with them.

Sent from my SAMSUNG-SGH-I437 using Tapatalk