

I’ve searched CSR but didn’t find an official 420DB thread. So, I figure it’s a good idea to have one. Let me open it with a quick story on my upgrade process from our lovely 320DA “Boat A Bing”.
It’s been about six months since we began our search for a new boat. We loved the line and had 420DB on our radar for a long time. Short after we made the decision to upgrade to a bridge boat I was advised to explore an option and consider a 400DB model.
After looking closely we could see a huge difference in price and the fact that real estate wise it’s almost the same boats was very good incentive.
The first immediate thing was to see a 400DB in person to make sure this is something that can work for us. So, we found one in Staten Island and went to check it out. The price was way above reasonable and the boat was a trash, but we only wanted to see the boat layout and we needed to get an answer to one question “is this model something that we really like and can own for years to come?”. The answer was “Yes, but only 2000 and newer and for the right price”. The big part of the deal was trading our 320. So, I contacted every selling agent for the boats that got on my “purchase prospects” list and quickly have learned that pretty much none of the 400 deals would accept my 320 for a reasonable price as a trade. This is where we had to make a decision on our further approach. After looking for some time, while I’ve listed my 320 on the market, it was becoming clear that if we’re hunting for 400DB deals, we’ll have to deal with the fact that in order not to give our exceptionally maintained 320 away we’ll have to just buy 400DB and sell 320 on our own. It took us about two months before we were able to get closer to something what we were looking for, in regards to 400DB deals. We found what was presented as the nicest and cleanest 2002 on the market. So, we made the commitment to proceed with this eventful process. Here’s the link with all the details regarding the deal 400DB Upgrade Went South – Buyers Be Aware
So, despite a huge disappointment after spending about 2 months and ~$5K with not much result the search had continued. During all this time I was periodically recompiling a list of 420DBs and was contacting the sellers regarding my trade. Anytime we thought of 420DB the situation was clear, we can only swing it if they accept our trade for a reasonable cost (not the “below wholesale” price what every broker offers).
As the time goes by, the season in Northeast was over. Our 320 was prepared for the winter and this was the time when number of sellers (400s and 420s) came to realization that they have to make considerable price adjustments if they want to sell their boats. So, I’d say that closer to December I started getting calls from the sellers in regards to new deals. This is when we finally heard a reasonable offer to take our 320 in trade on the sale a beautiful 420DB.
The moment we saw the boat we knew right away that this was our dream 420 and we’re buying it as long as all checks out and the numbers work for us. Well, as with anything that comes to boating it takes a long time to get things moving. But, after a while of hard work of negotiations and getting over the details, the contract was made and we proceeded with the purchase process.
The tricky part was getting her surveyed as the weather was only getting colder. We were trying to pick the warmer days, but at that time we were just happy that it wasn’t snowing or there was no freezing rain in the forecast. So, the survey was done during below freezing temps with 20kts wind making it a very “interesting” event. When we pulled to the dock after a sea trial there was ice all over the boat. I never thought I’ll be boating in these conditions, but as people say “there’s a first time for everything”. After all reports (hull survey, mechanical survey and oil analyses) came back, I had very good idea where I stand and we moved on to the final stage of the purchase process.
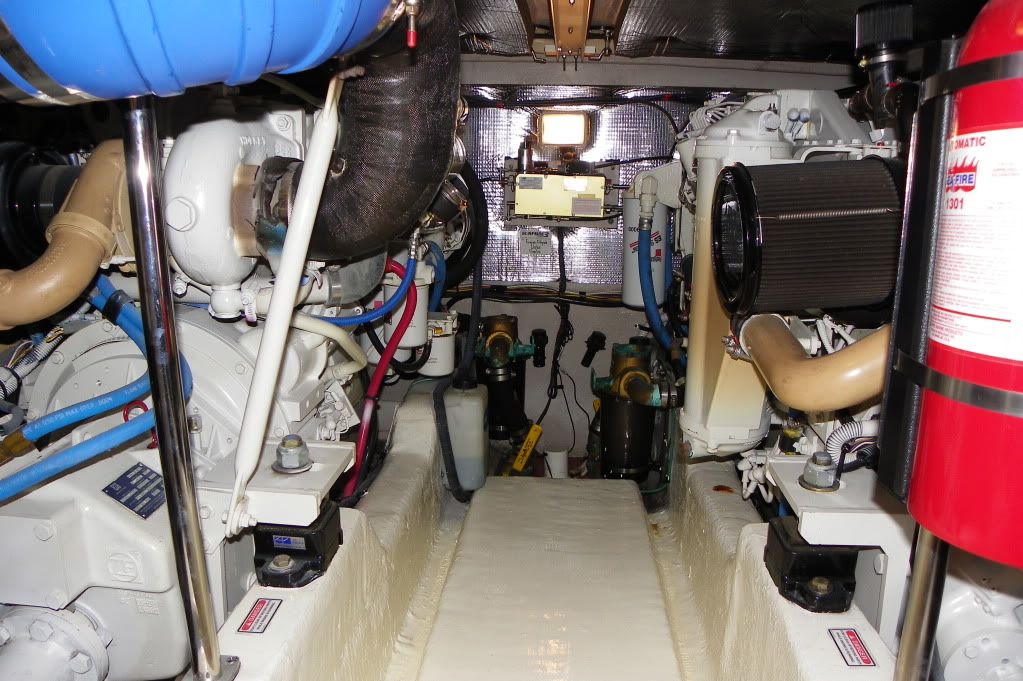
Here’re few things about the boat. First of all I’d like to mention that I’m a big fan of keeping things simple and have minimum overhead. Thus, this was the primary driver for major items like hull color and engines choice. I spend a lot of time working on the boat and adding extra care for colored hulls (despite the fact that they look great) was not on my wish list. As for the engines, I did my homework, posted some threads and have learned few things about the new to me diesels. I listened to FWebster’s suggestion, as agreed with the approach (lose few HPs and couple of KTS in exchange for reliability and engine base simplicity), and picked the boat with basic Cummins 6CTAs . I have to admit that I enjoyed all the detailed data SmartCraft provided on my 320, but I hate when the censers are giving troubles. Luckily, my 320 wasn’t a trouble boat at all, but just reading som many stories didn’t comfort me. I also agreed with Frank’s point that if you know basic stats on fuel burn, there’s no really a need for fancy SC system to streamline this info instantly, as everything has a price. Therefore, fully mechanically controlled engines were my choice. After testing few 400DBs with Cummins 6CTAs and then seeing performance of my new 420DB I was satisfied. To my surprise there was no difference in performance despite the fact that my 420DB is 8,000 heavier than 400DB. But, as Frank said, that’s an art of engineering.
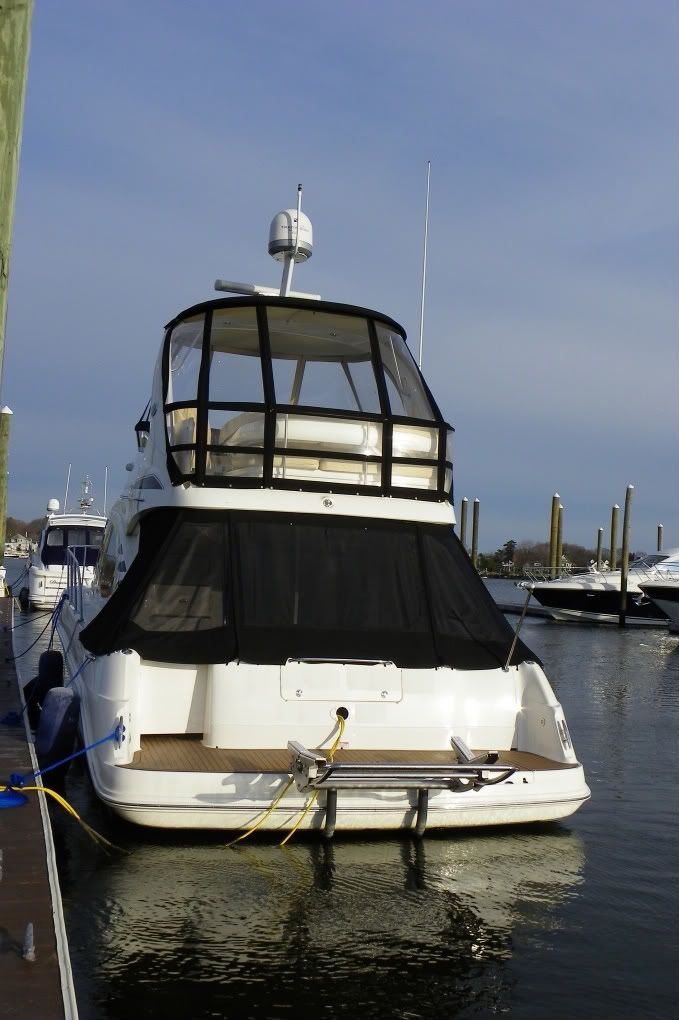
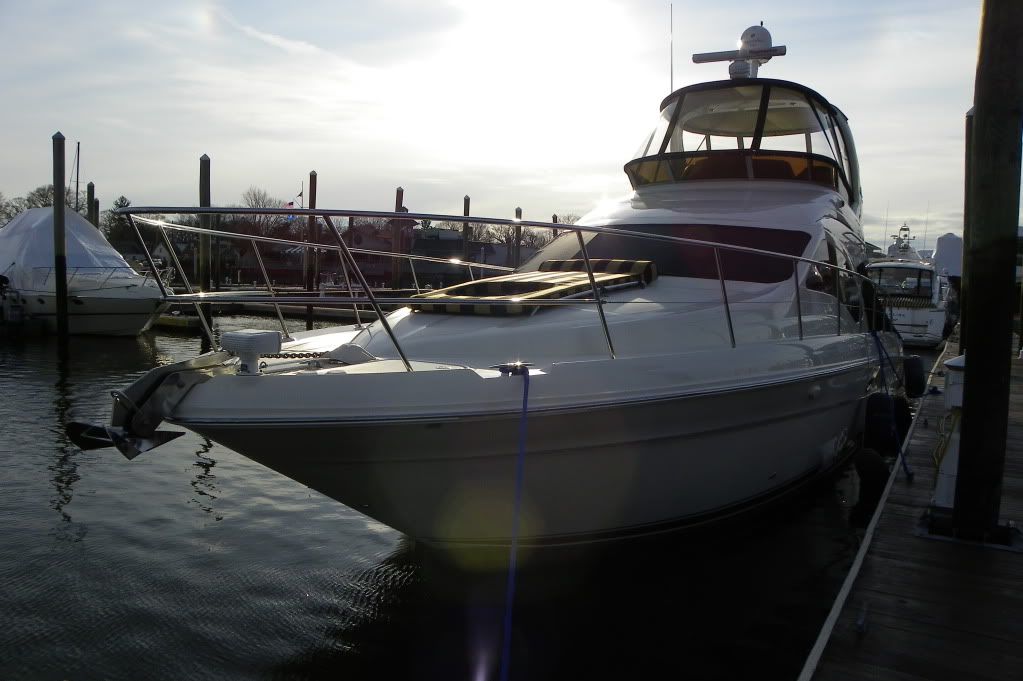
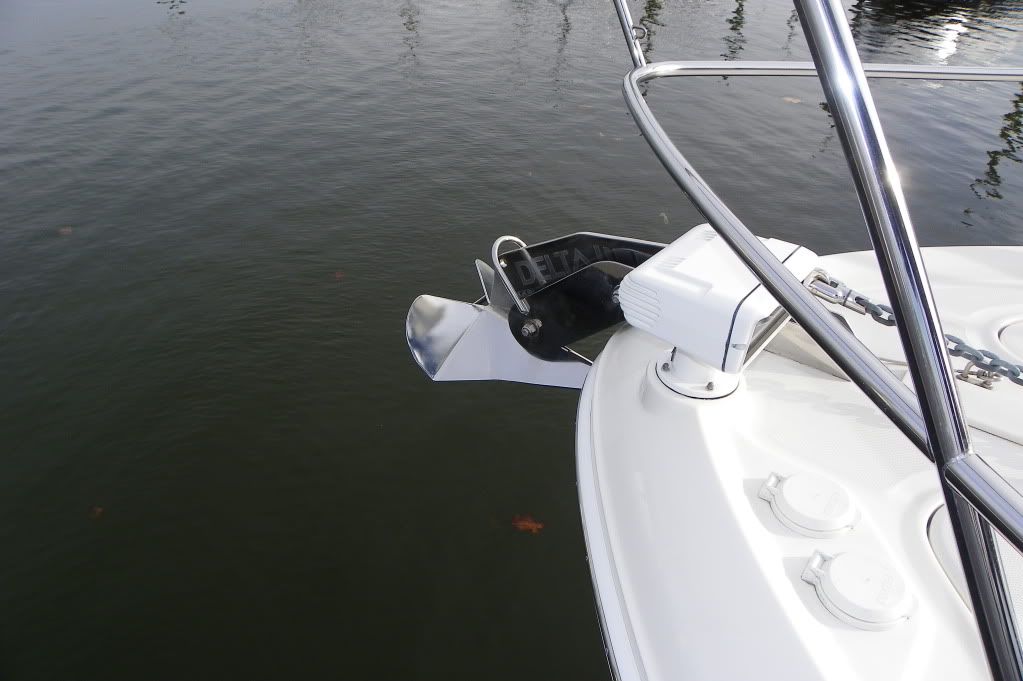
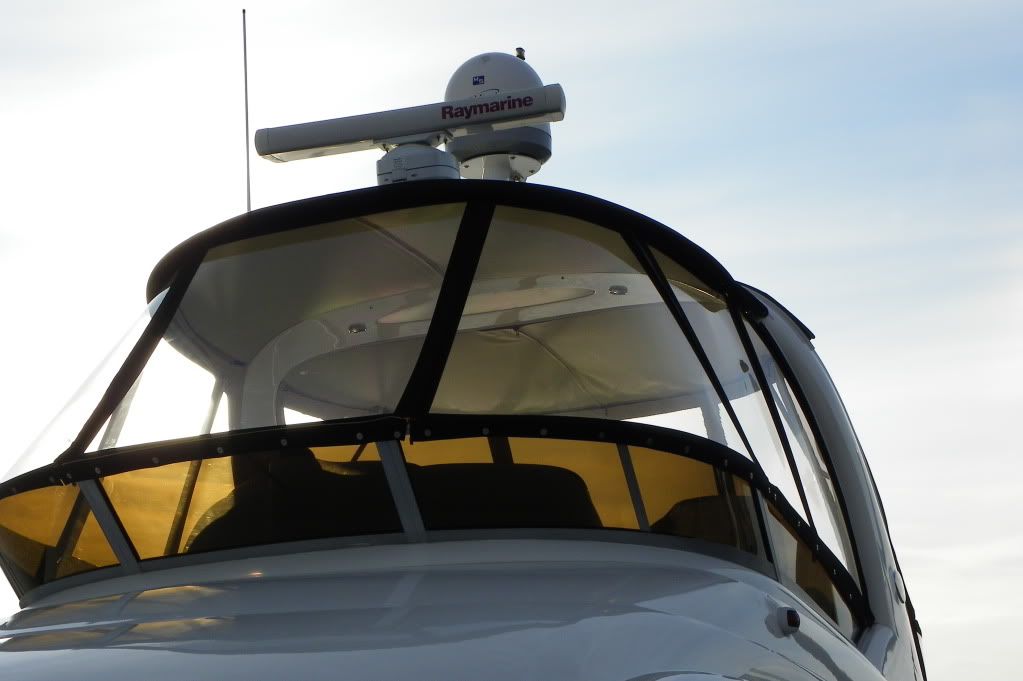
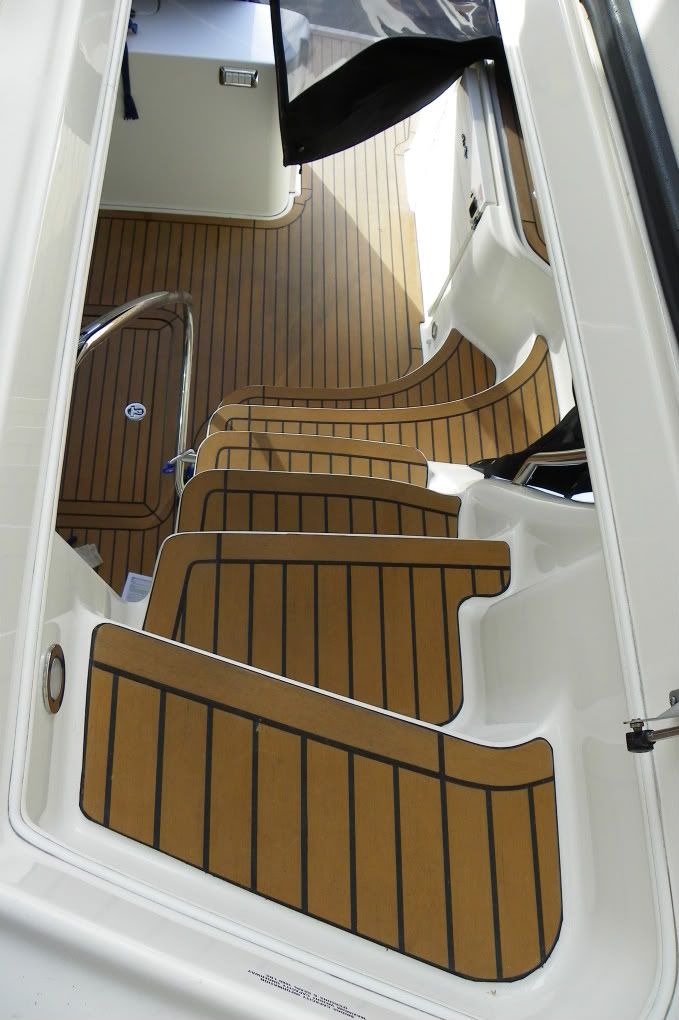
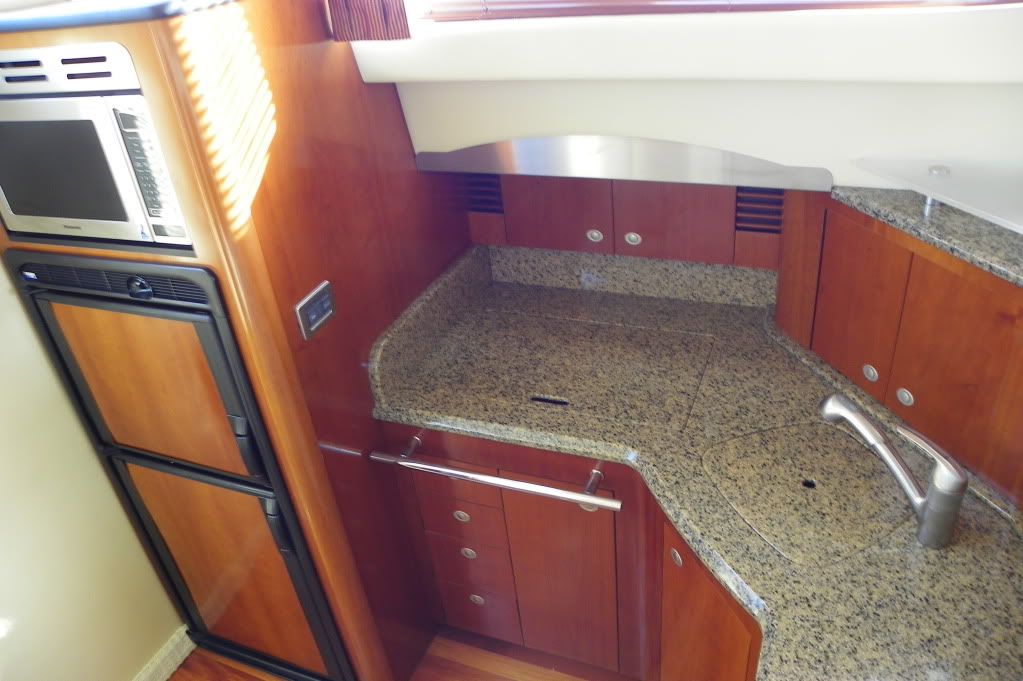
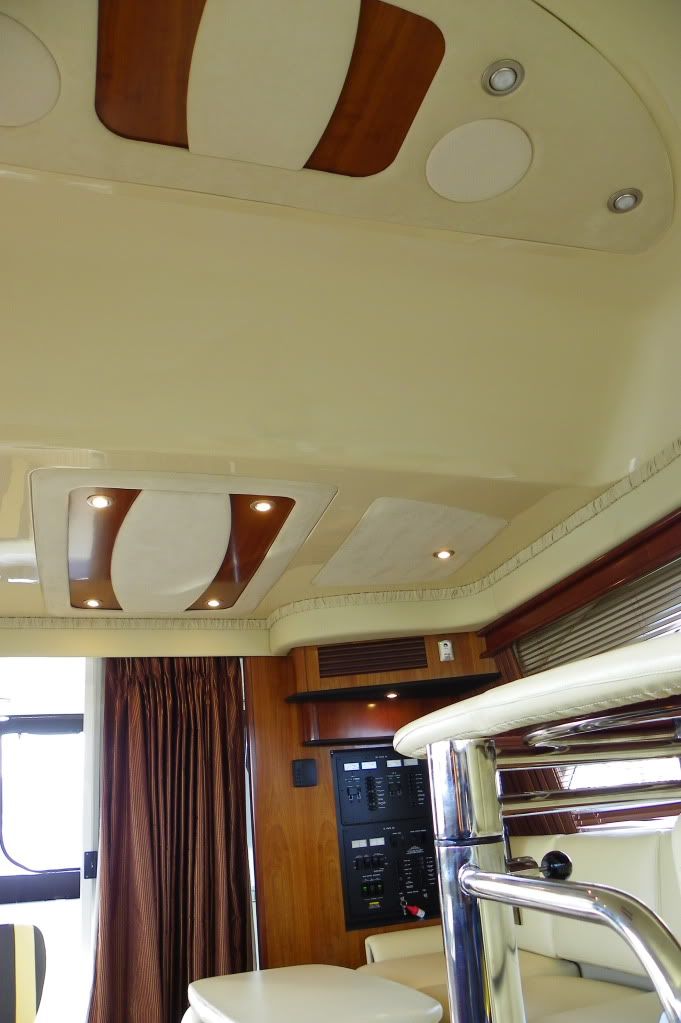
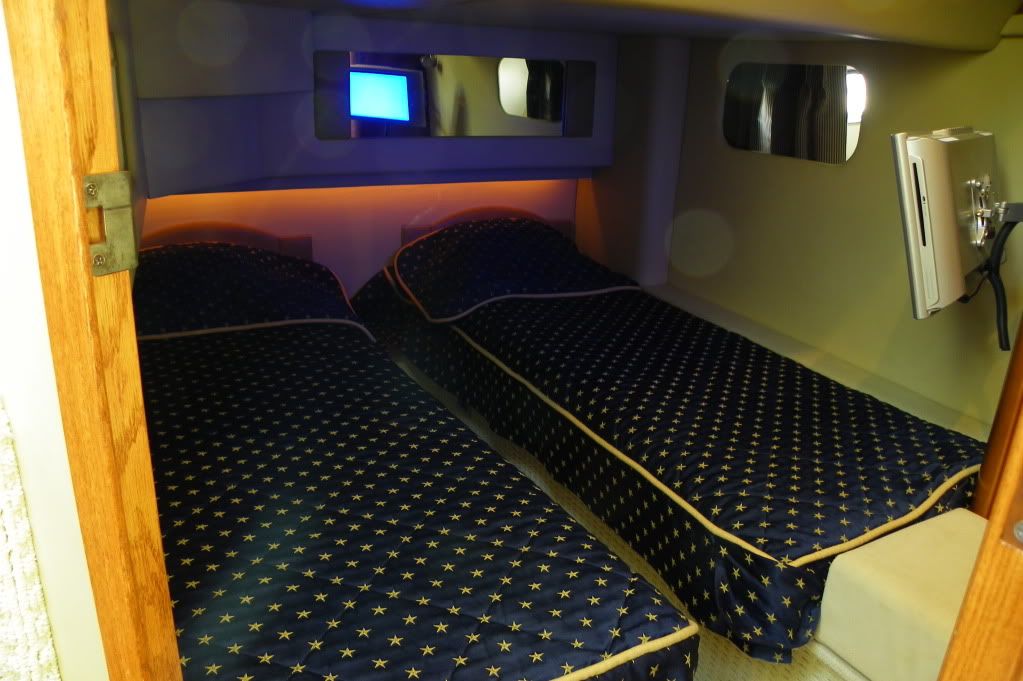
Here’re few pictures that was able to capture:
![Image]()
![Image]()
![Image]()
![Image]()
![Image]()
![Image]()
![Image]()
![Image]()
![Image]()
![Image]()
![Image]()
So, my 420DB fellow owners, let's keep this thread going and share our stories, maintenance tips and trick, and of course enhancement project ideas.
Cheers,
Alex
It’s been about six months since we began our search for a new boat. We loved the line and had 420DB on our radar for a long time. Short after we made the decision to upgrade to a bridge boat I was advised to explore an option and consider a 400DB model.
After looking closely we could see a huge difference in price and the fact that real estate wise it’s almost the same boats was very good incentive.
The first immediate thing was to see a 400DB in person to make sure this is something that can work for us. So, we found one in Staten Island and went to check it out. The price was way above reasonable and the boat was a trash, but we only wanted to see the boat layout and we needed to get an answer to one question “is this model something that we really like and can own for years to come?”. The answer was “Yes, but only 2000 and newer and for the right price”. The big part of the deal was trading our 320. So, I contacted every selling agent for the boats that got on my “purchase prospects” list and quickly have learned that pretty much none of the 400 deals would accept my 320 for a reasonable price as a trade. This is where we had to make a decision on our further approach. After looking for some time, while I’ve listed my 320 on the market, it was becoming clear that if we’re hunting for 400DB deals, we’ll have to deal with the fact that in order not to give our exceptionally maintained 320 away we’ll have to just buy 400DB and sell 320 on our own. It took us about two months before we were able to get closer to something what we were looking for, in regards to 400DB deals. We found what was presented as the nicest and cleanest 2002 on the market. So, we made the commitment to proceed with this eventful process. Here’s the link with all the details regarding the deal 400DB Upgrade Went South – Buyers Be Aware
So, despite a huge disappointment after spending about 2 months and ~$5K with not much result the search had continued. During all this time I was periodically recompiling a list of 420DBs and was contacting the sellers regarding my trade. Anytime we thought of 420DB the situation was clear, we can only swing it if they accept our trade for a reasonable cost (not the “below wholesale” price what every broker offers).
As the time goes by, the season in Northeast was over. Our 320 was prepared for the winter and this was the time when number of sellers (400s and 420s) came to realization that they have to make considerable price adjustments if they want to sell their boats. So, I’d say that closer to December I started getting calls from the sellers in regards to new deals. This is when we finally heard a reasonable offer to take our 320 in trade on the sale a beautiful 420DB.
The moment we saw the boat we knew right away that this was our dream 420 and we’re buying it as long as all checks out and the numbers work for us. Well, as with anything that comes to boating it takes a long time to get things moving. But, after a while of hard work of negotiations and getting over the details, the contract was made and we proceeded with the purchase process.
The tricky part was getting her surveyed as the weather was only getting colder. We were trying to pick the warmer days, but at that time we were just happy that it wasn’t snowing or there was no freezing rain in the forecast. So, the survey was done during below freezing temps with 20kts wind making it a very “interesting” event. When we pulled to the dock after a sea trial there was ice all over the boat. I never thought I’ll be boating in these conditions, but as people say “there’s a first time for everything”. After all reports (hull survey, mechanical survey and oil analyses) came back, I had very good idea where I stand and we moved on to the final stage of the purchase process.
Here’re few things about the boat. First of all I’d like to mention that I’m a big fan of keeping things simple and have minimum overhead. Thus, this was the primary driver for major items like hull color and engines choice. I spend a lot of time working on the boat and adding extra care for colored hulls (despite the fact that they look great) was not on my wish list. As for the engines, I did my homework, posted some threads and have learned few things about the new to me diesels. I listened to FWebster’s suggestion, as agreed with the approach (lose few HPs and couple of KTS in exchange for reliability and engine base simplicity), and picked the boat with basic Cummins 6CTAs . I have to admit that I enjoyed all the detailed data SmartCraft provided on my 320, but I hate when the censers are giving troubles. Luckily, my 320 wasn’t a trouble boat at all, but just reading som many stories didn’t comfort me. I also agreed with Frank’s point that if you know basic stats on fuel burn, there’s no really a need for fancy SC system to streamline this info instantly, as everything has a price. Therefore, fully mechanically controlled engines were my choice. After testing few 400DBs with Cummins 6CTAs and then seeing performance of my new 420DB I was satisfied. To my surprise there was no difference in performance despite the fact that my 420DB is 8,000 heavier than 400DB. But, as Frank said, that’s an art of engineering.
Here’re few pictures that was able to capture:

So, my 420DB fellow owners, let's keep this thread going and share our stories, maintenance tips and trick, and of course enhancement project ideas.
Cheers,
Alex


