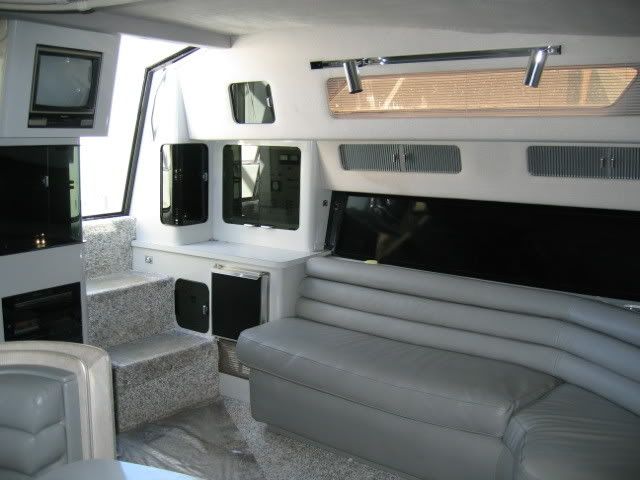
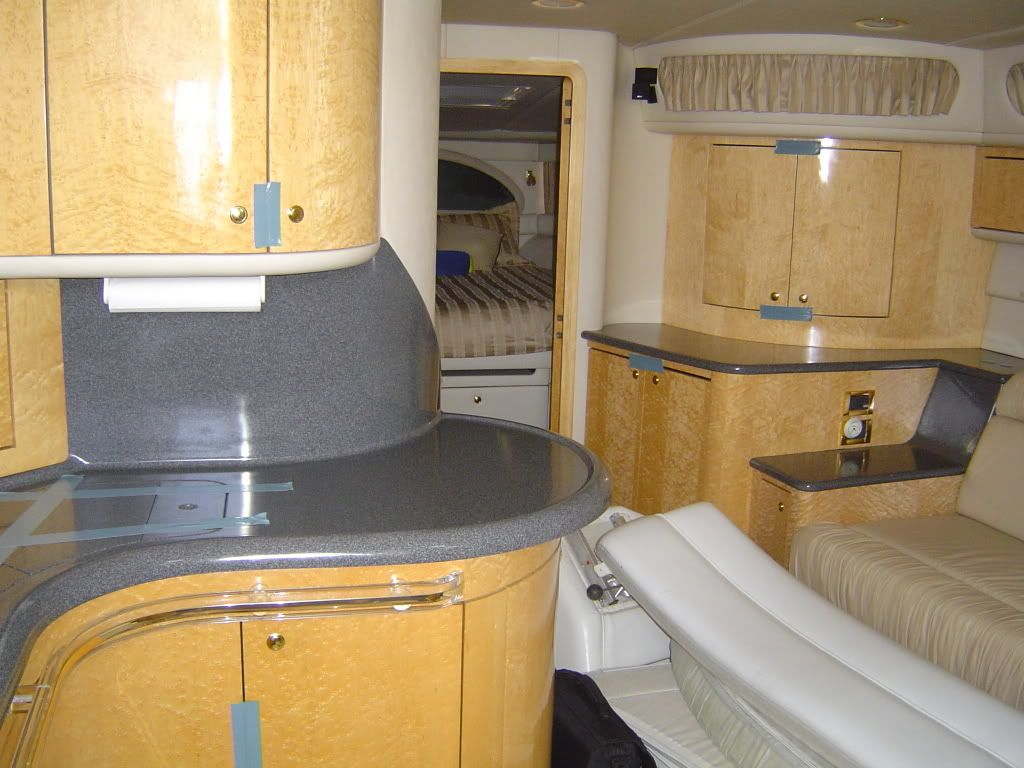
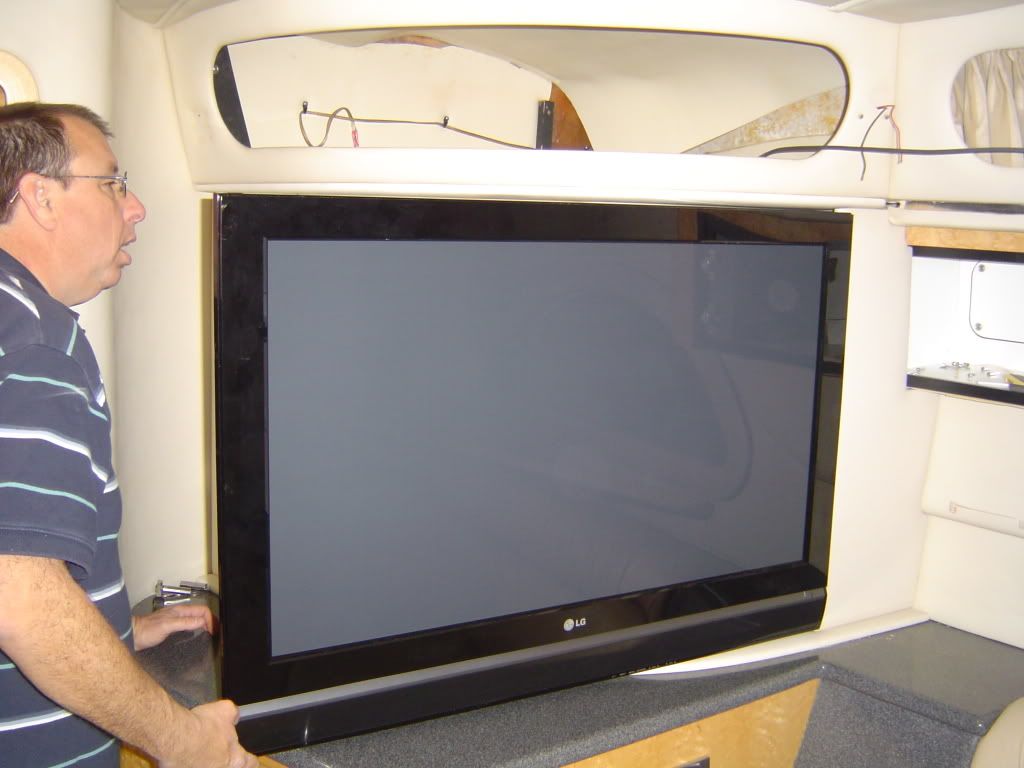
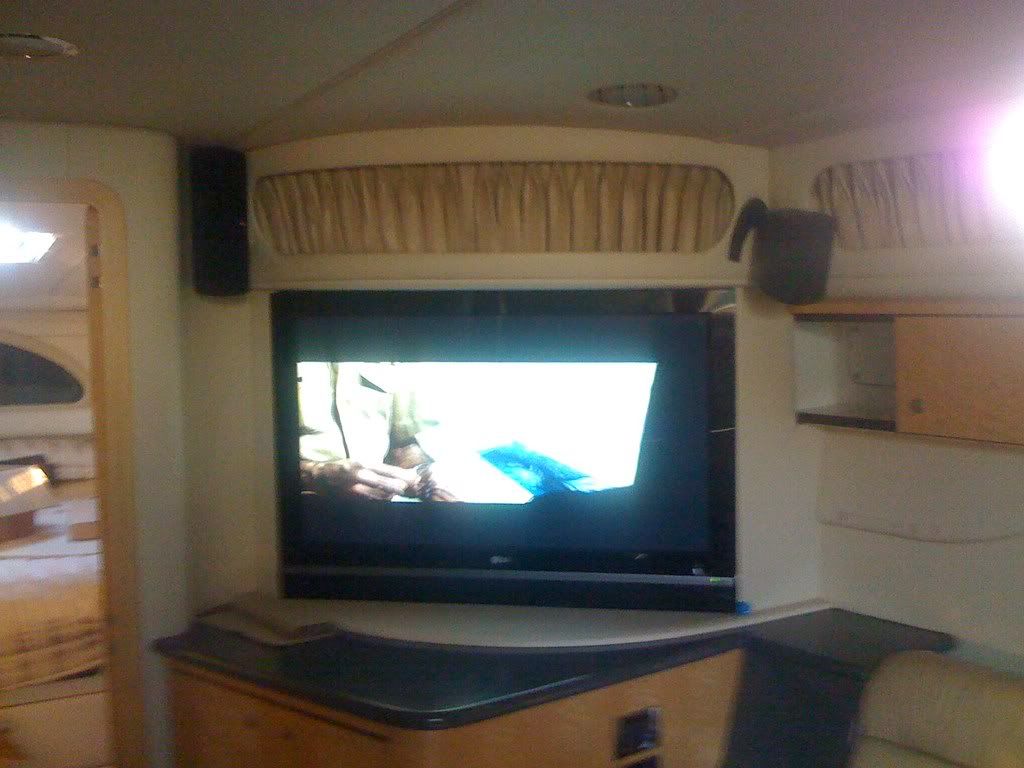
I love what you've done. I have been updating an '89 340 DA and yep, the interior surfaces are pink. We've toned the pink down with some other fabric colors. the one thing about the pink is that is light. The '87 and older boats had the wood laminate and it made the cabins look smaller. Have you ever replaced the overhead material. I would love to do that and install some updated lighting but I'm a bit intimidatedby the task.
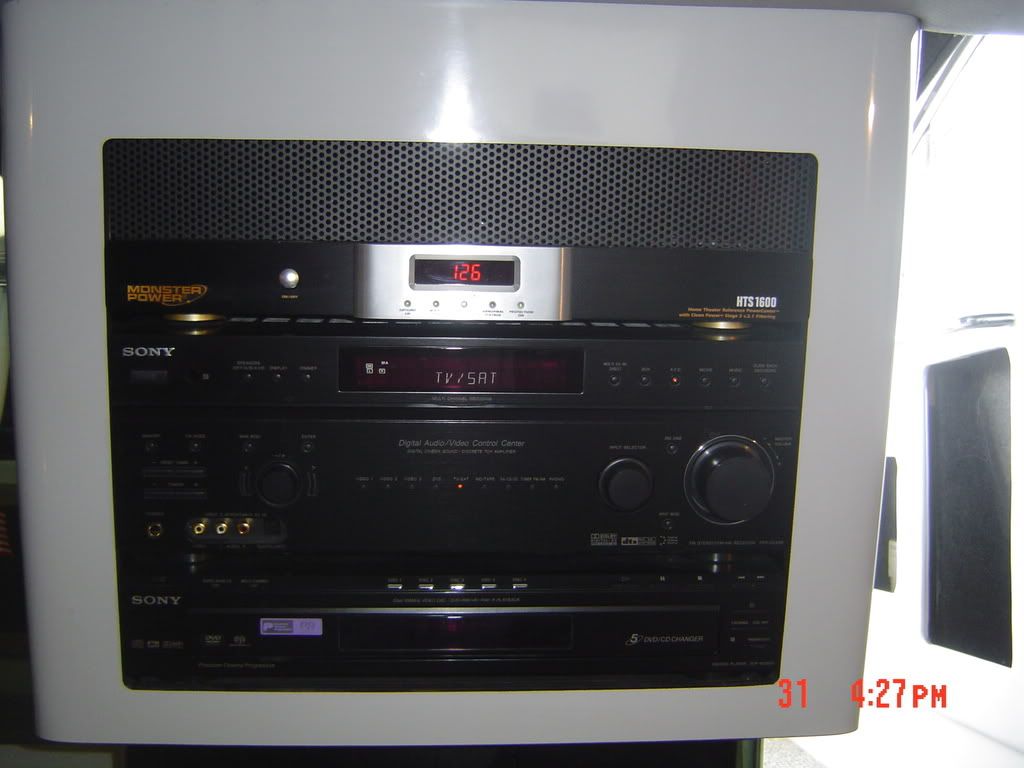
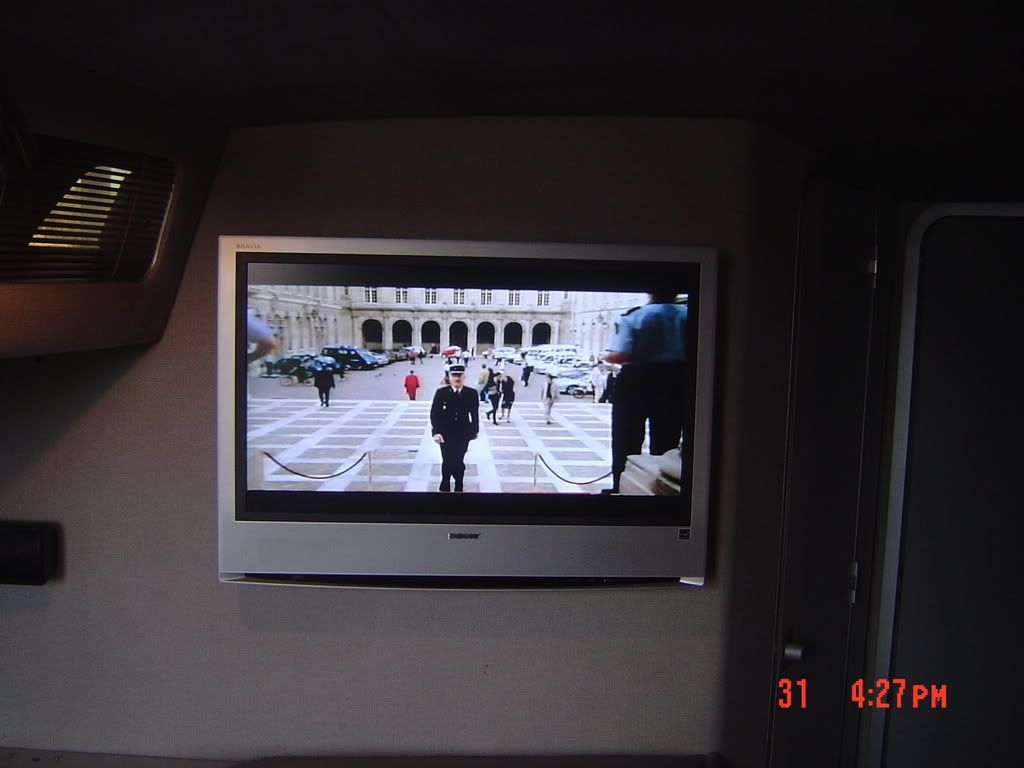
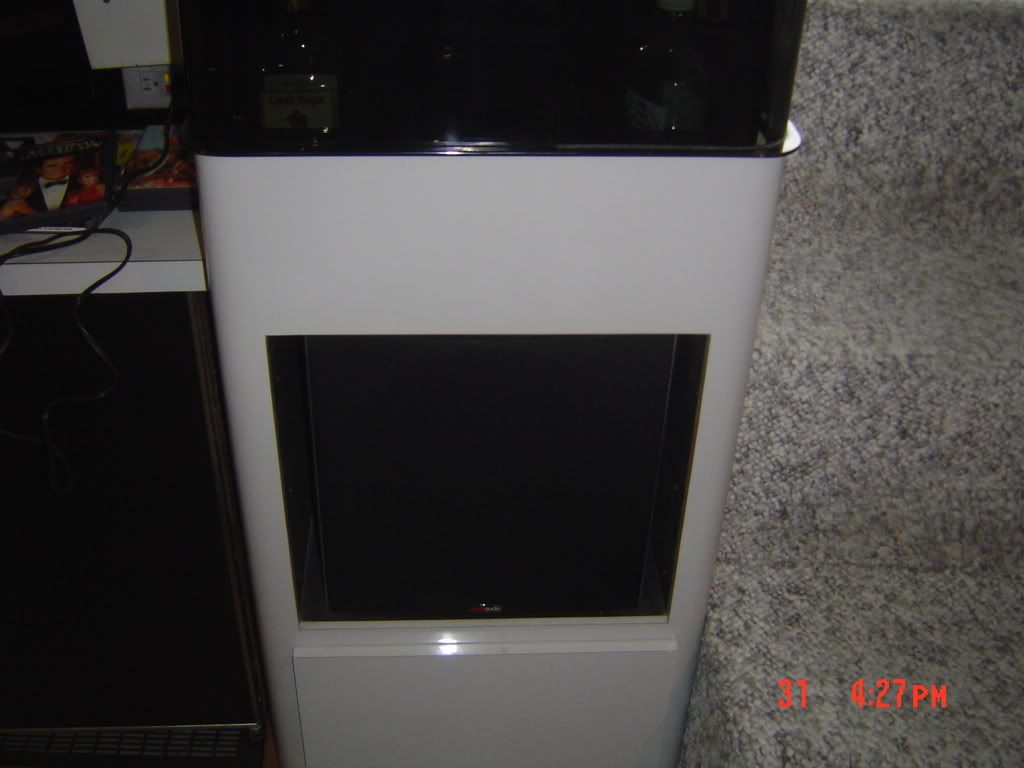
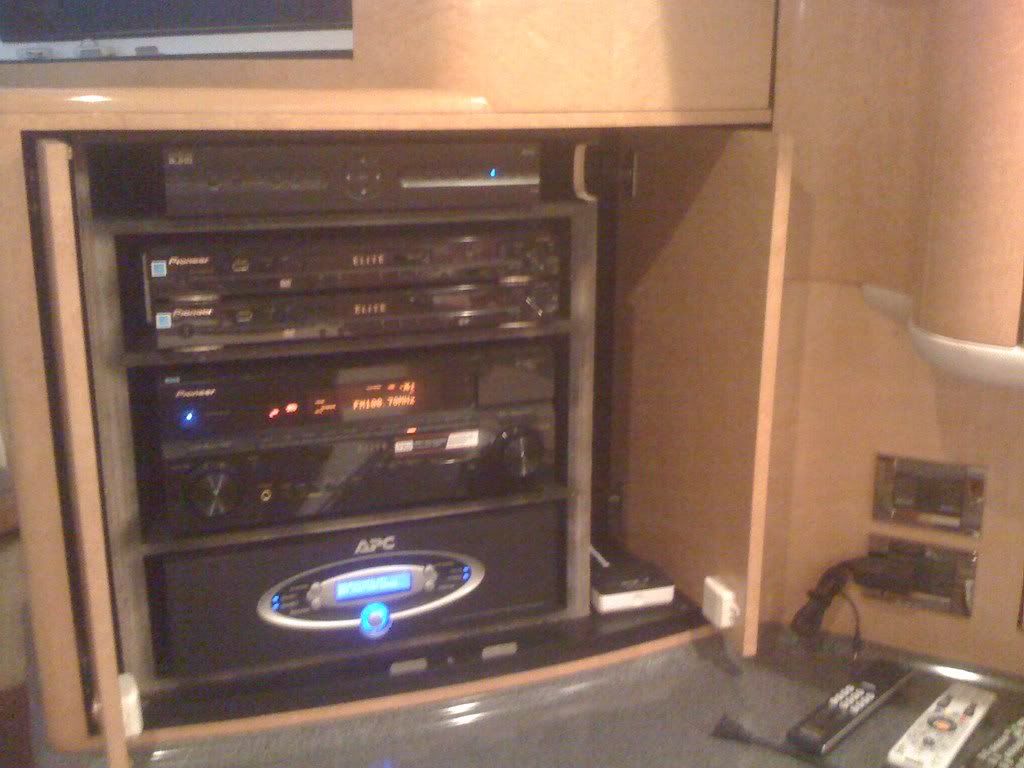
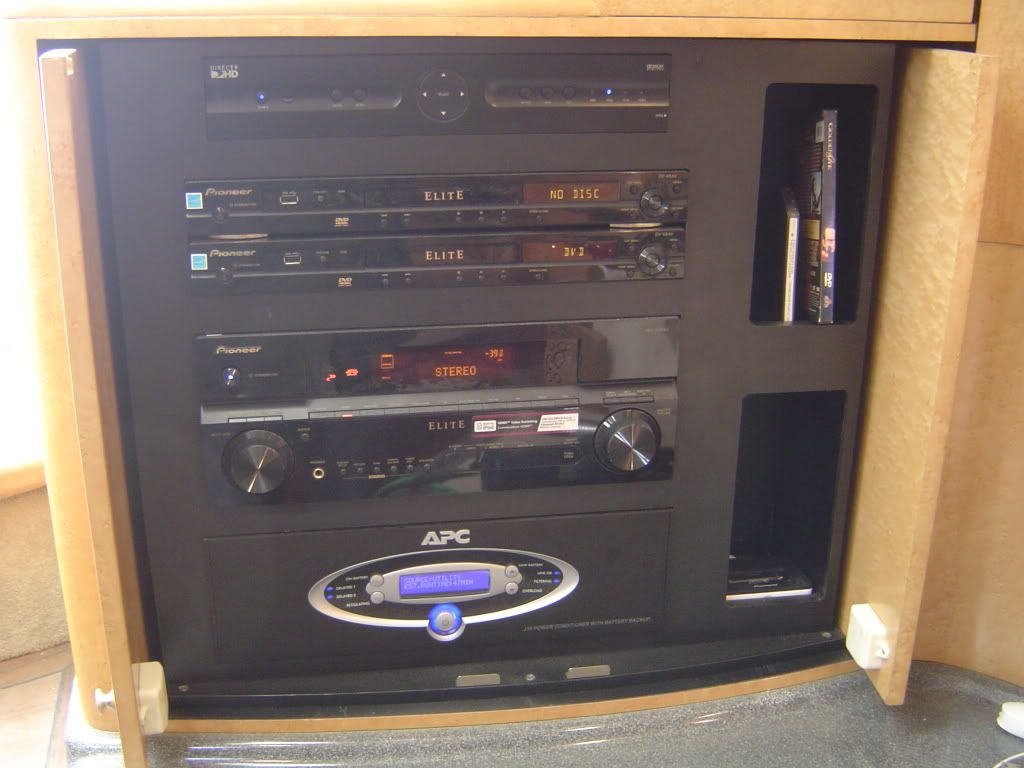
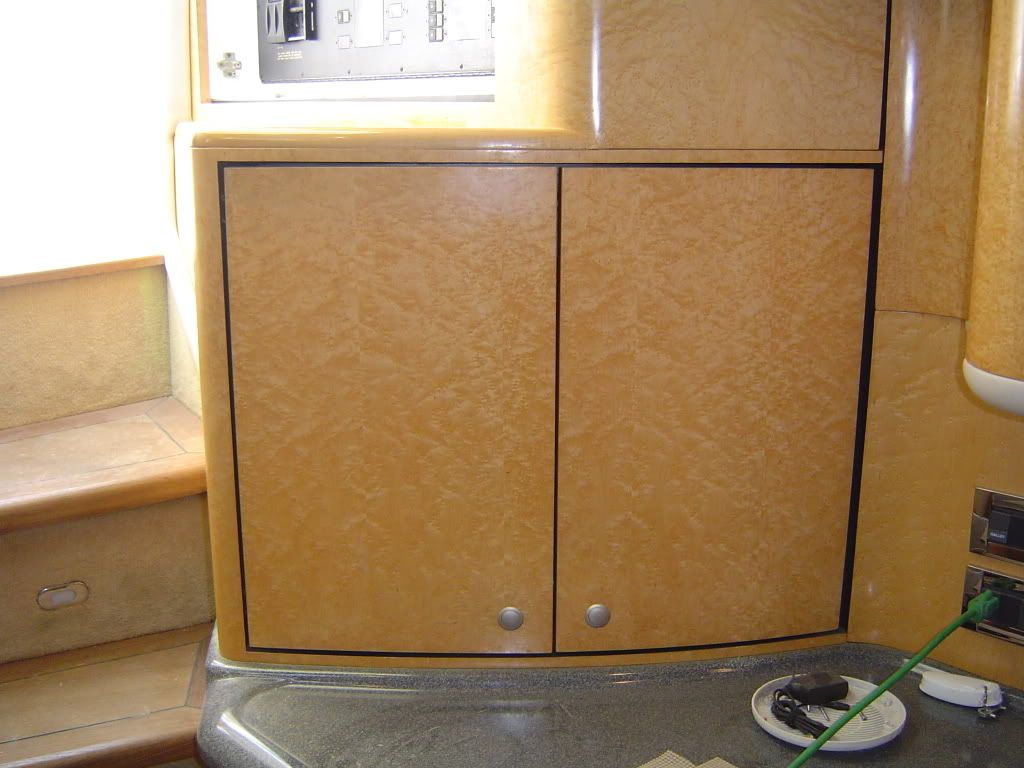
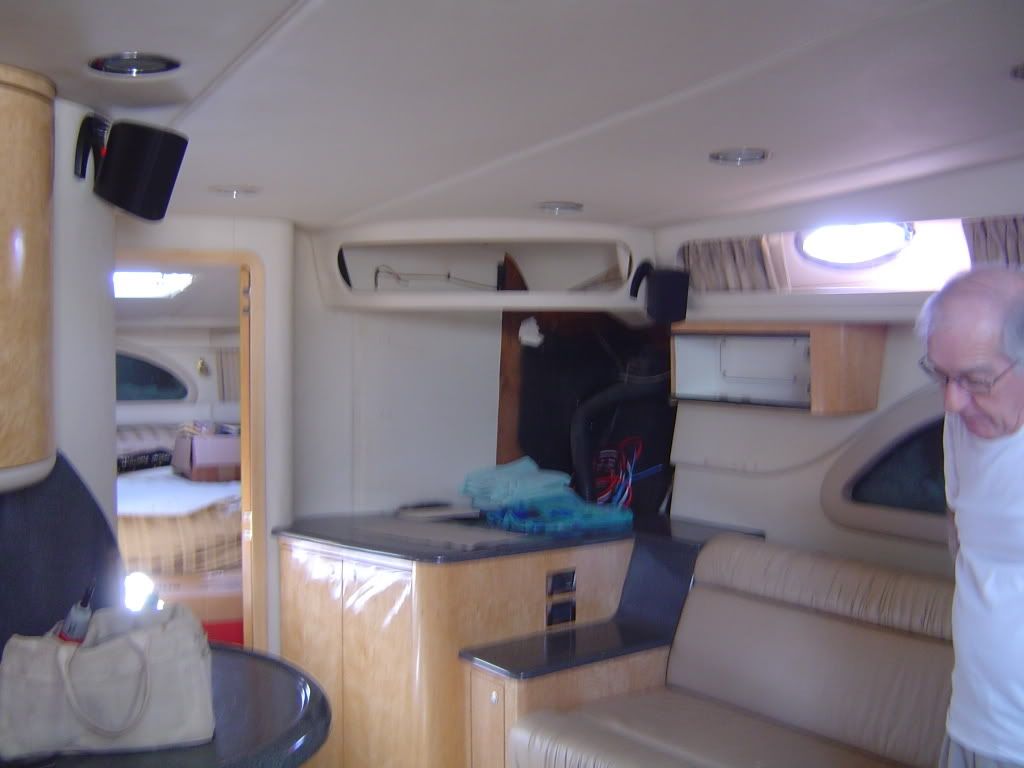
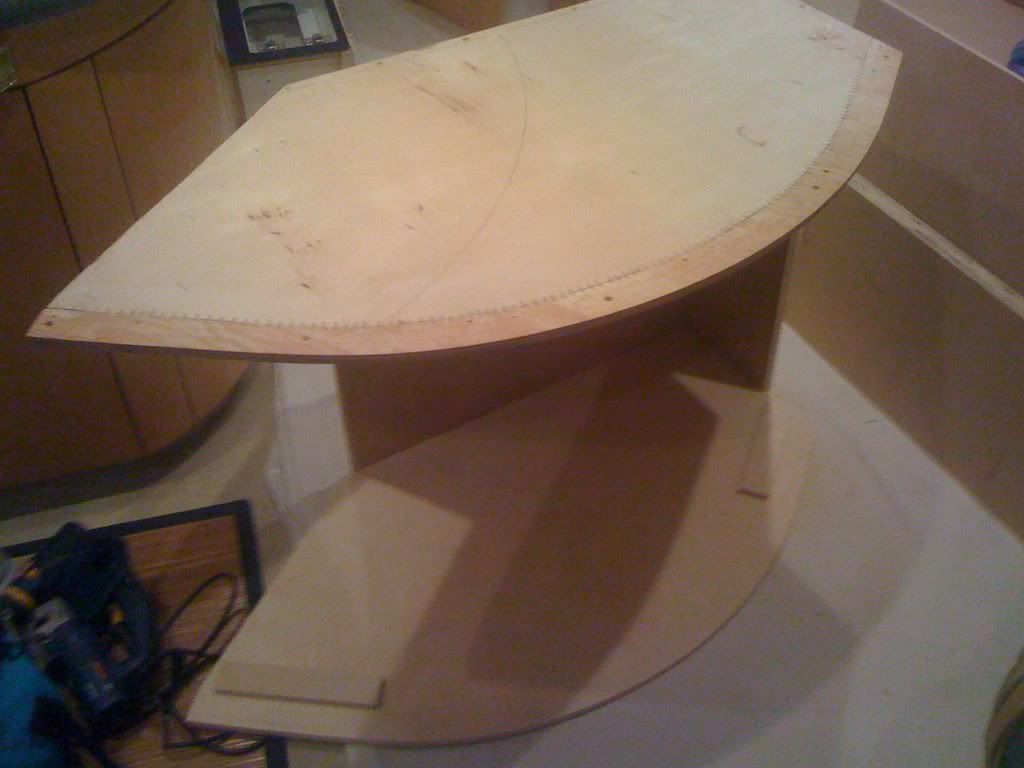
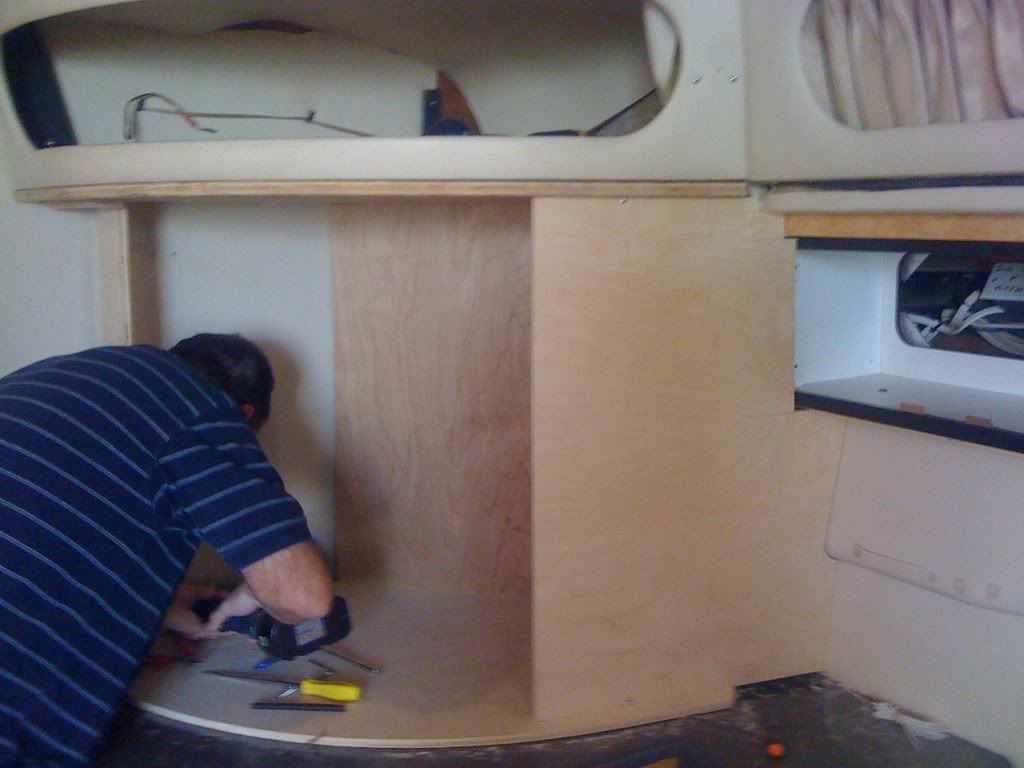
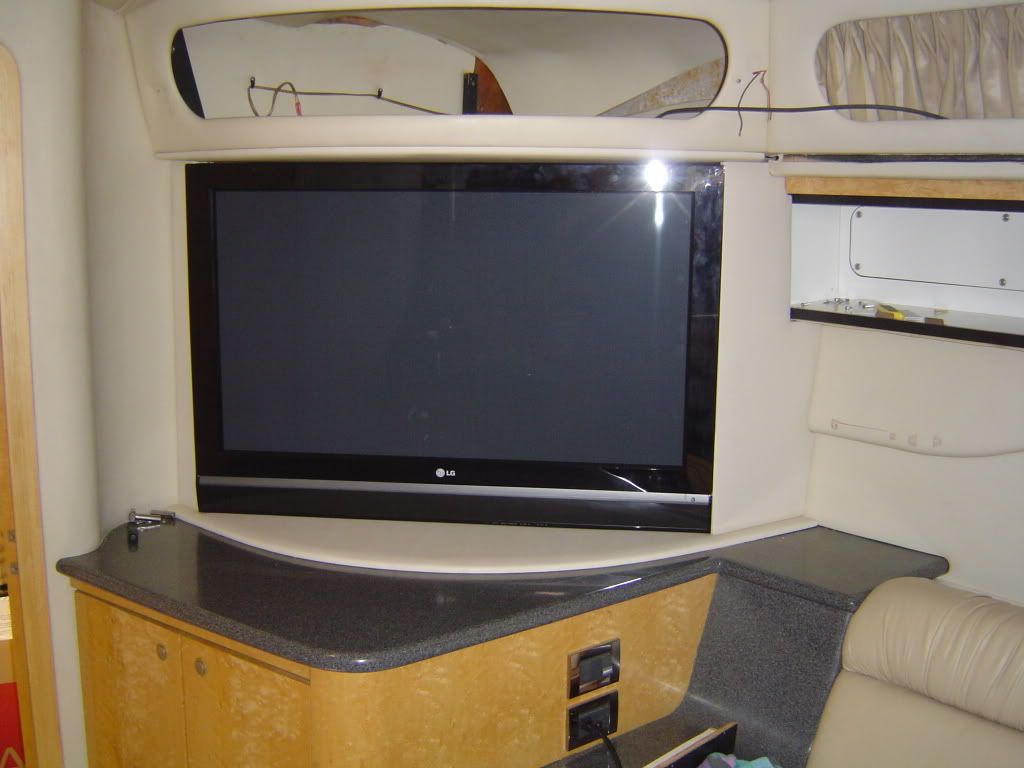
Here is some photbucket pics of what we've don so far. It's not as nice as yours yet but it's a start. http://s269.photobucket.com/albums/jj76/NorCalBoater/
Here is some photbucket pics of what we've don so far. It's not as nice as yours yet but it's a start. http://s269.photobucket.com/albums/jj76/NorCalBoater/
")