Spectrum Rocks

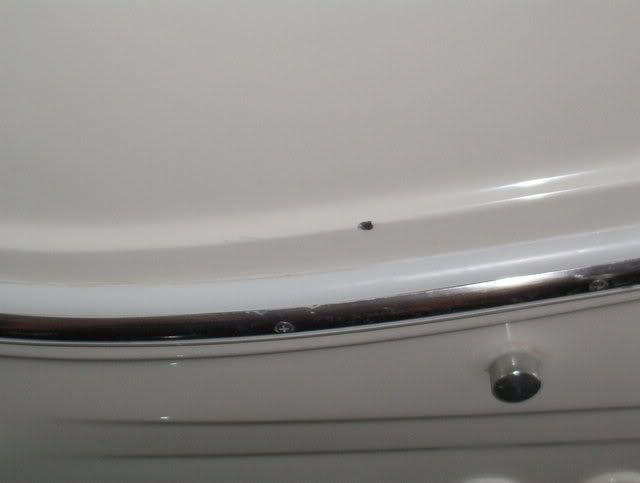
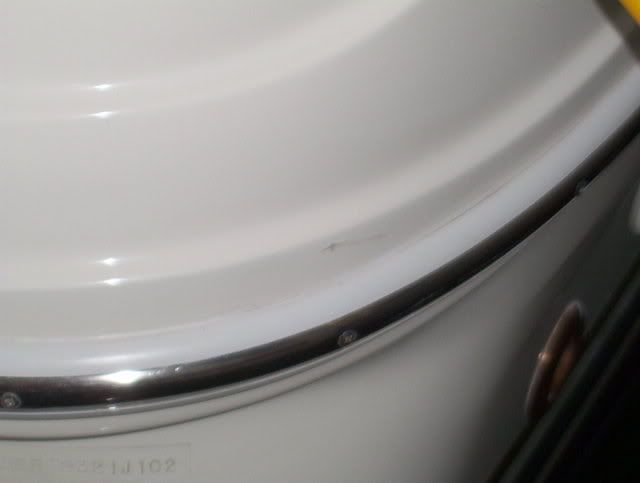
Fred...I did that a couple of weeks ago...had an email back the same day. They even included the Spectrum item number...I just haven't ordered it yet. I have 2 places to fix.....one is a chip, the other is a scratch.

000_0295.jpg


000_0294.jpg
 
I just fixed several spots yesterday with the spectrum kit. The plastic bag trick is great! I had some bad quarter size dings and they turned out good.I took pics of the process and will post soon (although the pics are not that great) Mike , thanks for the awesome tip about the baggy.
 
Here are some pics of my spectrum repair. I fixed several dings and the ding I took the pics of was not my best result.
I got my fingers in the pic for reference. I did this last weekend when some waves rocked me at the dock.
dscf0002zb3.jpg

I ground it out with a dremel and tapered the edges out.
dscf0003fr2.jpg

here it is ground out. I wiped it out with alcohol prior to filling.
dscf0004cs0.jpg

this is the spectrum kit.
dscf0005jb7.jpg

It said to mix half of the contents and add 8-10 drops of activator. That was way more than I needed, so I did about 1/4 of the jar and added 4 drops of activator. mix well.
dscf0009sj6.jpg

I put a dollop in the ding and placed a piece of plastic bag over it.(thanks Mike!). This allowed me to use my fingers to mold the paste to shape. I then taped the bag in place.
dscf0010pb0.jpg

the next day I peeled the bag off and it looked like this.
dscf0014tv0.jpg

I then wet sanded with 400 grit followed by 1000 grit paper ( bought at auto parts store) and followed that with some rubbing compound.
dscf0022ed6.jpg

Here is the finished result. Not bad. the boat is a '92 so a color match is tough. I still need to polish it. It has a small air bubble I exposed when sanding. I may dremel it out a little and fill it. I had some other dings that came out as good and even better. All in all an easy project. Make sure you have all your stuff ready to go when you mix the paste...it starts to get hard in about 15 min.
dscf0027cl2.jpg
 
Looks good, I hate air bubbles. When you use the bag, cut it in half so there's only one layer. cut that so it's a little more than double or so the size of the fix. Tape one end of the plastic down and pull it tight over the repair. smooth it out and then tape the other side down. do this with all 4 sides and you won't have those little bag ripples in the repair.
 
Last edited:
good advice...it actually is cut in half but I could have made it tighter.
 
I found a ding on my swim platform that I'm going to try and do over the weekend, I'll take some pics. It's right on a curve which I find to be the hardest to make look good. AND I'll do it on the hook with no safety net. Lets just hope I don't drop my camera in the water.
 
Quint....looks good.

Mike....I have a spot on my swim platform as well.....just recently saw it.

Did you guys over fill the hole just a little, so after sanding, it will be flush?

So...you basically use the baggy to key stuff off while curing and also you can rub your finger over the repair to smooth the Spectrum stuff out...is that correct??
 
you want it to be a little overfilled, but too much and you'll be sanding forever. You also end up sanding a bit around the repair and I don't like to do that. So I try and get it as close as I can from the get go.

I use the bag to keep it clean while it cures. I also use it to keep the paste in shape. I basically stretch the plastic over the repair which smooths it out and forms it to the shape it needs to be in (like around a curve), which means less sanding.

I should note that i'm in no way an expert at this. this is just the way I found to get better results than my first couple of times.
 
Quint, overall it looks pretty good but can see the color match isn't exact. Is it less noticable in person? I assume you bought the factory matched color.

Once you polish it will you take more pics? I'd like to see Mike's too.
I have a couple dings from the PO, so I've been watching this thread. Thanks
 
I will take more pics...it is not very noticable when you stand back a few feet ( like about a hundred...just kidding) I do not think anyone would ever pick it out. Like I said my boat is older and the color has faded a bit making it harder to match.
 
I will take more pics...it is not very noticable when you stand back a few feet ( like about a hundred...just kidding) I do not think anyone would ever pick it out. Like I said my boat is older and the color has faded a bit making it harder to match.

Yeah that's why I was curious. I didn't know if the color match can be helped with more compounding and polish.

Best of luck
 
well no progress on my fix. the wind was too much for a swim platform patch. maybe next weekend.
 
Ok, fixed a booboo on the swim platform ladder cover. This ding happened during my brush with death and the outboard banged against the platform. Here are a few pics of the damage. Bandwidth warning. sorry for the cell phone pics.

photo-20.jpg


Light wasn't great so I took a few.

photo-21.jpg


Clean it up

photo-22.jpg


Now to prepare my stuff. a piece of plastic to put the paste on, a plastic whatever i could find to scoop it out and mix in the catalyst. Painters tape, a piece of plastic to put over the fix, and a beer.

photo-23.jpg


Plop the paste on the plastic and get ready to mix in the catalyst.

photo-24.jpg


Smear it on the booboo. Not the prettiest but you'll see later how I smooth it out. I put it on the other side too because there were some scratches that I didn't photograph above.

photo-25.jpg


Ok, tape one end of the plastic down to stretch over the repair.

photo-26.jpg


As you pull it tight over the repair, it smooths out the paste. Note: notice the stain on the lid... don't give your dog a raw bone at night, she left it on the step and it ooosed blood and stained the platform. I beat her severely for that. (kidding you peta lovers).

photo-27.jpg


Then I take my finger and smooth it out further, working out the bubbles and trying to taper the paste at the ends.

photo-28.jpg


Once i'm satisfied that I worked out all of the bubbles, I use the tape to pull the plastic really tight and smooth.

photo-29.jpg


get all of the wrinkles out of the plastic so I don't have to sand so much

photo-30.jpg


Now I let it cure.
photo-31.jpg


curing intermission.

photo-32.jpg


Ok, after about 5-6 hours, I peeled off the plastic. I've got some sanding to do.

photo-33.jpg


I start with 400 grit and work out all of the ridges, lines etc.

photo-34.jpg


Start to move up in grit as I get close to smoothing everything out.

photo-35.jpg


Work out all of the hills until it blends with the gel coat both in look and feel.

photo-36.jpg


Admire the work

photo-37.jpg


put on some rubbing compound and work it in.

photo-38.jpg


slap a coat of wax on it and buff it up. I did it by hand.

photo-39.jpg


finished repair. I have to say it came out really good. I asked my slip neighbor to come over and see if he could spot the repair. nada.

photo-40.jpg
 
No pictures of your toes that got damaged during the correcting this problem. Oh yeah that is just Gary.

Nice post!!!

Wesley
 
I use the spectrum stuff all the time. I call it miracle goop... it covers everything. I usually do the 600 to 1200 to 1500 to compound approach... and the repairs disappear.
 
I use the spectrum stuff all the time. I call it miracle goop... it covers everything. I usually do the 600 to 1200 to 1500 to compound approach... and the repairs disappear.

I didn't know they made it in flesh color.:huh:

Great Job Mike. That's what I'm talking about.
 
Awesome post....gives a rookie some confidence! Useless green ball for you!

Wonder how they match up with colored hulls?? Same process?
 
I will defer to others will colored hulls about how it matches and the process. I would "guess" that it would be the same as long as you ordered the right color patch kit from spectrum.

If I can do it, anyone can do it.
 

Forum statistics

Threads
113,118
Messages
1,426,480
Members
61,034
Latest member
Lukerney
Back
Top