88dancer300
New Member
- Feb 14, 2010
- 653
- Boat Info
- 1988 Sundancer 300, Heat/AC,gennie,central vac,Ice maker stretched swim platform, monster stereo sys
- Engines
- Twin 5.7 liter 260hp closed cooling system Mercruisers with Alpha one drives.
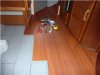
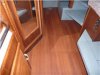
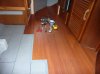
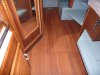
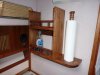
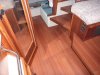
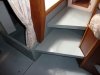
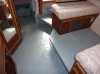
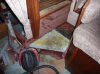
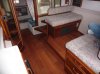
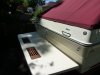
I got a lot of work done inside the boat during this crap. I still have to install the new poopie tank and plumbing, and then the floor. I got the shrink wrap off last week and put on the cockpit cover at least. Ive got to do both gimbal bearings and bellows, 1 upper seal in one drive, both impellers in the drives, both engine impellers, and the gennie impeller, 2 new electronic distributer pick ups, caps, rotors, wires, plugs, 4 new trim solenoids, and oil changes on all the engines.