rondds
Well-Known Member
- Oct 3, 2006
- 8,859
- Boat Info
- 2001 380DA
- Engines
- Merc 8.1s (2008)...Hurth ZF 63 V-drives...WB 7.0 BCGD (2013), Garmin 8208 & 740 MFDs, GMR 24xHD dome
The original (2007) cool fuel III module on my stbd engine was leaking raw water from the crummy plastic press-in fittings. So it was time to replace it. Ordered a new unit HERE and got it in 3 days. Headed down today to do the deed.
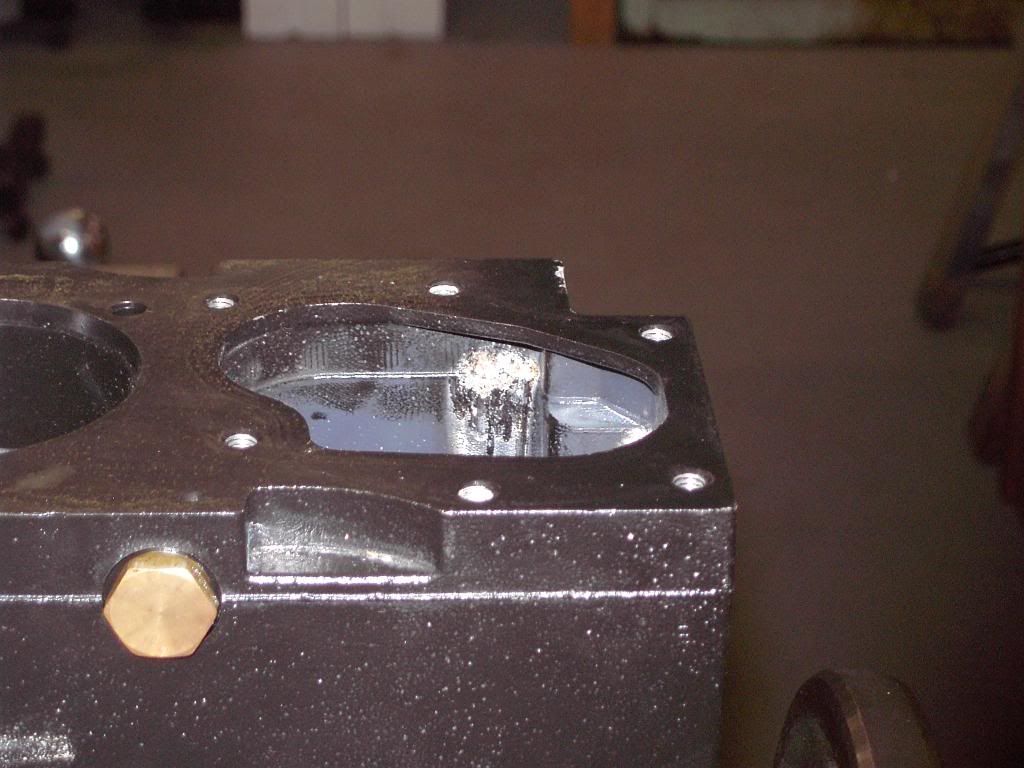
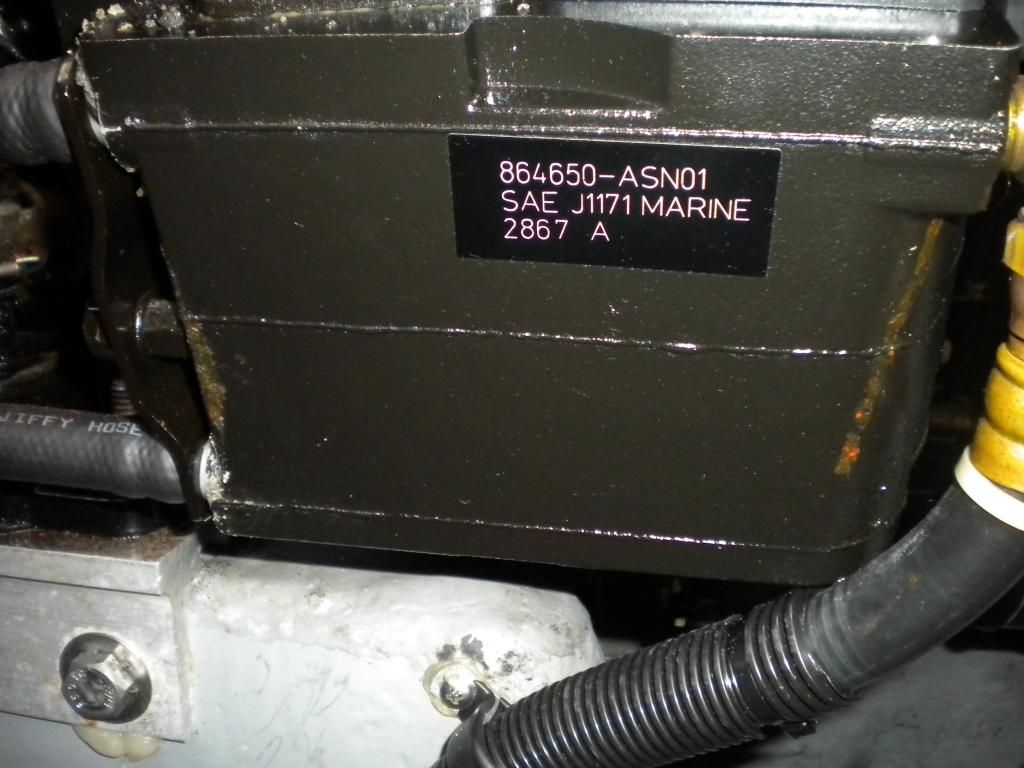
Here is the old unit. You can barely see the old fittings but the lower one was leaking. Note the crusty salt buildup. Also note the distinct lack of hose clamps. The old units have these odd fittings that push on and are virtually impossible to remove without destroying them. They are also prone to leakage. I had to break them out of the old unit to free it up.
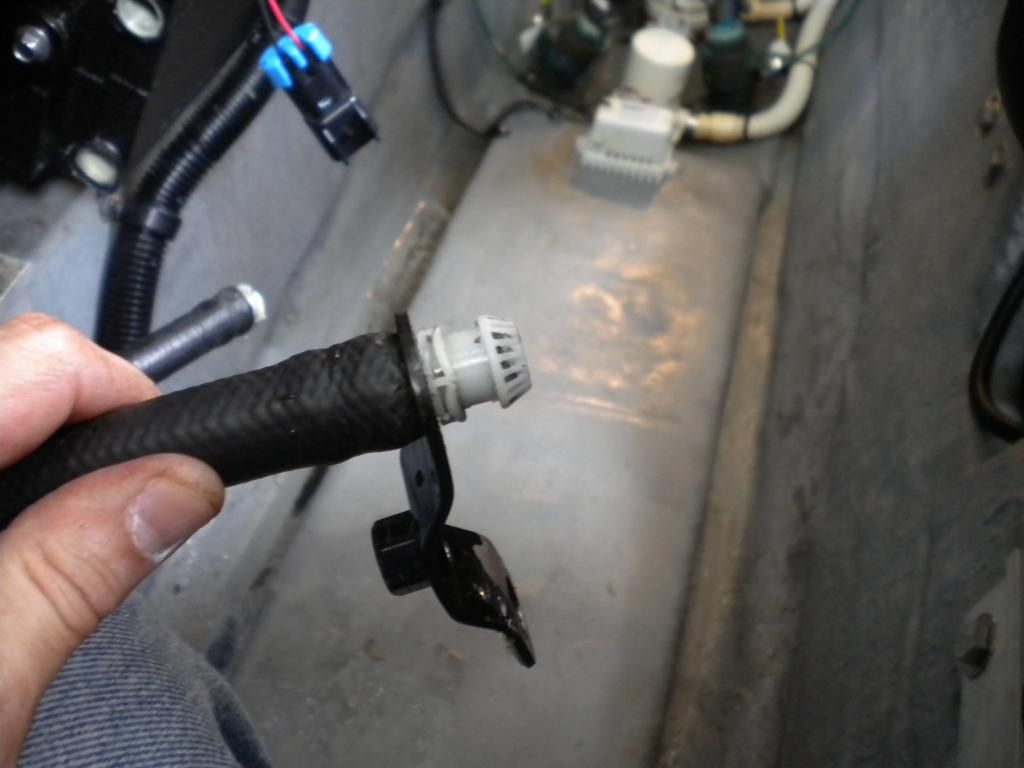
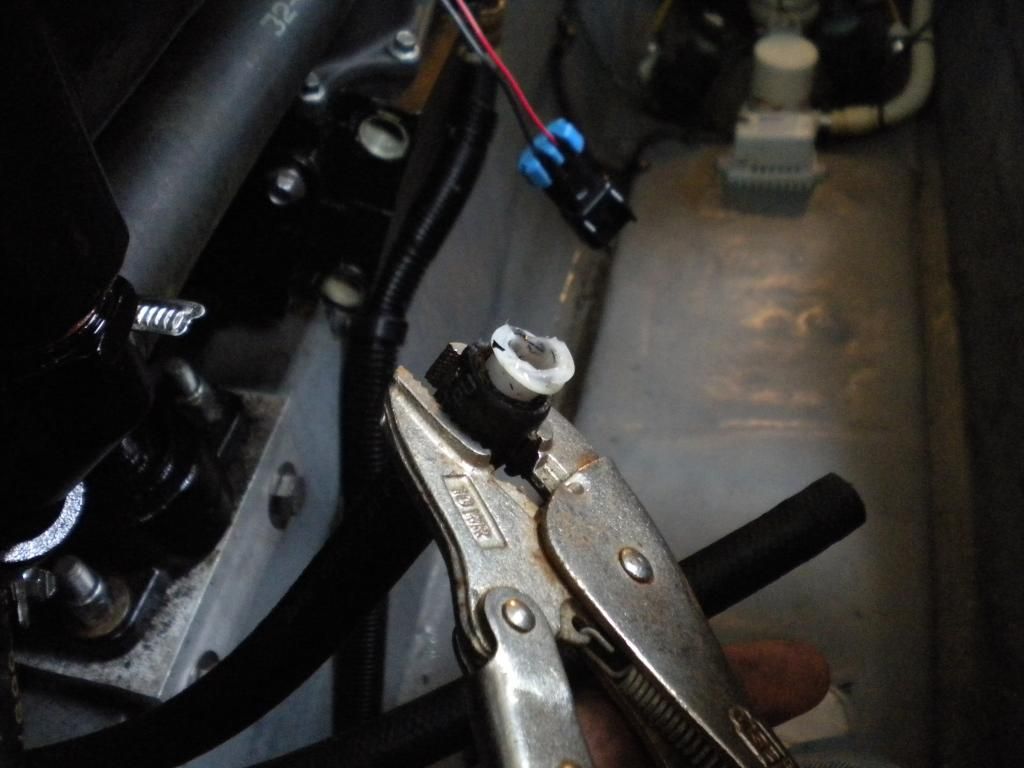
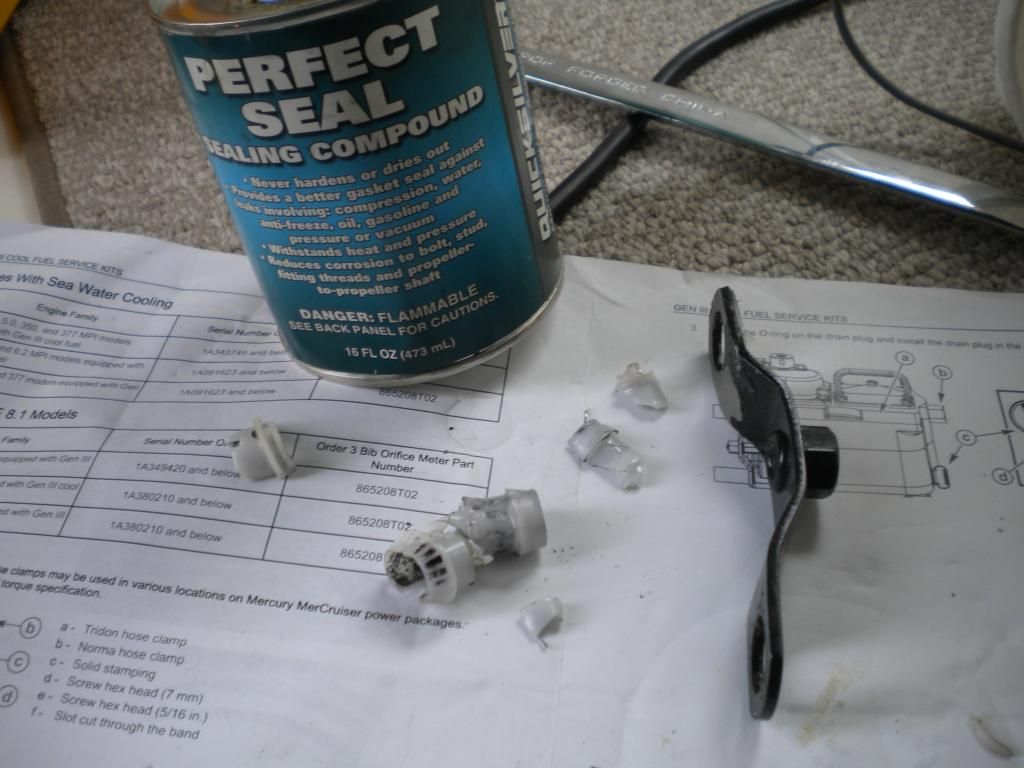
This fitting was intact but it was a chore to get it out of the hose. I would up crushing and cracking it into pieces with a ViceGrip. The metal bracket sort of holds them in place. It is not used on the new model.
Crush, Kill, Destroy!
Here's what is left of the fitting after complete removal...
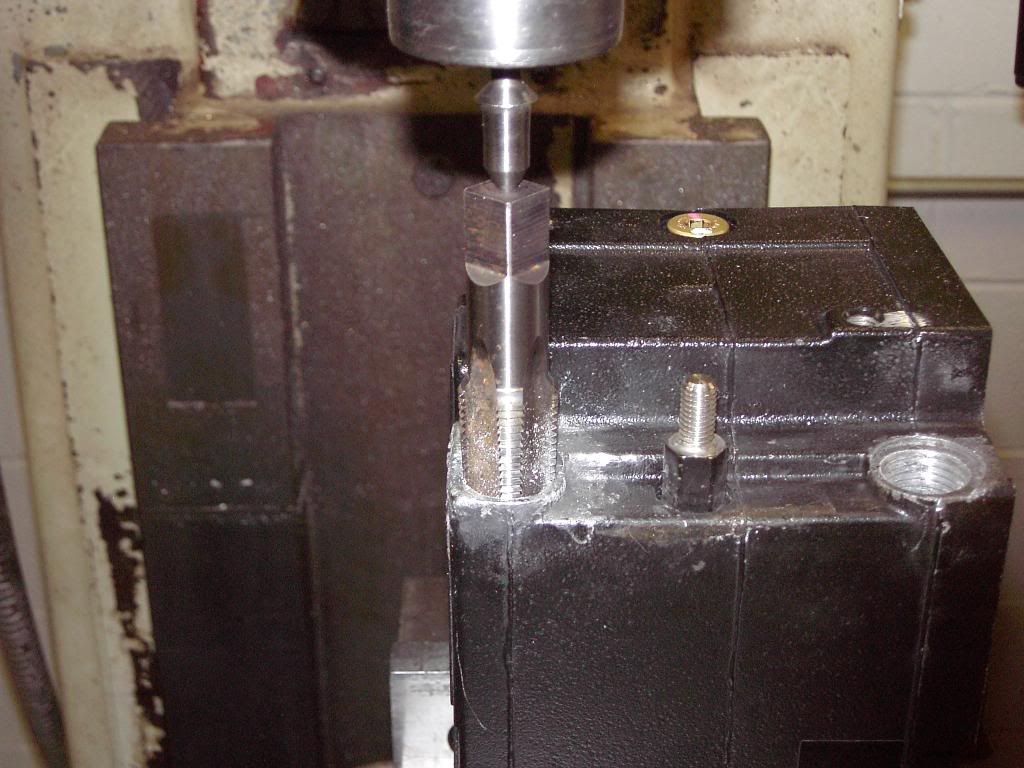
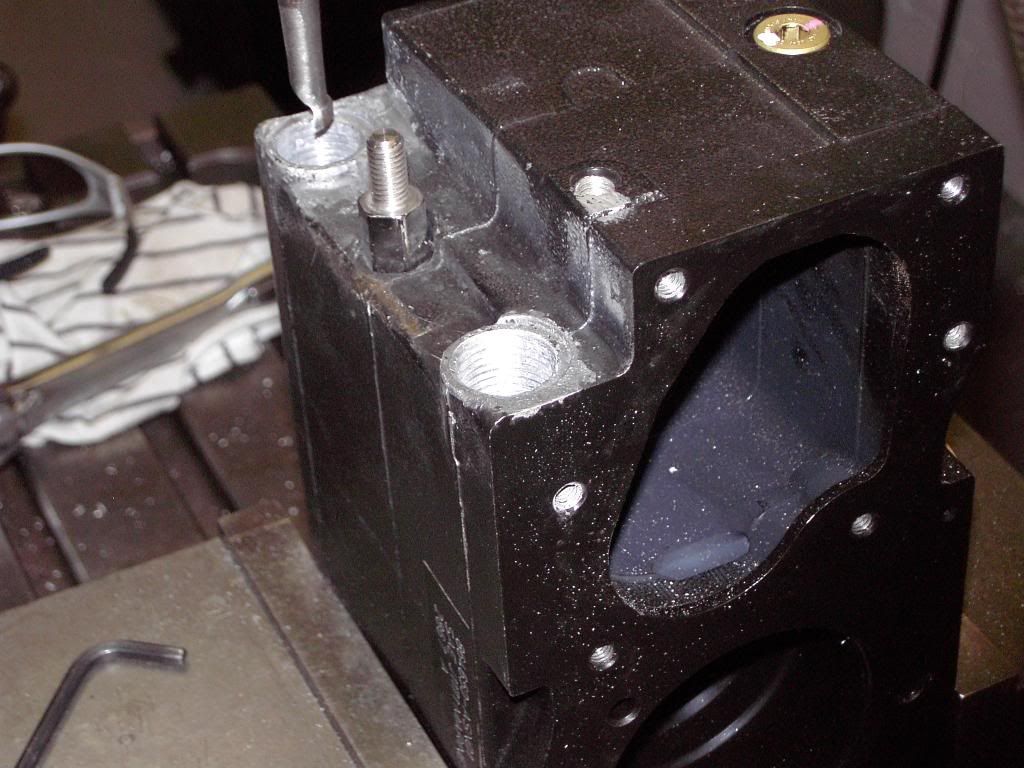
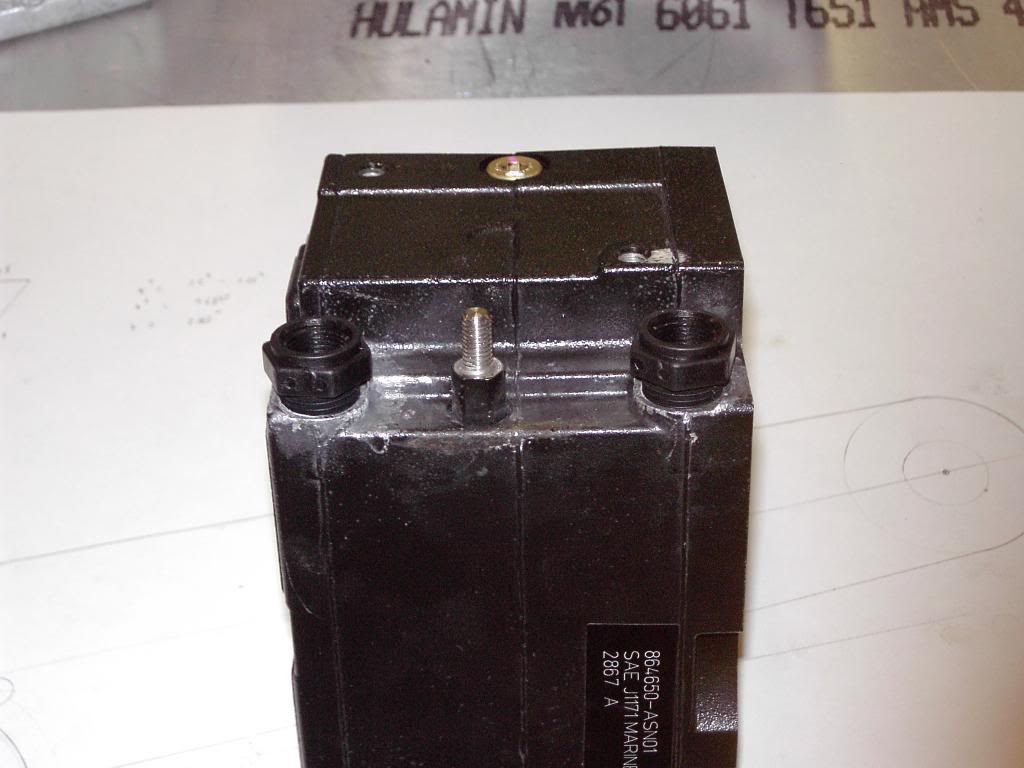
Here's the new unit. Note the female thread in the case. Also supplied were 3/8" 18 TPI NPT hose nipples that fit the existing hoses. You can also buy a replacement hose kit from Merc but not really necessary.
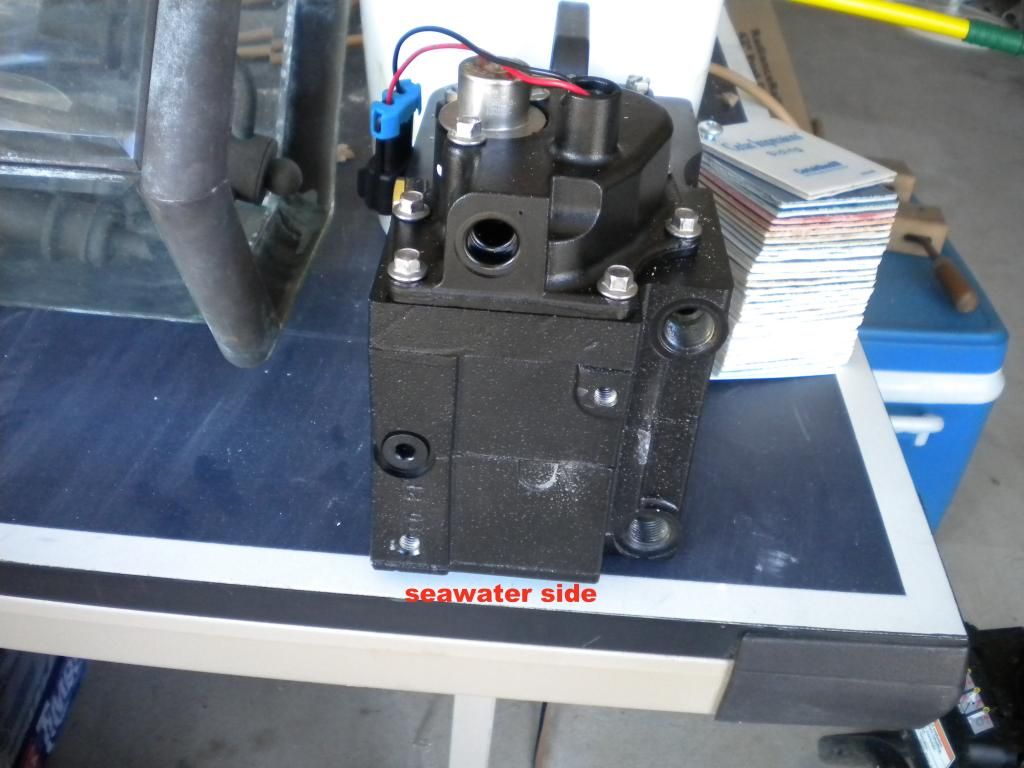
The only other difference from the old unit is there's a blue plastic wingnut/drain at the bottom of the unit. (don't have a pic of that).
Getting the unit off was a snap. Make all your disconnections, remove 4 bolts from the brackets and it comes right out. Put the new one on the same way.
The installation called for Perfect Seal so the nipplea got a healthy dose of that, as did the brass fitting on the fuel supply going IN. A bit more careful on the fuel side so as to not get any monkey snot in the gasoline.
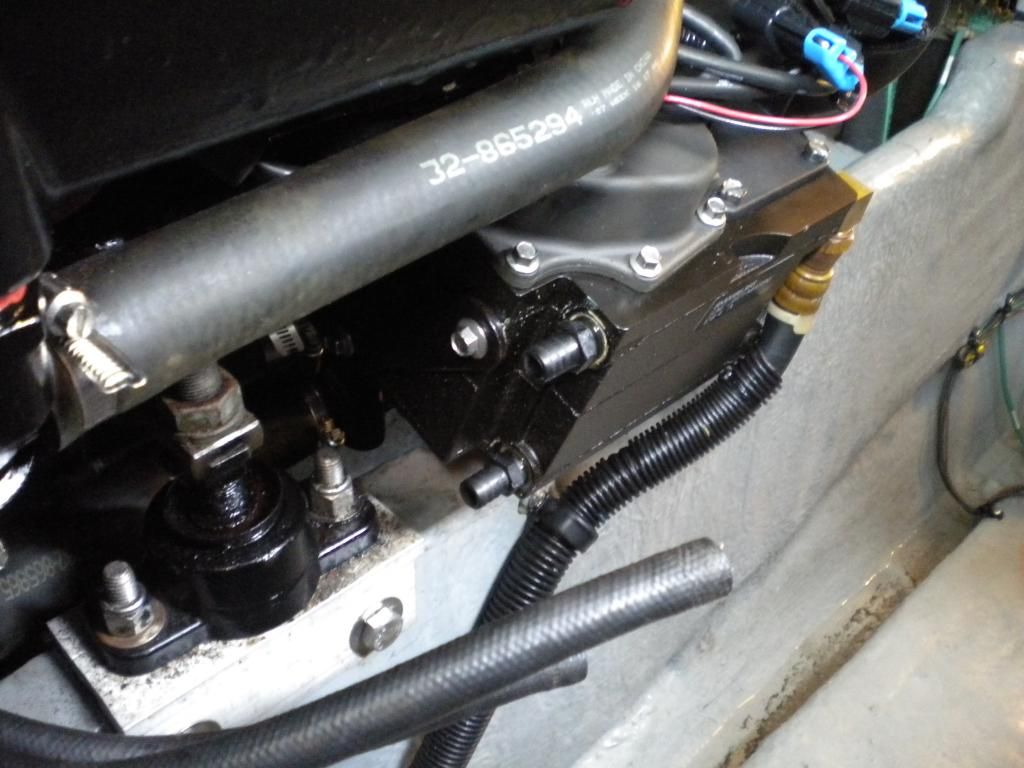
Water hoses re-connected. Turned the ignition switch (not the engine) on and off several times over a 15 minute period (to fill the fuel pump). Let the ER air out for an hour or so with blowers on, vacuumed the water spillage out of the bilge and she started right up.
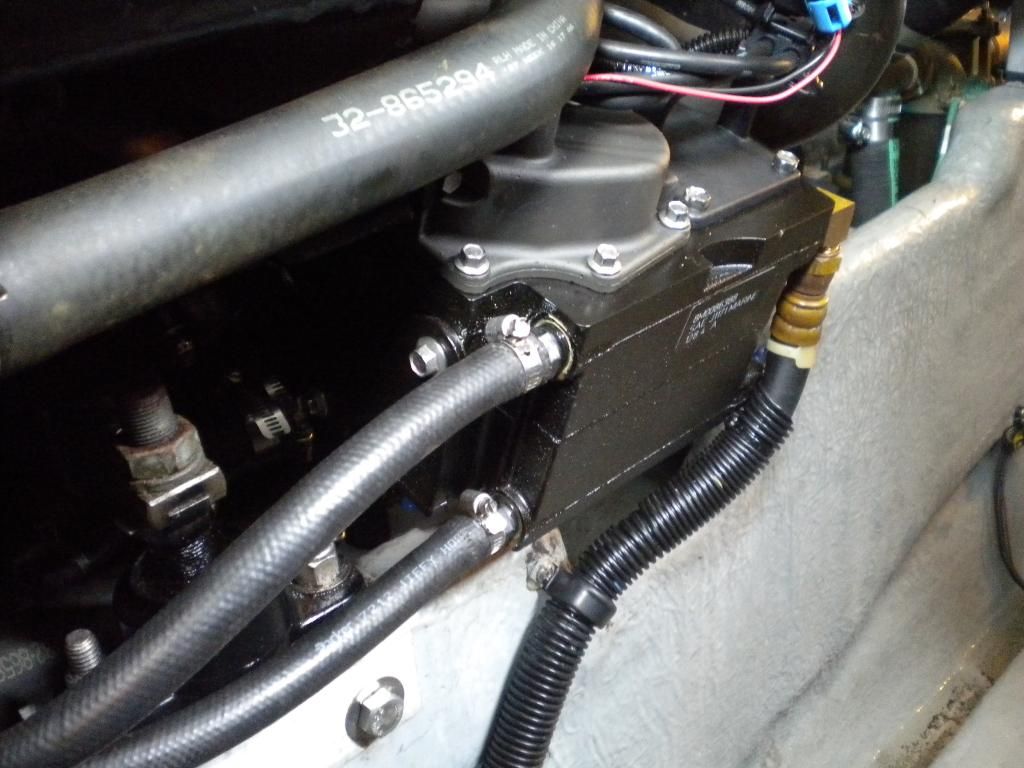
Had a small leak around the upper nipple so drained the unit of water (using the handy dandy wing nut - must less messy) into a bucket, loosened the hose clamp and tightened it (11/16" wrench). Also, where I was using the vice grip on the hose had some tiny weeping perforations. Had to cut that part off (about an inch) and stretch the lower hose to reach. Other than that, no problems encountered.
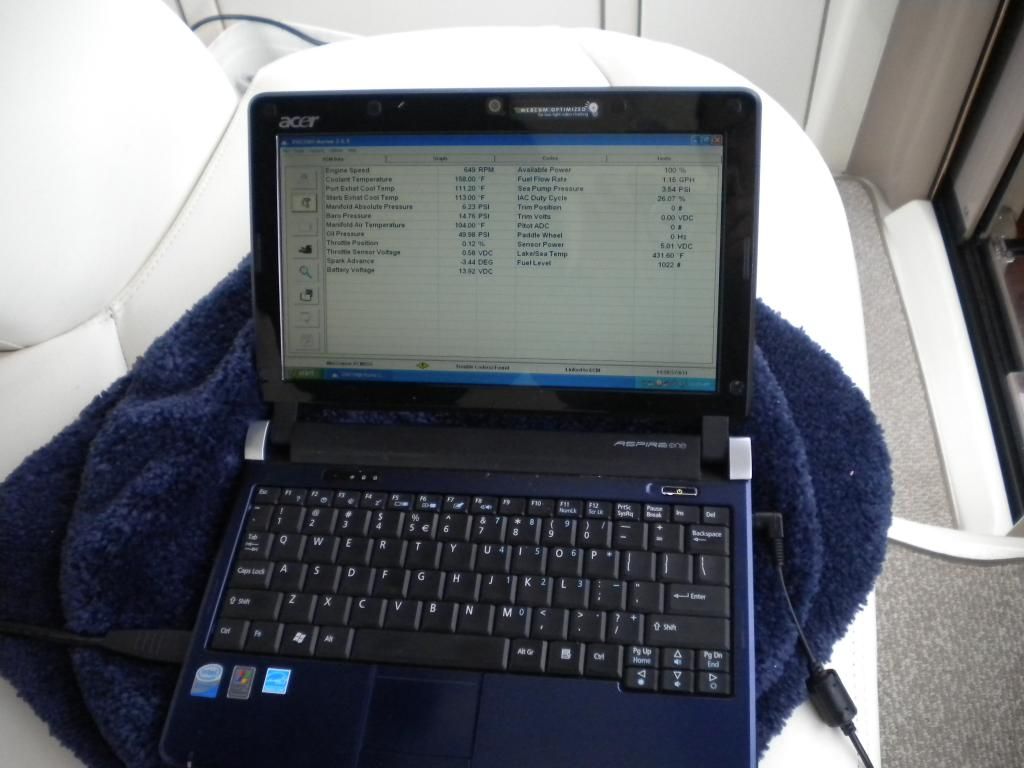
Hooked up to the ECM and checked all parameters. All was well. Funny, I don't see fuel pressure here but it comes up on the Garmin and it was within in normal limits.
The next step is an attempt to rehabilitate the OLD CF III unit. ie: convert it from press-on fittings to the same hose barb nipples. This will require tapping the existing holes. I will be sending this to upstate NY, to my buddy Dale MasterFab where he will hopefully work his magic.
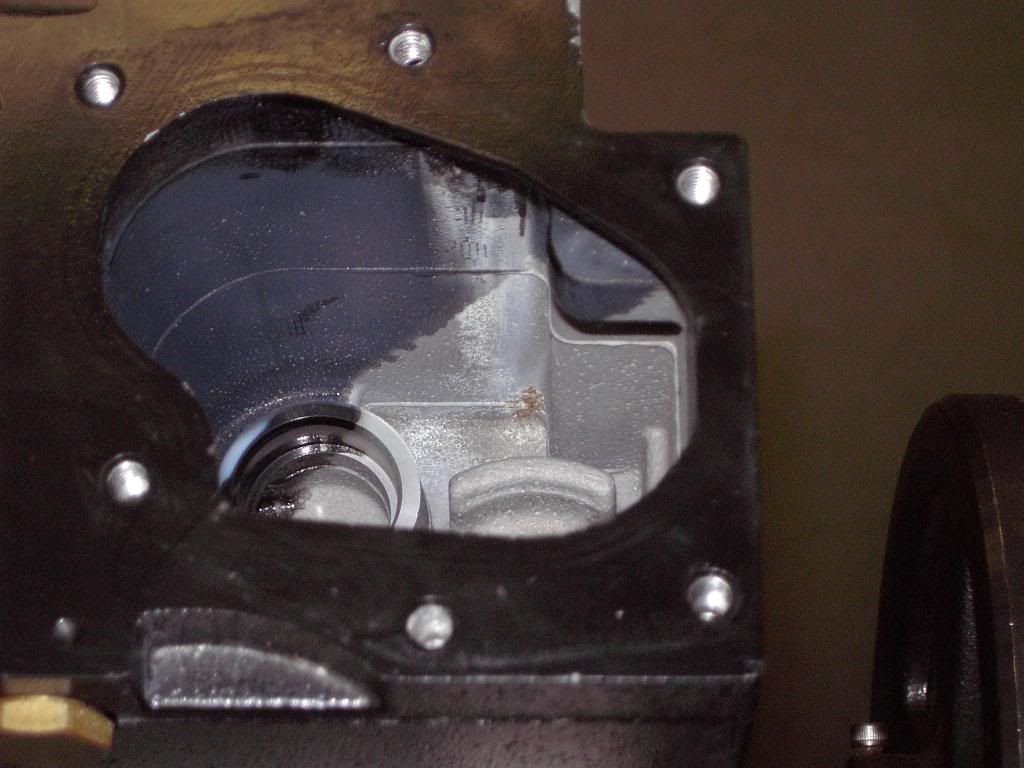
As many of you already know, there were issues with paint peeling off the internals of these CF III units. I took the two filters out and emptied all the gasoline from the unit and dried it with paper towel. No a trace of evidence of peeling paint. I did not remove the fuel pumps from the other side of the chamber so I can't comment on what is going on over there. But the plan is to replace the CF III on the port engine with the re-habbed and modified old CF III. dc380 (Dave) tells me that his marina in Rhode Island has done quite a few of these conversions successfully.
BTW, you can also purchase just the bottom part of the CF unit and recycle your pumps adn the filter housing. That will only set you back about $450.
Here is the old unit. You can barely see the old fittings but the lower one was leaking. Note the crusty salt buildup. Also note the distinct lack of hose clamps. The old units have these odd fittings that push on and are virtually impossible to remove without destroying them. They are also prone to leakage. I had to break them out of the old unit to free it up.
This fitting was intact but it was a chore to get it out of the hose. I would up crushing and cracking it into pieces with a ViceGrip. The metal bracket sort of holds them in place. It is not used on the new model.
Crush, Kill, Destroy!
Here's what is left of the fitting after complete removal...
Here's the new unit. Note the female thread in the case. Also supplied were 3/8" 18 TPI NPT hose nipples that fit the existing hoses. You can also buy a replacement hose kit from Merc but not really necessary.
The only other difference from the old unit is there's a blue plastic wingnut/drain at the bottom of the unit. (don't have a pic of that).
Getting the unit off was a snap. Make all your disconnections, remove 4 bolts from the brackets and it comes right out. Put the new one on the same way.
The installation called for Perfect Seal so the nipplea got a healthy dose of that, as did the brass fitting on the fuel supply going IN. A bit more careful on the fuel side so as to not get any monkey snot in the gasoline.
Water hoses re-connected. Turned the ignition switch (not the engine) on and off several times over a 15 minute period (to fill the fuel pump). Let the ER air out for an hour or so with blowers on, vacuumed the water spillage out of the bilge and she started right up.
Had a small leak around the upper nipple so drained the unit of water (using the handy dandy wing nut - must less messy) into a bucket, loosened the hose clamp and tightened it (11/16" wrench). Also, where I was using the vice grip on the hose had some tiny weeping perforations. Had to cut that part off (about an inch) and stretch the lower hose to reach. Other than that, no problems encountered.
Hooked up to the ECM and checked all parameters. All was well. Funny, I don't see fuel pressure here but it comes up on the Garmin and it was within in normal limits.
The next step is an attempt to rehabilitate the OLD CF III unit. ie: convert it from press-on fittings to the same hose barb nipples. This will require tapping the existing holes. I will be sending this to upstate NY, to my buddy Dale MasterFab where he will hopefully work his magic.
As many of you already know, there were issues with paint peeling off the internals of these CF III units. I took the two filters out and emptied all the gasoline from the unit and dried it with paper towel. No a trace of evidence of peeling paint. I did not remove the fuel pumps from the other side of the chamber so I can't comment on what is going on over there. But the plan is to replace the CF III on the port engine with the re-habbed and modified old CF III. dc380 (Dave) tells me that his marina in Rhode Island has done quite a few of these conversions successfully.
BTW, you can also purchase just the bottom part of the CF unit and recycle your pumps adn the filter housing. That will only set you back about $450.
Last edited: