Official 400EC thread

Harold,

Either my eyes are going, which I have no doubt, or my boat is secretly captained by Gremlins. All is fine and has been all week with batteries. Who knows, one of those Darwin moments. Thanks for the input though, its always good to get others input.

Greg
 
Pas to your #2, the panel should come out from the top first then lift out. There are 3 spring loaded rollers that hold the top of the panel in place. The springs in them could be rusty or stiff. It should pry out. Gentle persuasion with a screwdriver prying it off should work. Be careful not to rip the vinyl.

Many thanks - for both your answers! I thought the panel may be the same as the helm side but did not want to force it without finding out. I have one of those trim removal tools I'll try.
On the 110v outlet, how did you route the cable up to the arch? Is the back of the footwell socket accessible through the panel I am trying to remove?

Thanks again,
Simon.

Opening the panel gives you access to the space behind the side panel. You can access the back of the electrical outlet boxes and the piping for the water spicket. You can also access the pass throughs that go through the engine room bulkhead into the salon cabin. They will enter the cabin behind and to the right of the fridge which you can also access by lifting the stove out (see Mark's post a few pages back).

There is space behind the side panel to feed wiring back to the arch and to the storage cubby as well. Opening the panel at the base of the arch gives you access inside the arch itself and the wiring harness that passes through holes from the arch assembly into the gunwales of the boat itself.

I can take a few pictures for you to show you what I am talking about if you give me a couple of hours.

My boat is being short hauled today to wash the bottom and touch up the paint.

23709dd3dc3c9afc68155421e361235c.jpg


After spending the winter in the water, it looks like it needed it:

5d82cb33c4c1228d7e3637ba5c185662.jpg


Amazing what a pressure washer can do:

2c0ea7dc18c6b385d169d5ecaa3242ff.jpg


Sent from my iPhone using Tapatalk
 
Opening the panel gives you access to the space behind the side panel. You can access the back of the electrical outlet boxes and the piping for the water spicket. You can also access the pass throughs that go through the engine room bulkhead into the salon cabin. They will enter the cabin behind and to the right of the fridge which you can also access by lifting the stove out (see Mark's post a few pages back).

There is space behind the side panel to feed wiring back to the arch and to the storage cubby as well. Opening the panel at the base of the arch gives you access inside the arch itself and the wiring harness that passes through holes from the arch assembly into the gunwales of the boat itself.

I can take a few pictures for you to show you what I am talking about if you give me a couple of hours.

My boat is being short hauled today to wash the bottom and touch up the paint.


After spending the winter in the water, it looks like it needed it:


Amazing what a pressure washer can do:


Sent from my iPhone using Tapatalk


Looks like it was worth the haul out!

Got it - I was wondering how you got from the fridge outlet into the cockpit, so that is clear now, as well. I think I know enough to have a go know - but if you get a few moments to take a picture, that would be much appreciated too!

Cheers
Simon.
 
Here is the opening behind the panel:

c1efb28f11656690c4b2190fa5d83881.jpg


f4180c762cb8824105968cd9d58dbaef.jpg


92ceea60fb7d5b02e5fa1aa688d2a13b.jpg


Here is what I did with the outlet:
1cbb1d4c4f71bf4bb82ca18173fc7f31.jpg


It is mounted in here:

67da3e9c6ceda38b648b51af27f15996.jpg


Sent from my iPhone using Tapatalk
 
Talon,
I saw in another thread that you have 300' of all chain rode on your boat, I have a couple of questions, if you don't mind: Do you have any issue with the chain binding or jamming? Which windlass do you have?

Most info I have seen calls for a drop of about 12'-15" between the deck and the top of the rode bellow the anchor windlass. The measurements I took in my anchor locker shows only about 10" between the deck and the top of the 200' of anchor line feed from my Good CFD windlass. Also, the picture of your boat looks to me like it has a Good CFD and not a chain windlass, did you change it or am I just wrong? (yeah, the more I look at the picture, I am wrong.:grin:
)
 
Last edited:
Apologies for the rudimentary question but I'm trying to save myself some time in this odd situation on a boat I'm looking to buy. The engine surveys on a 1998 400EC that I'm looking at came back fine except the surveyor noted two cracked porcelains on a couple plugs. The hull survey is next week and I'd like to change them prior to taking the boat over to the marina to be blocked.

With that said, what is the easiest way to get to the outboard side of these motors without removing the seats? Around the front? Remove the exhaust tubes and go around the back? I plan on getting to the marina an hour or two before the survey starts to swap plugs out.

Thanks.

the best way to access the outboard side of the engines is to remove the seats. I am 6'1" so trying to reach either set of plugs from the front or back of engine with the seats in place is near impossible in my opinion. Maybe you can get to the two rear outboard plugs, but it will be very awkward.

removing the seats is not that big of a job and you can still leave them in the boat. The starboard side helm seat is easiest for me. Remember to remove the bolt on the back rest to side panel. You get to it from inside the storage cubby on the starboard side behind the arch. You need to remove the panel inside the cubby to access the bolt. (It is pouring rain here otherwise I would go take some pictures for you). Once the bolt is out, then you can pull the pins and slide the seat back and lift it over the brackets. Slide it to the rear and port side so that the engine hatch is clear and you are good to go.
 
I got the panel off....took a bit of shifting.....everything is as in the photos below. Thanks again for the help!

Glad it worked for you.
 
the best way to access the outboard side of the engines is to remove the seats. I am 6'1" so trying to reach either set of plugs from the front or back of engine with the seats in place is near impossible in my opinion. Maybe you can get to the two rear outboard plugs, but it will be very awkward.

removing the seats is not that big of a job and you can still leave them in the boat. The starboard side helm seat is easiest for me. Remember to remove the bolt on the back rest to side panel. You get to it from inside the storage cubby on the starboard side behind the arch. You need to remove the panel inside the cubby to access the bolt. (It is pouring rain here otherwise I would go take some pictures for you). Once the bolt is out, then you can pull the pins and slide the seat back and lift it over the brackets. Slide it to the rear and port side so that the engine hatch is clear and you are good to go.

Thanks. Great info. Someone needs to post a youtube clip how these seats are removed!
 
Thanks. Great info. Someone needs to post a youtube clip how these seats are removed!

That's why we all share the info about specific models.
As Harold said, the only trick is the hidden fastener on the starboard side in the cubby.

I can reach the plugs by doing the worm around the front and back of the motor but, it's NOT easy!
 
Same hidden fastener on the port side? Do you have to disconnect the water or power for the ice maker?
 
Same hidden fastener on the port side? Do you have to disconnect the water or power for the ice maker?

No hidden fasteners on the port side.
Lift the hatch under the raised foot area to see/disconnect the electric and water connection.
 
Hello all! For anyone that has replaced the original RCL-100 spotlight any recommendations on replacements?

Not excited about the prospect of spending >$1,000 for an exact replacement, especially given documented history of various types of failures.
 
Talon,
I saw in another thread that you have 300' of all chain rode on your boat, I have a couple of questions, if you don't mind: Do you have any issue with the chain binding or jamming? Which windlass do you have?

Most info I have seen calls for a drop of about 12'-15" between the deck and the top of the rode bellow the anchor windlass. The measurements I took in my anchor locker shows only about 10" between the deck and the top of the 200' of anchor line feed from my Good CFD windlass. Also, the picture of your boat looks to me like it has a Good CFD and not a chain windlass, did you change it or am I just wrong? (yeah, the more I look at the picture, I am wrong.:grin:
)

With my 400 being new to me and relying on the previous owners info, I'm not sure of the windless model number, but I will check, and get back to you. :smt001...

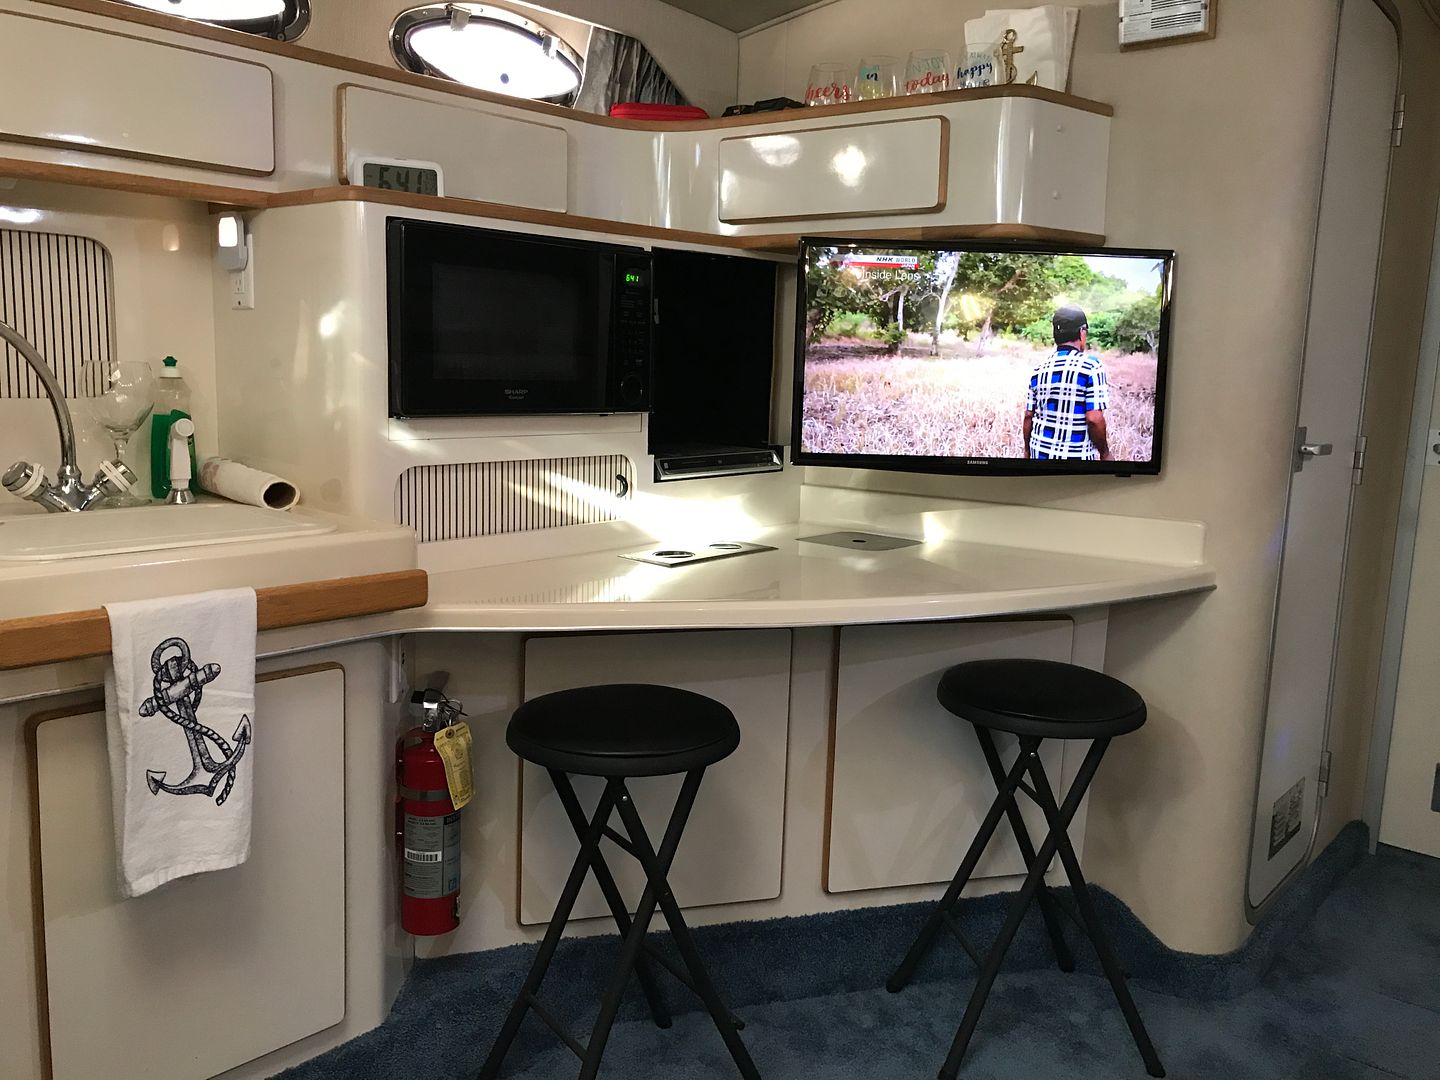
...Today I removed the old 19" TV, and installed a new 28" Samsung smart TV in the salon. I hated drilling into the bulkhead for the install, but as you can see everything turned out okay!

Old TV...


New TV install...


... Next, new TV for the V-berth. :grin:
 
Hello all! For anyone that has replaced the original RCL-100 spotlight any recommendations on replacements?

Not excited about the prospect of spending >$1,000 for an exact replacement, especially given documented history of various types of failures.


Check with ACR in Florida and see if they have a refurbish plan for the RCL-100
(954) 862-2155

i love my ACR RCL-100 it's one of the few things that hasn't needed anything in the last 11+ years of service :)
 
Last edited:
Talon,
I saw in another thread that you have 300' of all chain rode on your boat, I have a couple of questions, if you don't mind: Do you have any issue with the chain binding or jamming? Which windlass do you have?

Most info I have seen calls for a drop of about 12'-15" between the deck and the top of the rode bellow the anchor windlass. The measurements I took in my anchor locker shows only about 10" between the deck and the top of the 200' of anchor line feed from my Good CFD windlass. Also, the picture of your boat looks to me like it has a Good CFD and not a chain windlass, did you change it or am I just wrong? (yeah, the more I look at the picture, I am wrong.:grin:
)

Here are some pictures of my windless. Hope they help.


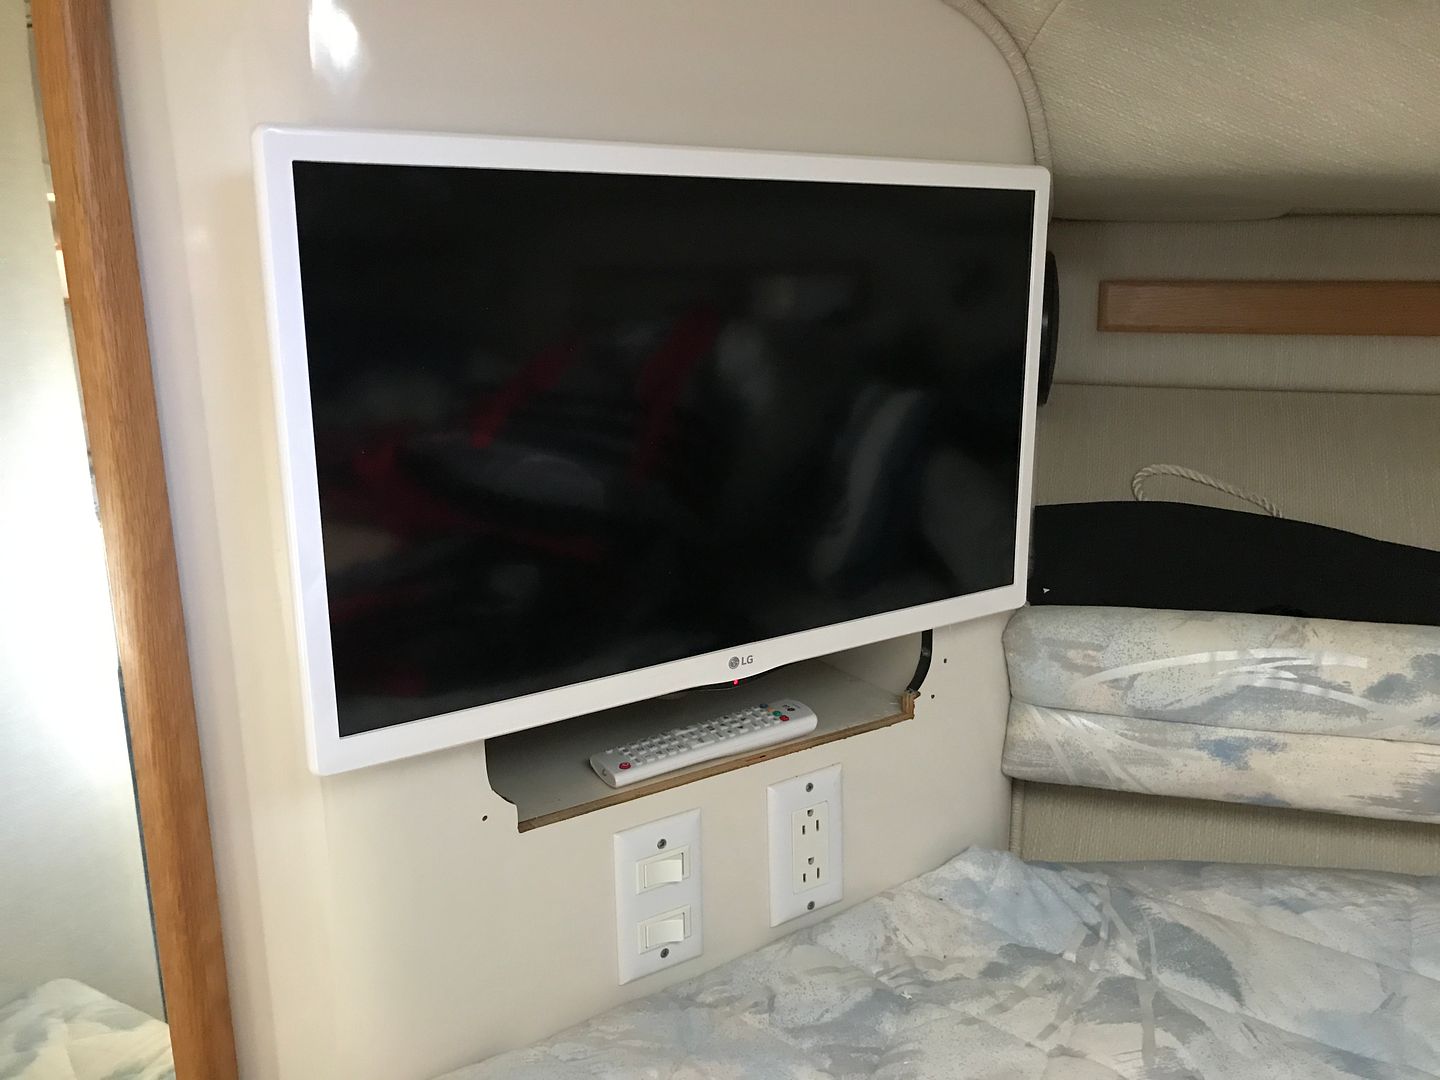
Getting ready for taking the 400 out for the 4th of July weekend has kept me busy! Today I install a new LG 24" TV in the V birth, and a new stainless steel Pop-N-lock boarding 3-step under mount sliding telescoping swim ladder. (When I bought the 400 she was missing the OEM swim ladder). I still need to trim out the surround for the TV, but that can wait till after the 4th. :grin:


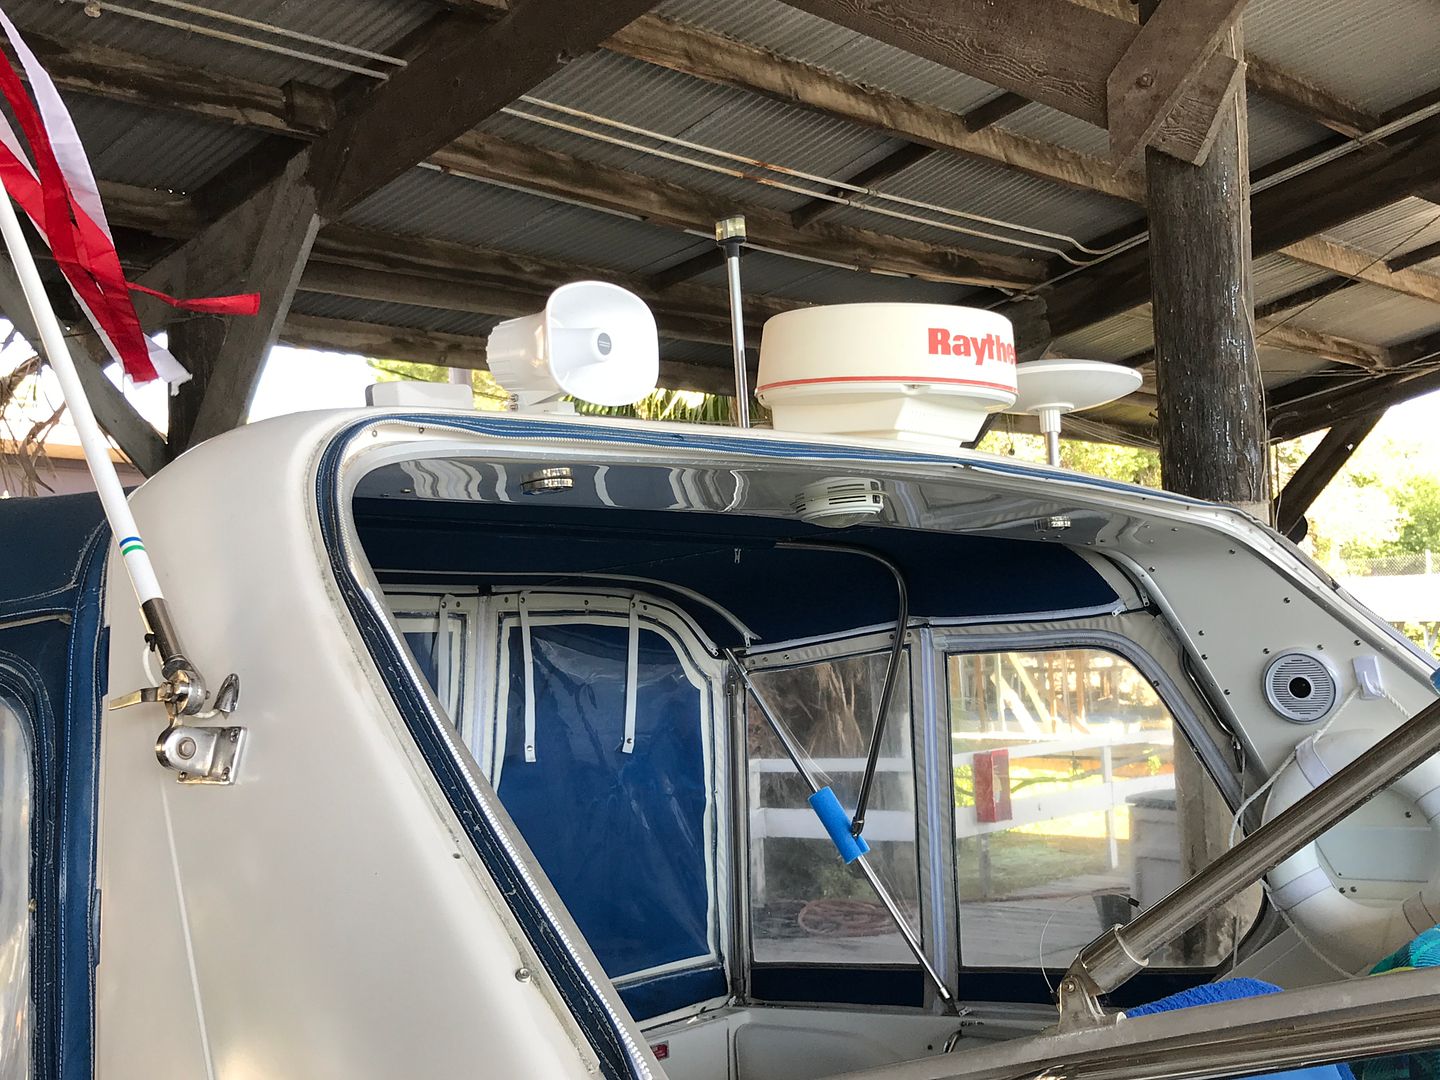
I installed a PA horn speaker too.


Forum statistics

Threads
113,116
Messages
1,426,387
Members
61,028
Latest member
ddbyrd329
Back
Top