I know I put this in the members section but not everyone can view it. Decided to repost here to benifit everyone!
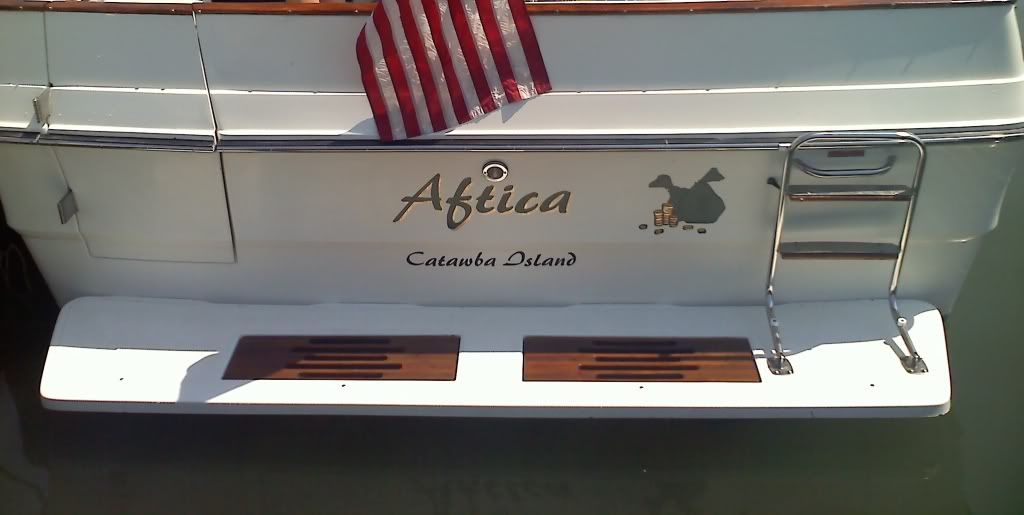
Here's a photo of my teak aboard my 340.

Believe it or not I did this work 5 years ago and have not done anything but put a coat of wax on it every year. It looks as good as the day I refinished them.
I've been asked to show how I did my wood so that is what I hope to show here.
We have all seen teak look like this.
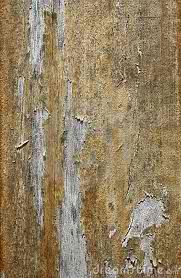
Don't panic. Its going to be alright.
First you need to get to good wood. Sand the teak with a good orbital sander.

Be sure not to use a grit stronger then 120. Anything harsher and you risk leaving swirl marks in your teak.
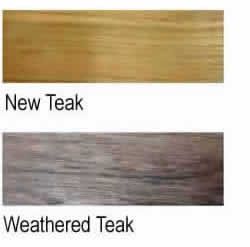
Once you get the loose varnish or coating off of the wood you will have gray teak and tan teak. You need to remove as much of the gray wood as you can because it will not allow the liquids to be absorbed into the wood.
*side note* when sanding the gray teak out be sure to capture some of the wood dust from this step. It will come in handy later.
I finish sanded my teak with 320 grit paper to smooth and blend everything and remove a few swirls...
OK your wood should go from the gray color to the tan color as in the photo.
Now we are ready to get down to it... Here's a list of supplies...
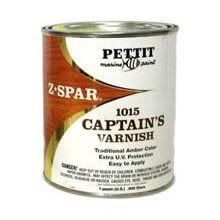
Pettit Captains Varnish (I purchased by the gallon but I've done a lot of wood)
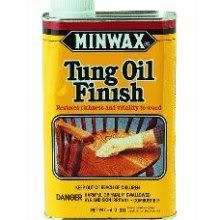
Minwax Tung Oil
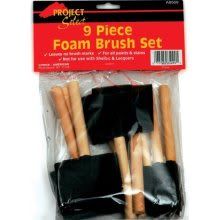
Foam Brushes
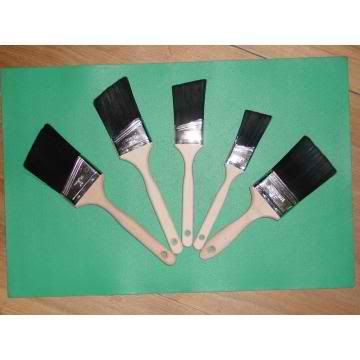
Best assorted size brushes you can purchase
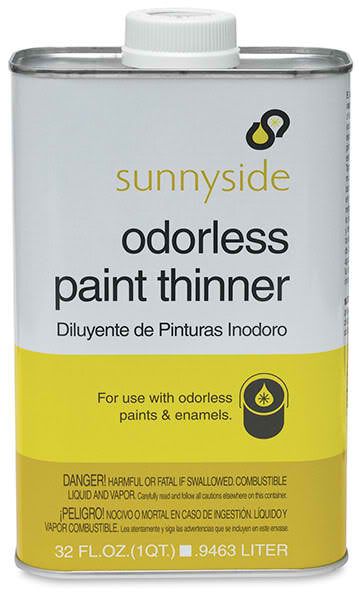
Paint thinner
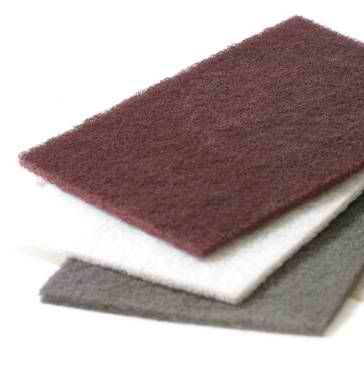
Scotch Brite Pads (Red = 320 grit Grey = 500grit)
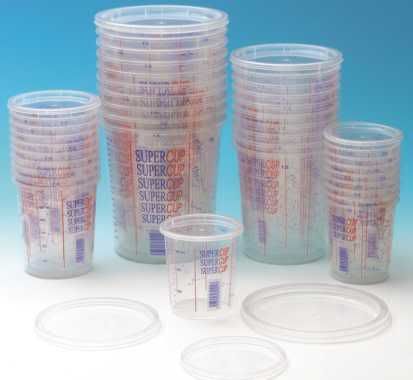
Mixing cups
Alright you know what we need and here's how to use it...
So, the problem with varnish on teak is it De laminates over time, why, it really has nothing to adhere to. I solved this by using Tung oil first.
1st step Tung oil
Once the teak is clean wipe it down with a clean cloth and some thinner. let it dry. (few minuets)
Take an ounce of Tung Oil and mix with an ounce of paint thinner. mix well.
apply to your wood using foam brush be sure to use even strokes and try and take care to not get air bubbles mixed into the liquid.Also, be sure to coat the "end grain" of your wood through every step. (Let dry 8 hours.)
2nd step
Go over the wood with the RED pad to take the shine off of the coating.
Step 2 mix will be an ounce of Tung oil and half ounce of thinner.
apply in the same manner as step 1 avoid air bubbles... you should see the oils being soaked into the grains of the wood this is what you want. (let dry 8 hours)
3rd step
Rough surface with RED pad again to remove the shine.
Apply Tung oil full strength to the wood again watching for bubbles. (let dry 12 hours)
If you have any imperfections I.E. gaps, crevices, small holes now is the time to fill these.
The wood dust you saved from earlier will be an exact color match for your teak. Use the Tung oil and make a thick paste and apply it to the different anomalies. (let dry 12 to 24 hours)
sand smooth after cure.
4th step varnish
Rough surface with RED pad and remove any drips or runs you may have created.
Now we move on to the Varnish. I applied my varnish following close guidelines as the Tung oil.
Ounce of Varnish mixed with ounce of paint thinner.
apply over the wood with bristled brush and you will see the grain pop instantly with the first coat. (let dry 12 hours)
5th step
RED pad remove drips, runs, and shine.
One ounce varnish mixed with half ounce thinner... apply in manner discussed earlier. (let dry 12 hours)
6th step
RED pad process again removing drips runs and blemishes..
Brush varnish on full strength now avoiding bubbles (let dry 12 hours)
apply as many coats as you feel necessary I put on three full strength coats on my wood. Also, be sure to coat the end grains of the teak with varnish.
Just repeat step 6
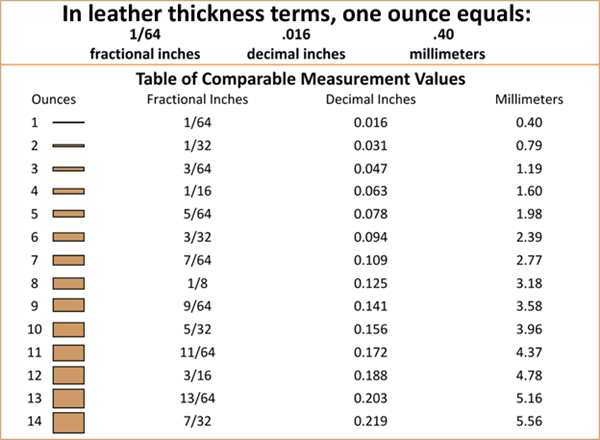
On layer 6 and up you should put heavy coats of varnish on. I'm talking up to 1/16 of an inch...
on the last coat just put on a smooth layer at 1/32".
If you are having trouble with bubbles you can do a few things. It will not hurt to thin the varnish just a little to help force the bubbles out. Also try a different brush. Some materials will trap air more easily. I try and use horse hair as much as possible.
If you are unsure of the thickness I found a chart for illustration don't mind that its for leather.
Last coat
Very important...
Use the GREY pad for the final scuff. It will take the shine off but will not leave lines like the RED pad.
Apply thinner coat and try to make it smooth and uniform. Again avoid air bubbles and runs as this will be your last coat.
Let dry at least 3 days before installing the wood on the boat. Be sure not to over tighten screws and fasteners as this will chip the finish and ruin your hard work.
Let dry for 15 to 30 days before applying waxes or polishes to allow the varnish to fully cure. It will be "Green" for this period.
I am very happy at the outcome and yes it is a lot of preliminary work. The final product is tough and has been great so far. The only issue I have encountered is on the swim platform grates. The sand from swimming and walking the beach has dulled the shine some but to fix this I will wipe it down with a GREY pad and give another coat. It is just slightly dull and is not necessary other then my OCD...
Hope this is informative and is able to guide you guys on how I achieved my look.
Thank you for your time and I will answer any questions that you may have.
Here's a photo of my teak aboard my 340.
Believe it or not I did this work 5 years ago and have not done anything but put a coat of wax on it every year. It looks as good as the day I refinished them.
I've been asked to show how I did my wood so that is what I hope to show here.
We have all seen teak look like this.
Don't panic. Its going to be alright.
First you need to get to good wood. Sand the teak with a good orbital sander.
Be sure not to use a grit stronger then 120. Anything harsher and you risk leaving swirl marks in your teak.
Once you get the loose varnish or coating off of the wood you will have gray teak and tan teak. You need to remove as much of the gray wood as you can because it will not allow the liquids to be absorbed into the wood.
*side note* when sanding the gray teak out be sure to capture some of the wood dust from this step. It will come in handy later.
I finish sanded my teak with 320 grit paper to smooth and blend everything and remove a few swirls...
OK your wood should go from the gray color to the tan color as in the photo.
Now we are ready to get down to it... Here's a list of supplies...
Pettit Captains Varnish (I purchased by the gallon but I've done a lot of wood)
Minwax Tung Oil
Foam Brushes
Best assorted size brushes you can purchase
Paint thinner
Scotch Brite Pads (Red = 320 grit Grey = 500grit)
Mixing cups
Alright you know what we need and here's how to use it...
So, the problem with varnish on teak is it De laminates over time, why, it really has nothing to adhere to. I solved this by using Tung oil first.
1st step Tung oil
Once the teak is clean wipe it down with a clean cloth and some thinner. let it dry. (few minuets)
Take an ounce of Tung Oil and mix with an ounce of paint thinner. mix well.
apply to your wood using foam brush be sure to use even strokes and try and take care to not get air bubbles mixed into the liquid.Also, be sure to coat the "end grain" of your wood through every step. (Let dry 8 hours.)
2nd step
Go over the wood with the RED pad to take the shine off of the coating.
Step 2 mix will be an ounce of Tung oil and half ounce of thinner.
apply in the same manner as step 1 avoid air bubbles... you should see the oils being soaked into the grains of the wood this is what you want. (let dry 8 hours)
3rd step
Rough surface with RED pad again to remove the shine.
Apply Tung oil full strength to the wood again watching for bubbles. (let dry 12 hours)
If you have any imperfections I.E. gaps, crevices, small holes now is the time to fill these.
The wood dust you saved from earlier will be an exact color match for your teak. Use the Tung oil and make a thick paste and apply it to the different anomalies. (let dry 12 to 24 hours)
sand smooth after cure.
4th step varnish
Rough surface with RED pad and remove any drips or runs you may have created.
Now we move on to the Varnish. I applied my varnish following close guidelines as the Tung oil.
Ounce of Varnish mixed with ounce of paint thinner.
apply over the wood with bristled brush and you will see the grain pop instantly with the first coat. (let dry 12 hours)
5th step
RED pad remove drips, runs, and shine.
One ounce varnish mixed with half ounce thinner... apply in manner discussed earlier. (let dry 12 hours)
6th step
RED pad process again removing drips runs and blemishes..
Brush varnish on full strength now avoiding bubbles (let dry 12 hours)
apply as many coats as you feel necessary I put on three full strength coats on my wood. Also, be sure to coat the end grains of the teak with varnish.
Just repeat step 6
On layer 6 and up you should put heavy coats of varnish on. I'm talking up to 1/16 of an inch...
on the last coat just put on a smooth layer at 1/32".
If you are having trouble with bubbles you can do a few things. It will not hurt to thin the varnish just a little to help force the bubbles out. Also try a different brush. Some materials will trap air more easily. I try and use horse hair as much as possible.
If you are unsure of the thickness I found a chart for illustration don't mind that its for leather.
Last coat
Very important...
Use the GREY pad for the final scuff. It will take the shine off but will not leave lines like the RED pad.
Apply thinner coat and try to make it smooth and uniform. Again avoid air bubbles and runs as this will be your last coat.
Let dry at least 3 days before installing the wood on the boat. Be sure not to over tighten screws and fasteners as this will chip the finish and ruin your hard work.
Let dry for 15 to 30 days before applying waxes or polishes to allow the varnish to fully cure. It will be "Green" for this period.
I am very happy at the outcome and yes it is a lot of preliminary work. The final product is tough and has been great so far. The only issue I have encountered is on the swim platform grates. The sand from swimming and walking the beach has dulled the shine some but to fix this I will wipe it down with a GREY pad and give another coat. It is just slightly dull and is not necessary other then my OCD...
Hope this is informative and is able to guide you guys on how I achieved my look.
Thank you for your time and I will answer any questions that you may have.