Corrosion Repair drive and Gear Case -Bravo III

89P270

Active Member
Feb 2, 2017
209
Pacific Northwest
Boat Info
1989 Pachanga 270
1997 270DA
Engines
Twin Mercruiser 357 4V alpha's
As promised, here is my run at repainting the upper Drive and lower gear cases on one of the two Bravo IIIs I have stored. This (and another) came off my 2002 Rinker 342 Fiesta Vee that was equipped with dual 6.2L MX and Bravo Three’s. I repowered and I kept these for future use. These are 2.2:1 drive ratio and had only 263 total hours on them. I will be using these as spare for my 97 270 DA with 454/Bravo III.

Here is the drive before I started. Note most the pitting is on the upper “drive” gear housing which corresponds to the water line and slightly above and below the water line. Some of the dimpling is up to 1/8 inch deep. BTW "Brash" should be "Brass"
Before work.jpg


Port side gear case before filling.jpg

I opened the covers on the upper drive case before I started and it looks pretty clean so worth the repair effort.
Bravo III Internals 1.jpg


After researching a bunch on how to fill the corrosion pits, I elected to try both Marine JB Weld and Bondo Metal reinforced filler. Be carefull with the Bondo mixing, too much liquid and it cures WAY fast. Pin hole the catalyst bottle for small drops rather than a larger hole.
P1010015.JPG


P1010005.JPG

I prepped the surface of the drive/gear casings with 80 grit and a brass wire brush. I actually got a cordless drill disc sanding kit at Harbor freight ($14) and its done very very well. I started by hand sanding but now, I will only use the discs on low rotation.

Brass Brushes.jpg


Sanding disc set.jpg


So, here is a series of photos showing first, second, and third filling on Starboard side. Note its getting smoother and smoother the more effort I put in. I am using Mercruiser primer between fillings to support leveling but am careful to remove primer where I am putting second and third applications of JB or Bondo.
Starboard second coat JB Weld.jpg


IMG_2461.JPG


Third application starboard side.jpg


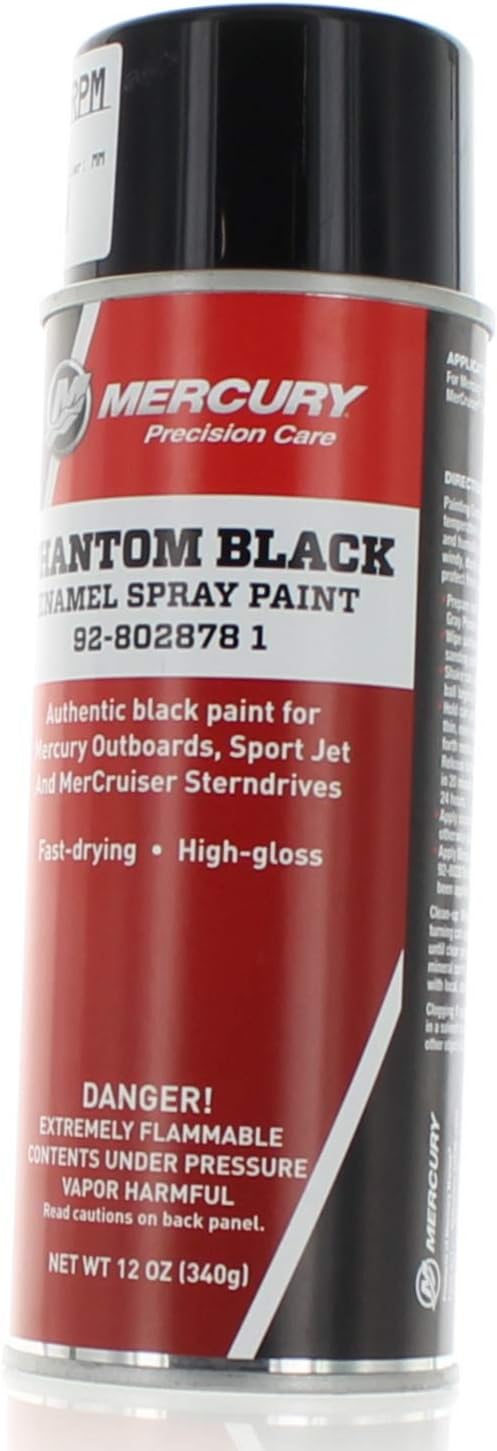
So this is as far as I have gotten so far. I now have three weeks work in the field at JBLM and then back to it. I will update as I build up edges on the lower case as well as show with the Phatom Black once I get there.

One thing I want to hear from others out there, what is your experience with the Mercruiser clear top coat. I plan to put on Phatom Black over the Mercruiser primer but some have said not to use topcoat as it weathers dull. I would like to have a nice gloss black for at least 2 years before I have to maintenance these again. Thoughts and photos welcome.
 
Thanks for the update! I'm actually looking forward to smoothing mine in prep for painting. Does the aluminum-fill Bondo seem to be doing the job?
 
Does the aluminum-fill Bondo seem to be doing the job?
It does very well. However, you cant use this to rebuild edge corrosion. The Marine JB must be used for that. I have a series of Photos that will show this edge build up when I get back from the field. Note the casing mid way down. That was filled with the Bondo as the pits were shallow. And, I recommend Marine JB for pits in excess or around 1/8 and greater. The Bondo works spectacular for shallow pitting. And, dries hard and seems to stick well as I have sanded through it to refill and re-prime.
 
So I am done with field work for a while and getting back to the outdrive cleanup. I have a question I cant find an answer. Can anyone take a look at these plastic cover protectors and tell me where I can get replacements? I only had one on this outdrive and it was cracked and broken in a few spots. Its got an indent on both ends that fit in that slot and the hole on the opposite end. I am going to have to separate the gear and drive cases because there is just no way to get at the surfaces between and getting a good job of it. I'll post additional photos once I do that, likely this weekend.

Guide cover.jpg
 
Regarding clear coat. I had repainted the lower half of my Alpha 5yrs ago with rust oleum black. It held up very well. Last year I painted it again with phantom black. It was not holding up as well, not as glossy as the factory and seemed to hold water spots. I cleaned it up this summer and clear coated it with rustoleum clear. So far it looks great and has the gloss that matches the factory on the upper. I am dry stored.
 
Thanks for the input Nater. They actually have an OEM new on Ebay for Bravo Drives. Once you know they are called wear pads they are easy to find. Curious why these arent shown on the mercruiser exploded view of Bravo III parts.
 
...Bravo III parts.
Silly me, I didn't even think to look at the pictures of what you're working on to be able to tell that they were Bravo drives.
p.s. Your info says "alpha's"; that's what threw me.
 
Have our B3 off and in the garage. I 'scuffed' it a few years ago and sprayed it with the phantom black but agreed it doesn't shine like I'd like. Was thinking about re-sanding and re-painting but maybe I'll try scuffing and clear coating it?
 
Boatman,

The clear is what I plan to use. Should have a few pics to offer in a week of the Phantom Black and Mercruiser/Quicksilver Enamel Clear overcoat. If you read a bunch of threads on the Quicksilver clearcoat they gripe about lack of gloss. I will find out in a week or so and post. I suspect they may not be applying the clear at the appropriate time which is just after the Phantom black flashes. Regardless, here is what I will use for paint and clear coat:

81hNtEQTafL._AC_SL1500_.jpg

61fr1ZUIspL._AC_SL1500_.jpg
 
Ok Ladies and Germs,

Closing in on completing the redo of the outer case. Thought I would update with photos of the lower gear case as its now complete. You actually have to separate the Drive and gear cases as there's no way to get in the areas between without. I have included a photo here of the lower gear case after I sanded 99% of all factory and years worth of paint down to aluminum. As noted above, I thought to use either POR15 or Phantom Black and clear. Because I wanted to chemically bond the base coat to the aluminum, I went with POR15. Second photo shows that coating up close. Does a WONDERFUL job. However, its UV sensitive so I top coated with 2 coats Phantom Black and 2 coats clear. The clear I put on the phantom black just after it flashed. I am very please with results. Recall, I did great gobs of filling with both the metal bondo and/or the JB weld marine. Both are fine and POR15 chemically bonded to them as well. After I re-decal the drive case, I will finish this thread with two or 3 photos of the completed drive case. Not sure I want to tackle the second drive I have because of the mountain of sanding and filling required. But, the end product is very nice.

P1010010.JPG

Now the gear drive case with the two coats POR15
IMG_2866.JPG

Now with 2 coats Phantom Black and the two coats clear.

IMG_2873.JPG
 
Ok, so just put the drive case back on the lower gear case and posting the final photos. Hope this helps others considering bringing a bravo III back from the dead.
Compare this to photos above.


IMG_2880.JPG


Close up of the upper drive

IMG_2881.JPG


IMG_2882.JPG


IMG_2884.JPG

IMG_2886.JPG
IMG_2880.JPG


IMG_2887.JPG
 
Last edited:
Only when you see the new vs old in the last picture do you appreciate the work involved and the improvement made. Check back after both are mounted with a mechanical review.
 
Will do Copb8Tx. I know the history of these two drives and they only had 263 hours and although I didn't open the drive and gear cases, I did inspect the internals behind the drive covers and they looked really good. And, the gear oil was greenish stock color with no water. So, these should be stout for another 4-5 seasons with annual maintenance. I will follow up with how the surfacing I did wears for sure. If you've ever used POR15 and its applied correctly, it is very hard to remove as it chemically bonds. Not sure about mercruiser phantom black and their clear. We will see.

V/R
 
Nice work. I'll be doing the same with my twin Bravo III's once out of storage in April. They aren't in horrid shape from what I can see (just bought the boat) but the PO used some kind of red primer and anti-fowling paint applied with a brush that is UGLY.

Did you ever consider having the drive media blasted before starting to fill the divots? I've seen that done with another YouTube video and it seemed to be quite effective at removing all the old paint and oxidation so what you start with is bare aluminum. I'm going to price it out before attempting to sand. There will still be plenty of sanding once the filling of low spots and pitting begins.

Also, interesting that you used body filler for some of the more shallow pitting. Seems to be a bit easier to apply than JB Weld, but is there a difference in sanding either to a smooth finish?

I've used spray cans of phantom black Merc paint on a previous boat years ago, but this time I'm going to try using Rustoleum Black Gloss and apply it with an electric paint sprayer from Harbor Freight. I will try painting a test object first, but I'm hoping that it will get better coverage than a rattle can.

upload_2022-2-16_10-48-41.jpeg
 
Jimmy, to answer your questions The JB sands just as easy as the Metal impregnated filler. Also, Didnt consider media blasting for these as the work needed was really a hand job only plus I would not want to get the media in the internals. To address the underside of the Drive case and the upper side of the gear case, they must be separated which exposes the internal chambers to blast grit whether it be walnut or sand media.
 
Now a question about my drives -Again, I have two, one I just completed above and another not cleaned yet. Both came from my prior 2002 Rinker 342. I thought they were 2.2:1 but this stamping on the drive case I think indicates 2.0:1 as its stamped with a S-4-"B". The B indicating a 2.0:1. The 4 is in a box. Can anyone help decipher the other codes visible-Both drive cases are stamped with a 1589-8867-C7, the S-4-B, and a circle with an XK in the center.
the 1589-8867-C7 Must correspond with date in some way - In my case 2001 or o2.
The "S" I am thinking is standard rotation (or left rotating) but the other outdrive is stamped 3-4-A so maybe not
wondering what the 4 in the box is?
Wondering what the XK in the circle is for

Outdrive 1 after redone 2a.jpg


Second Outdrive not yet started1a.jpg
 

Forum statistics

Threads
113,094
Messages
1,425,817
Members
61,017
Latest member
IslandGirls1020
Back
Top