bjurkovski
New Member
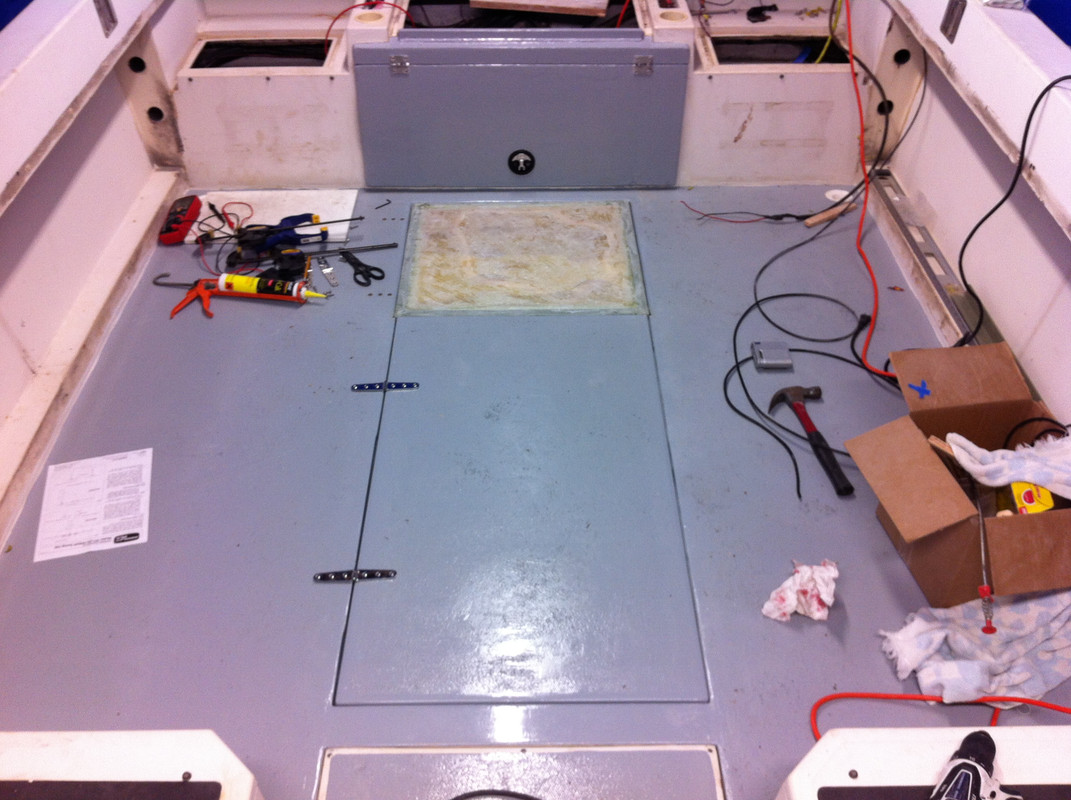
Went to get the boat ready for the water this weekend and found a pretty big crack in the bilge and 2-3mm of bowing along the edge of the floor in the bilge between the engines.
Anybody have any idea what could cause this and what's underneath the panel in that section of the bilge.
It appears to be a raised panel with some kind of void underneath and looks to be cosmetic. Did not see any sings of damage on the hull.
 Should I be worried and get a surveyor out to asses the damage?
Any ideas would be appreciated... Thanks!
Anybody have any idea what could cause this and what's underneath the panel in that section of the bilge.
It appears to be a raised panel with some kind of void underneath and looks to be cosmetic. Did not see any sings of damage on the hull.
Any ideas would be appreciated... Thanks!